Homemade Chocolate Bars
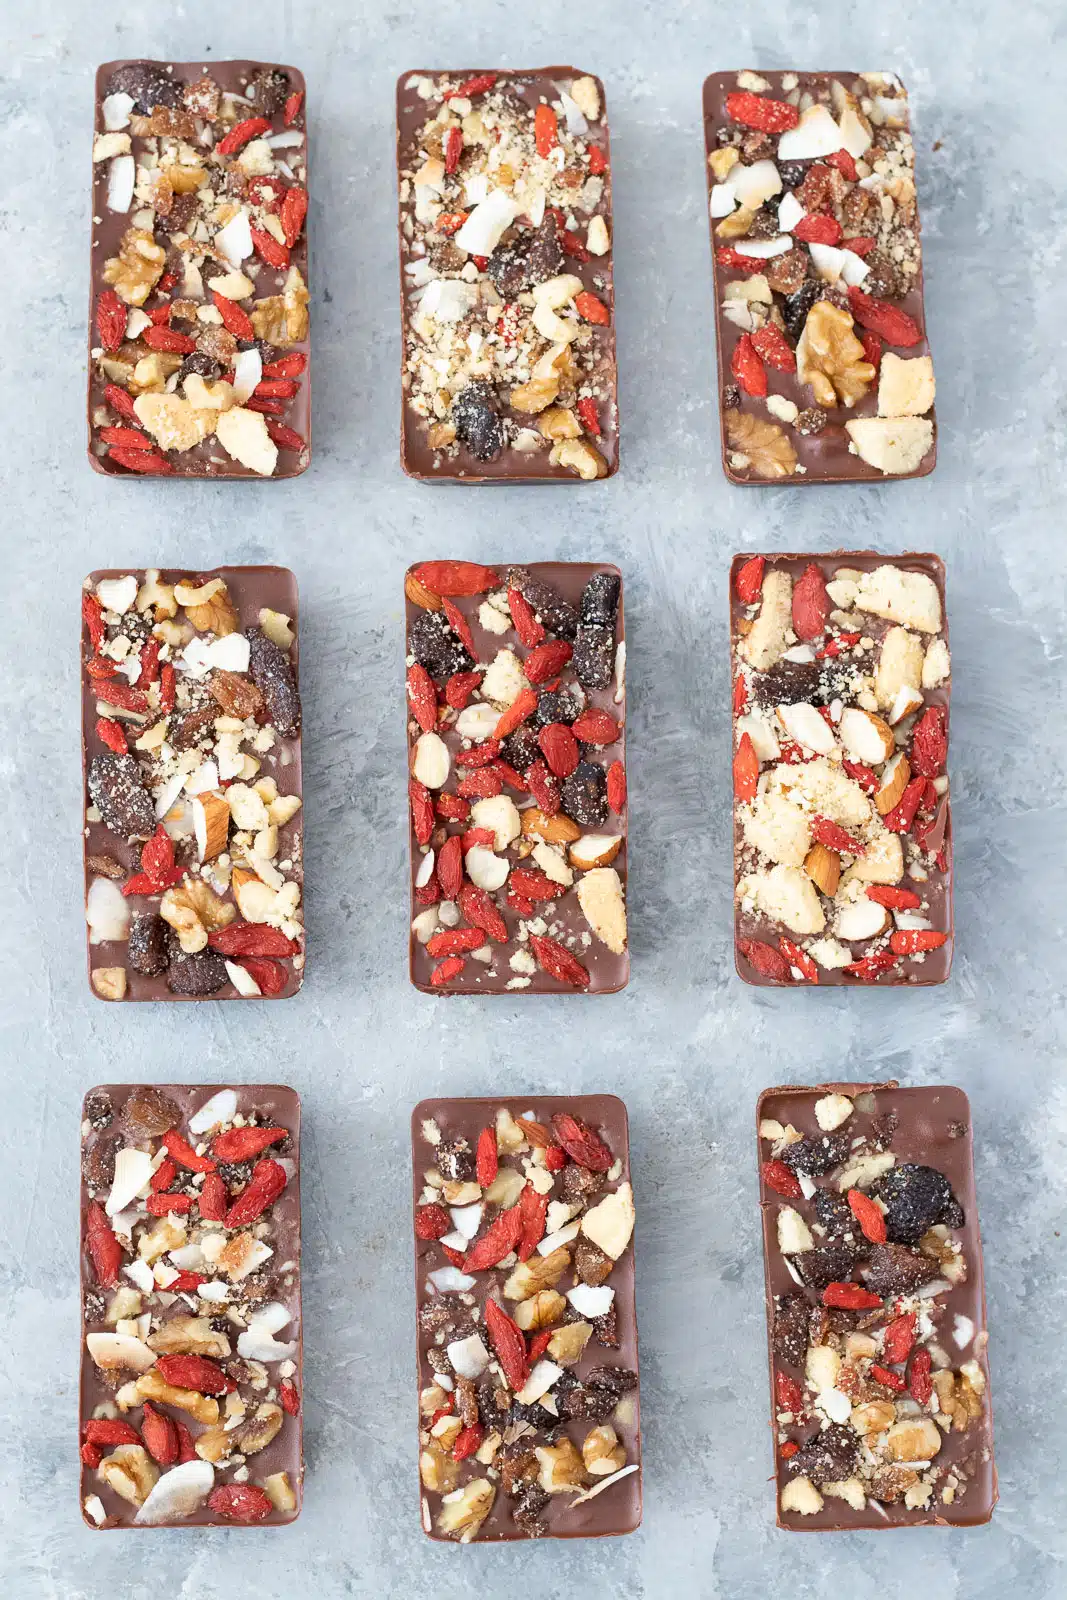
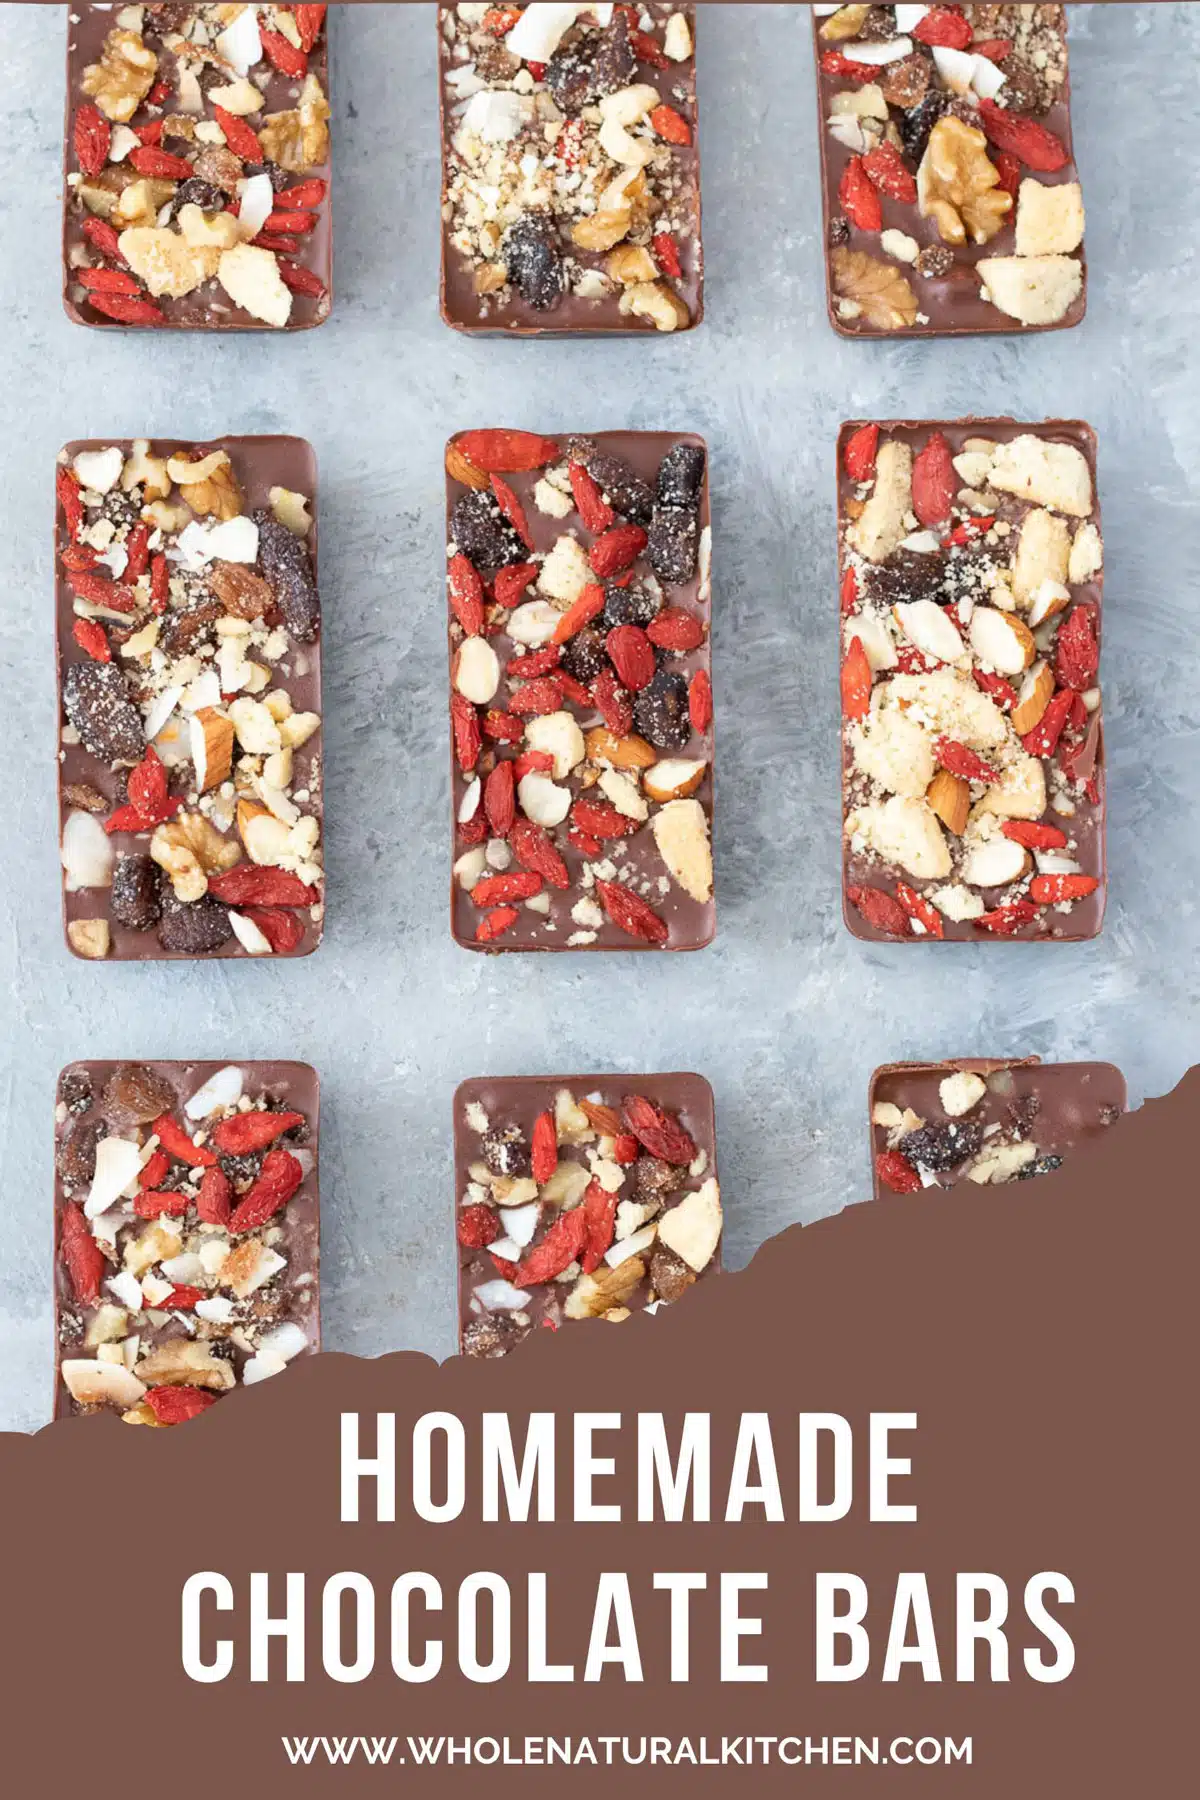
These Homemade Chocolate Bars are quick and easy to make, and they’re perfect for those days you need a little treat. They also make excellent gifts, particularly as Christmas rolls around.
In This Article
Nutritional Benefits
While this dessert may not drown us in the nutrients we’d get from salad, it still has plenty to offer. The polyphenols in chocolate that originate from cacao beans have shown benefit in reducing the risk of heart disease, stroke and improving cognition through, language, learning etc (1). Cocoa is also a potent antioxidant that inhibits the ability of free radicals to cause significant cell damage (2).
The chocolate aside, the toppings you choose also have the capacity to improve the nutrient profile of this treat. Things like nuts, goji berries, coconut, and dried fruit are all excellent choices.
Ingredients – What You’ll Need To Make This Recipe
These are all very simple ingredients, but I would suggest not using cooking chocolate, as it’s far too bitter and a little gritty. Go for a brand you know and like instead, which will ensure your chocolate bars are silky smooth and delicious.
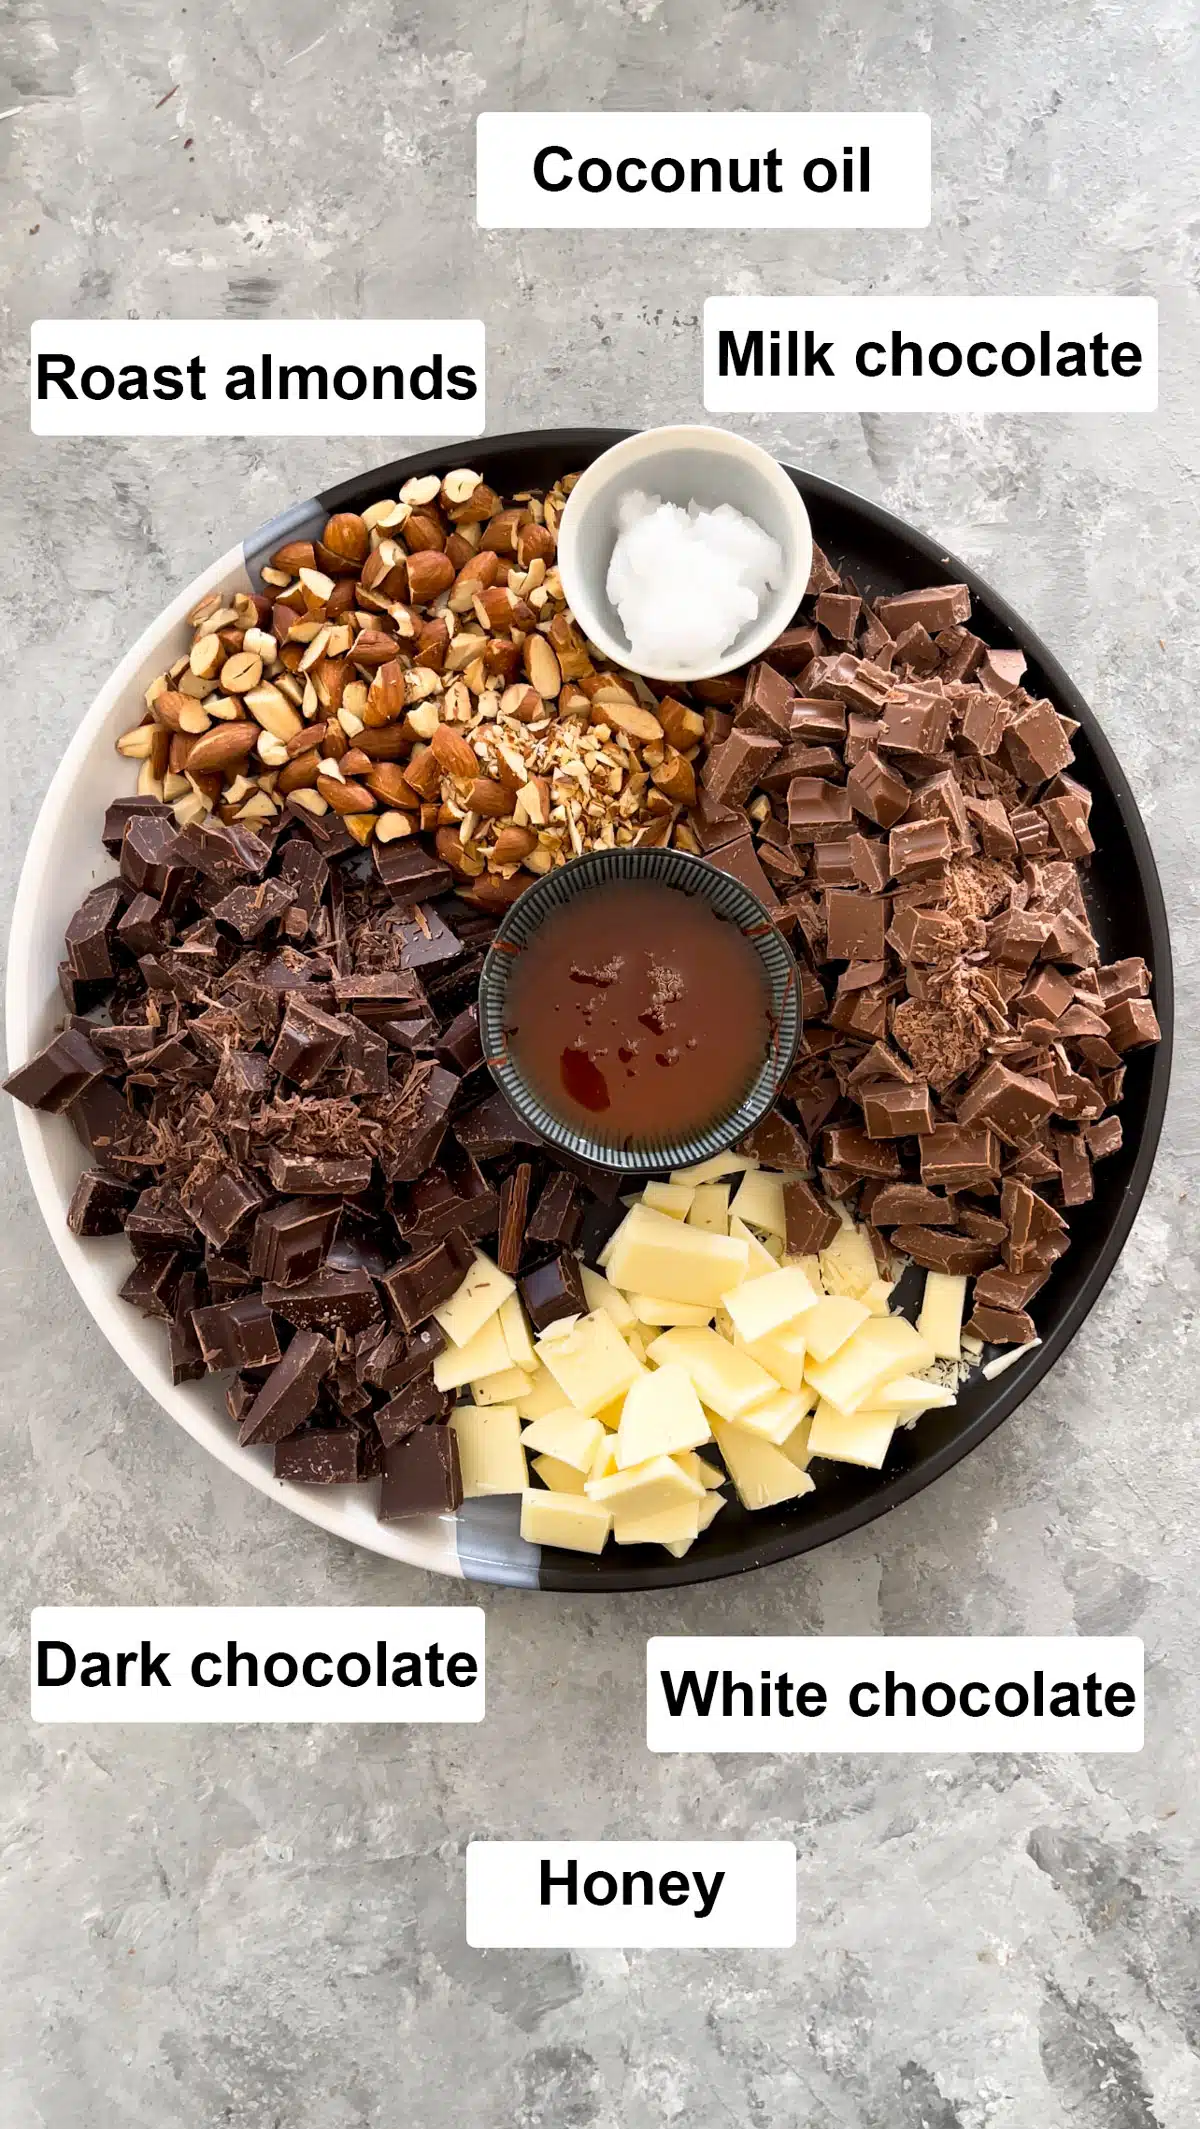
- Dark, Milk, and White Chocolates – The mix of chocolates used here results in homemade chocolate bars that are not too bitter, nor too sweet.
- Roasted Almonds – These can be made or bought, and in fact even replaced if you’d prefer something different. Hazelnuts are also divine! Whichever nut you choose roasting them does add texture with that delicious nutty crunch.
- Honey – Makes these chocolate bars just a touch more decadent. The honey can be replaced with rice malt syrup or maple syrup in need.
- Coconut Oil – This adds a little extra fat and silkiness to the final texture of the chocolate.
- Toppings of choice – Some favourites include toasted coconut, dried strawberries or goji berries, and extra nuts.
If preferred, a few extras can be added into the chocolate mixture too. Things like puffed rice or shredded coconut are great inclusions. If adding these, do it the same time the nuts are added in the recipe below.
How To Make Homemade Chocolate Bars
I’ve used chocolate bar moulds to make this. If however, you have no patience for that or can’t find any, the whole lot can be poured into a dish lined with baking paper and frozen as one. Once ready it can then be chopped into chunks.


- If roasting your almonds, preheat the oven to 180°C/350°F. Spread the almonds out on a tray lined with baking paper and bake for 8 – 10 minutes. Shake the tray halfway through to ensure they don’t burn. Remove from the oven, allow to cool slightly then roughly chop.
- Next, slowly melt all the chocolate and coconut oil in a saucepan over a very low heat. Stir frequently so it doesn’t stick or clump. Don’t rush this or you’ll burn the chocolate!
- Once it’s almost completely melted, add in the honey, and stir to warm it until the chocolate mixture is silky smooth.
- Remove mixture from the heat add the nuts and stir well to combine.
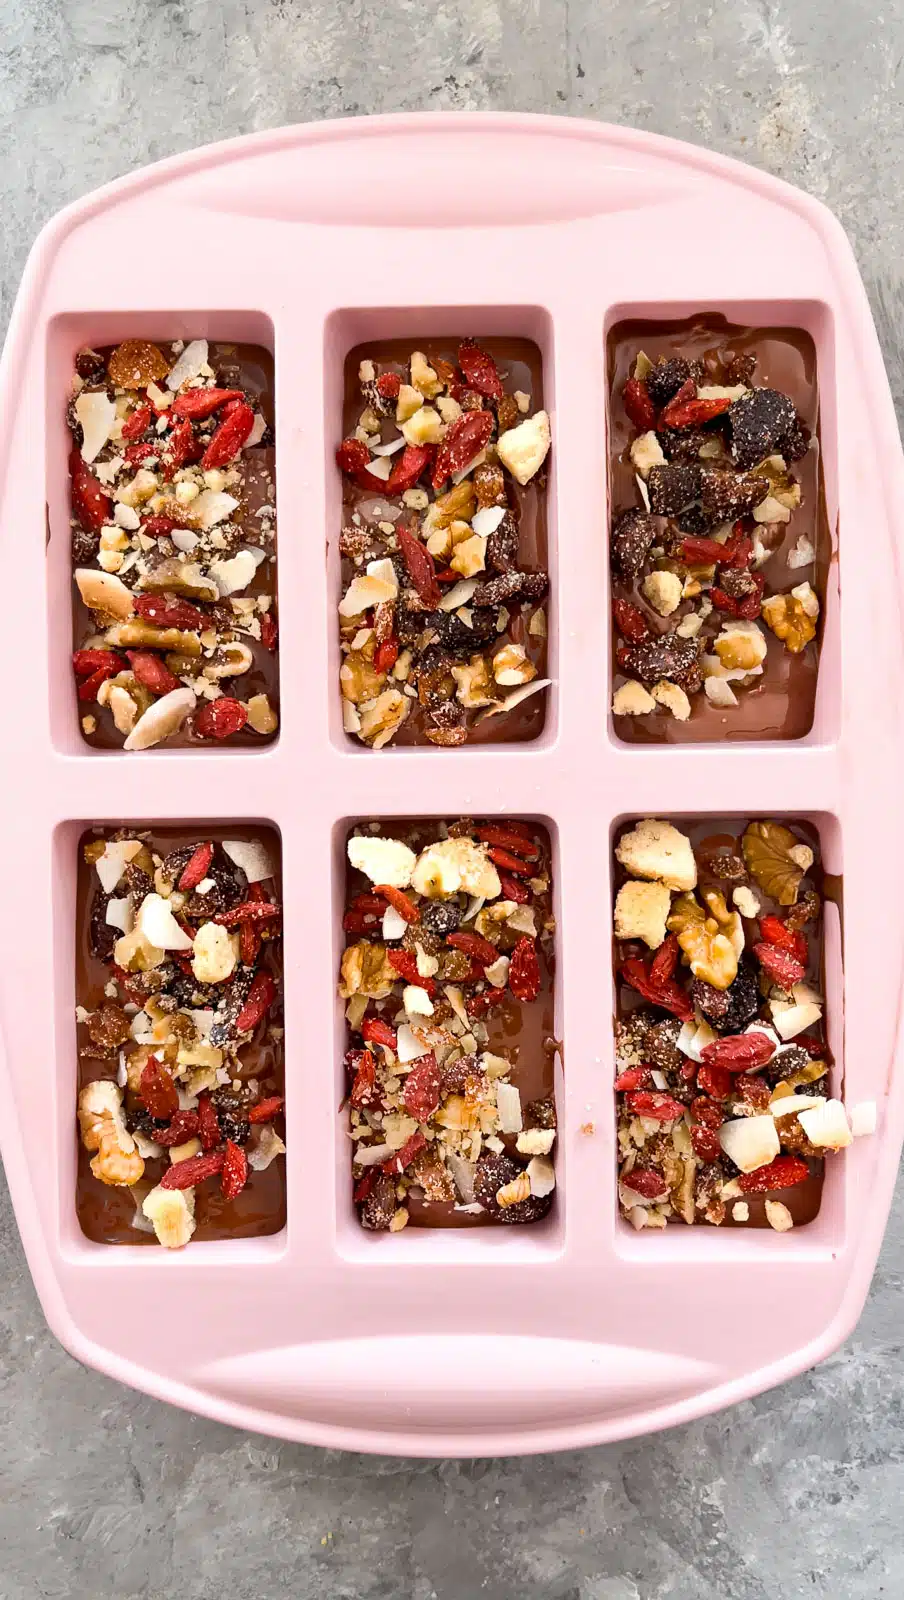
- Pour the chocolate mixture into chocolate bar moulds, add your toppings of choice, then place in the freezer for 30 minutes to an hour or until set.
- Remove from the freezer, de-mould, and let the chocolate bars sit on the bench for 10 – 15 minutes before slicing in half or cutting into chunks.
- Store in the fridge or freezer and enjoy!
If preferred, this can be poured into a single dish. An 8×8 inch (20x20cm) dish yields thick chocolate bars. For thinner bars try a 7.5 x 11 inch (19.5 x 28.5cm) slice tray. Just note if doing this, it is more difficult to cut the chocolate into even slices.

Substitutions And Variations
The base recipe stays the same, but what can change are the toppings you choose to use. They can be seasonal with things like shortbread, goji berries and coconut as decorations at Christmas. Or you can simply change it up by using a variety of nuts, seeds, dried fruits, cookies etc. each time you make a new batch.
Add a few extras into the chocolate mixture like puffed rice or shredded coconut for texture. If adding these, do it the same time the nuts go in.
Tips For Success With This Recipe
If pouring into individual moulds will test your patience pour the whole lot into a single dish lined with baking paper. An 8×8 inch (20x20cm) dish yields quite thick chocolate bars. For thinner bars try a 7.5×11 inch (19.5 x 28.5cm) slice tray.
Storing/Freezing/Make Ahead
Store any leftovers in the fridge or freezer where they will store for several months.
If you’ve made very chunky chocolate and frozen it, let it sit on the bench for 5-10 minutes to soften slightly.
FAQ
All homemade chocolate that does not go through a tempering process is going to melt to some extent. Tempering chocolate (heating and cooling) makes it stable so that it doesn’t melt on your fingers. This is quite a skill to master, and most basic recipes won’t delve into the process.
You can make your chocolate bars with any toppings you like to enhance the flavour. Cookies, extra chocolate, nuts, seeds etc. Your imagination is the limit. You could even add some essences, such as peppermint, in when you add the honey to flavour the actual chocolate.
MORE DESSERT IDEAS
If you try this recipe, I’d love to know. Leave a comment, rate it, and remember to tag @wholenaturalkitchen in your pics or reels on Instagram, Facebook or TikTok!
Homemade Chocolate Bars
Ingredients
- 9 oz milk chocolate (250g) chopped into chunks
- 9 oz dark chocolate (250g) chopped into chunks
- 3.5 oz white chocolate (100g) chopped into chunks
- 5 oz almonds (150g) roasted
- 2 oz honey or rice malt syrup (60g)
- 1.5 oz coconut oil (40g)
Instructions
- If roasting your almonds, preheat the oven to 350°F/180°C. Spread the almonds out on a tray lined with baking paper and bake for 8 – 10 minutes. Shake the tray halfway through to ensure they don’t burn. Remove from the oven, allow to cool slightly then roughly chop.
- Next, slowly melt all the chocolate and coconut oil in a saucepan over a very low heat. Stir frequently so it doesn’t stick or clump. Don’t rush this or you’ll burn the chocolate!
- Once it’s almost completely melted, add in the honey, and stir to warm it until the chocolate mixture is silky smooth.
- Remove mixture from the heat add the nuts and stir well to combine.
- Pour the chocolate mixture into chocolate bar moulds, add your toppings of choice, then place in the freezer for 30 minutes to an hour, or until set.
- Remove from the freezer and let the chocolate bars sit on the bench for 10 – 15 minutes before slicing in half or cutting into chunks.
- Store in the fridge or freezer and enjoy!
Video
Notes
Nutrition
Pin This Recipe For Later

Gabby Campbell
Gabby is a degree qualified Naturopath/Nutritionist (BHSc Nat) with a love of all whole foods. She started her Naturopathic career in clinical practice before making the move to recipe development and online education – a result of wanting to combat the misinformation that abounds on the internet about food and health. Whole Natural Kitchen aims to transform the way you think about healthy eating by helping you embrace an abundance of nutritious foods while leaving the health fads behind. MORE ABOUT GABBY

These look absolutely delicious and so easy to make too, I probably would struggle not to eat the whole batch at once!
That’s been an issue here before Sylvie! Every batch disappears quite quickly…
Perfect solution to my sweet tooth cravings. So easy to make and best gifting option too.
Yes! The best gifts Veena…. everyone loves a chocolate gift bag!
Oh wow, these look incredible. I love learning about new foods from around the world.
Thanks, Katherine, it’s something I love too.
Love love love this chocolate! I wasn’t planning on making any more chocolate treats for Christmas this year, but I might have to change my mind….
I think that every year Neli, then I make another two batches of this!
Oh my gosh this was so delicious! I will be making this over and over again!
So glad you enjoyed it Danielle!
I can’t believe how easy this is! Definitely go slow with the chocolate because that’s a mistake I don’t want to make again!
Yes, me too Jeannette…. I’ve had to throw away more than one batch in my time so I’ve definitely learnt my lesson!
This recipe was so easy to make but felt so fancy when we were enjoying it as dessert! Yum!
I’m glad you enjoyed it Anjali!
Spain is beautiful, one of my best friends taught English in Madrid and I spent a bit of time visiting her 🙂 and we ate lots of Turron, I had no idea it was so easy to make, yum!
It really is! We’ve enjoyed every trip we’ve ever taken there.