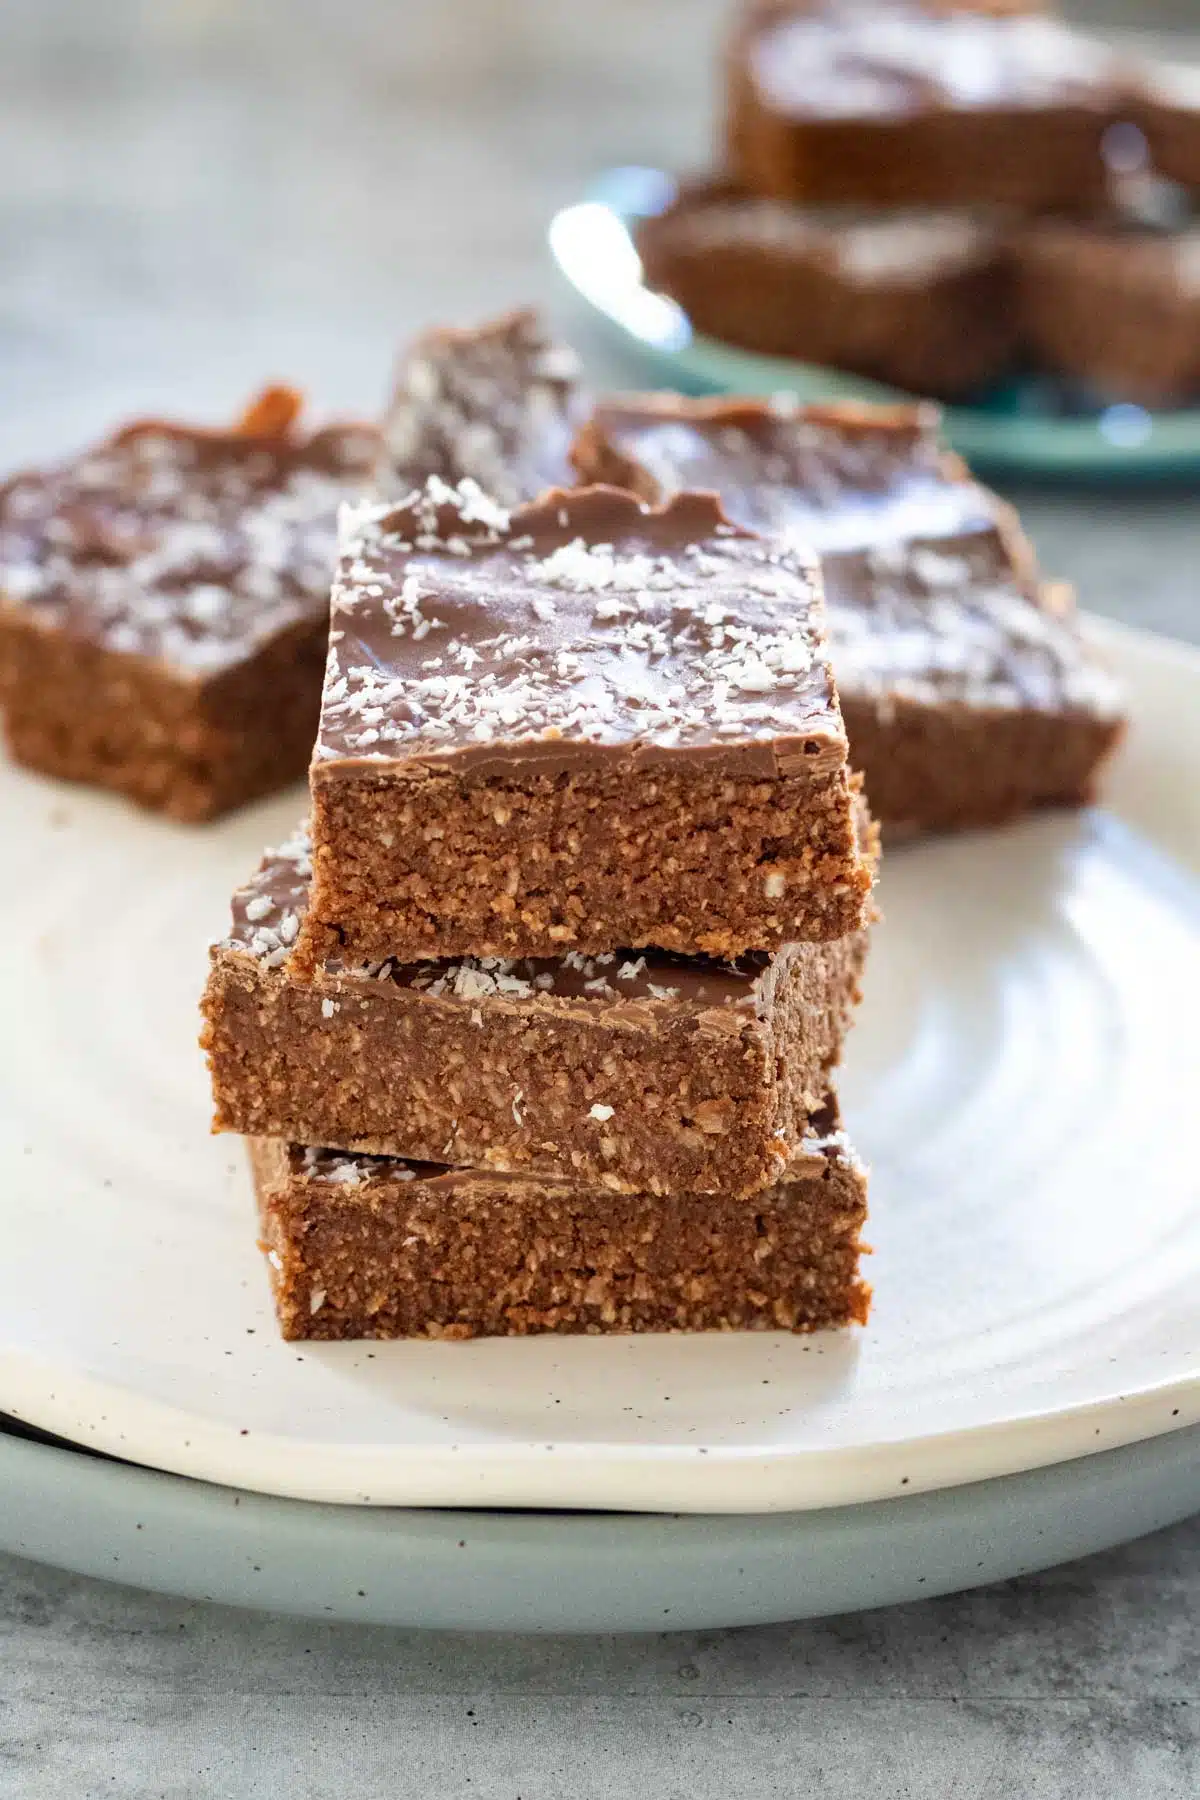
Easy Coconut Chocolate Slice Recipe

Coconut Chocolate Slice remains a childhood favourite treat for many. This version has been made with simple ingredients that make it gluten, dairy, egg, and nut-free. A perfect slice to share at your next morning or afternoon tea!

Key Ingredients
If chocolate and coconut are one of your favourite flavour combinations this recipe is definitely for you. Desiccated coconut, coconut cream and cocoa powder are the base ingredients here that deliver a blend of tastes and textures to produce a delicious slice.
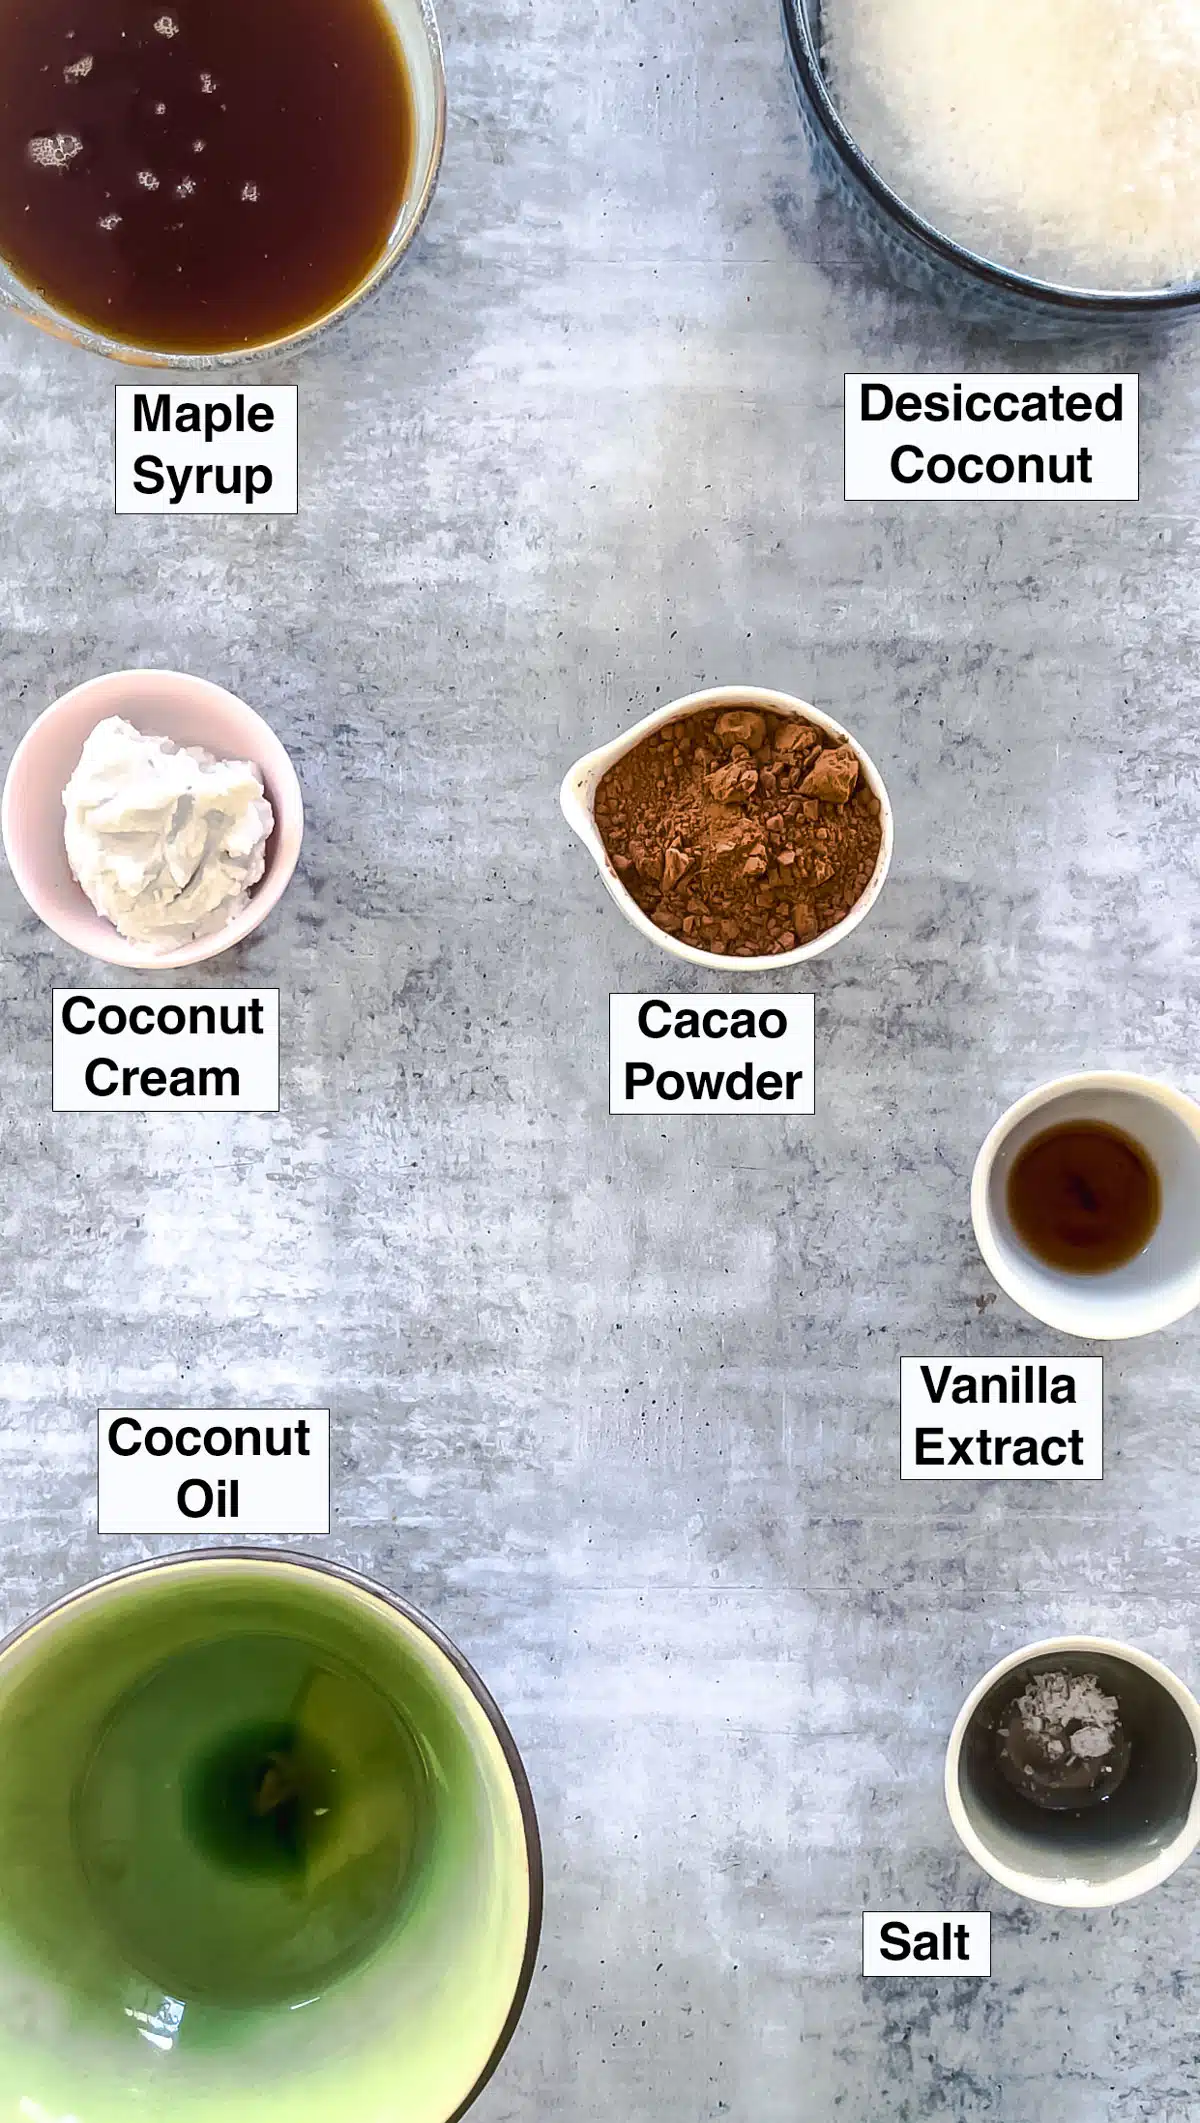
- Desiccated coconut – Gives this slice a nice fine texture and also gives some crunch.
- Cacao powder – It wouldn’t be a chocolate coconut slice without this key ingredient! If you find raw cacao powder too acidic, it can be substituted with cocoa powder.
- Coconut oil – Adding good fats and additional flavour. Just remember in very hot weather this can also make a raw slice melt in your fingers so it’s always best served straight from the freezer.
- Coconut cream – Adds a softer coconut flavour and is also what helps to make the slice fudge-like.
- Maple syrup – Contributes sweetness, but has that classic slightly caramel/toffee taste too. Overall it provides more depth of flavour to the slice.
- Vanilla extract – Helps to enhance the flavour of the other ingredients.
- Salt – Helps to balance out the sweetness of all the other ingredients.
- Chocolate chips/buds – Topping ingredients that are optional but adored by the chocolate lovers!
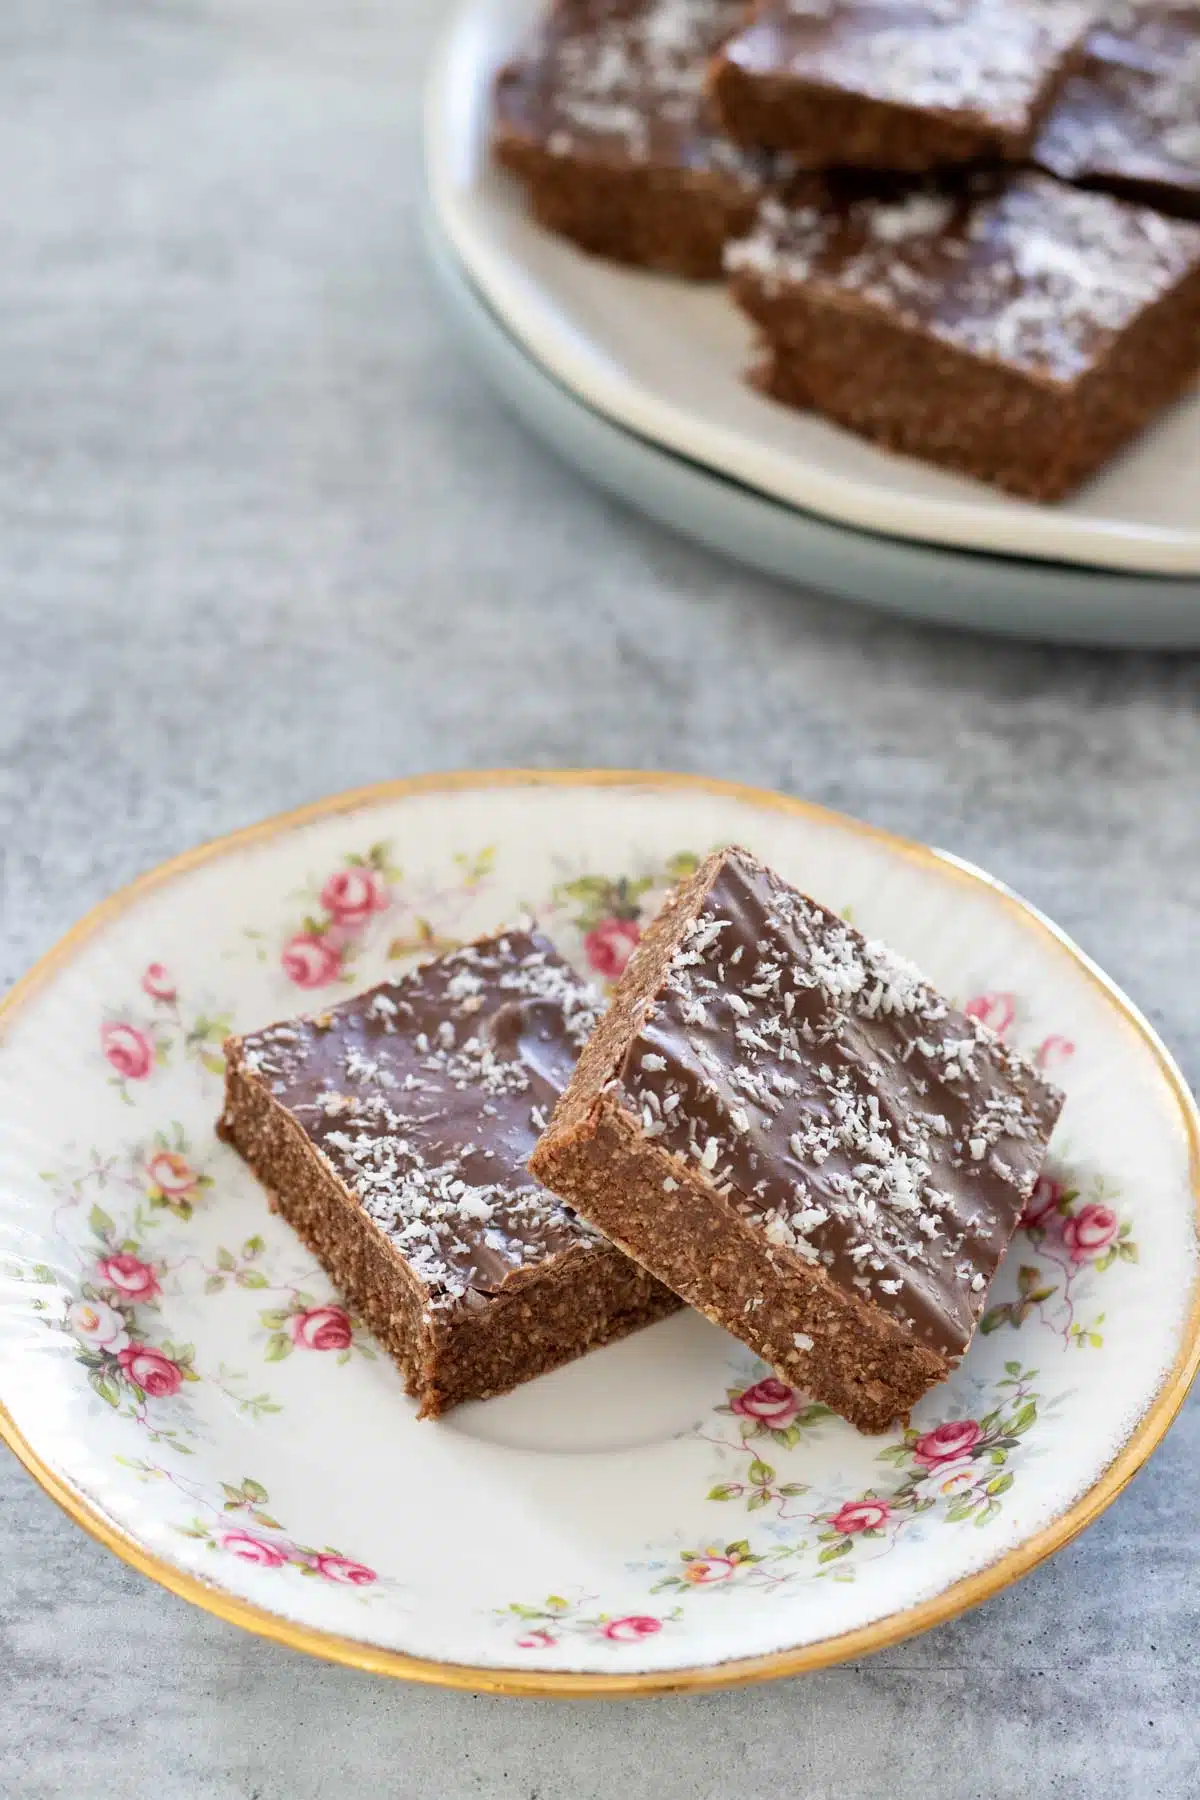
The classic combination of chocolate and coconut is what continues to make this slice a family favourite. And this revised version now ensures it comes with added nutrients and is intolerant friendly too.
Substitutions And Variations
If you’re serving this to a chocolate lover – mixing some finely chopped chocolate through the coconut mix is delish! It provides another texture and an even richer chocolate flavour. Just don’t use large chunks or cutting the slice will be difficult.
Add any other toppings you like. Once the melted chocolate has been spread quickly sprinkle over any toppings of choice. Goji berries, bee pollen or chopped nuts are great options.
How To Make This Coconut Chocolate Slice
This easy coconut chocolate slice comes together in a little under 20 minutes. All that’s required after that is time to let it set in the freezer.


- Preheat the oven to 160ºC / 325ºF. Line a large baking sheet with baking paper, and also line a 20 x 14 cm / 8 x 5.5-inch tin to set the slice in. Pour the coconut onto the baking sheet and spread it out. Bake for 3 minutes on the middle shelf, remove, and stir well then return to the oven and bake for another 3 minutes. If it’s not quite toasty enough put it in for 2 more minutes. Remove from the oven and allow to cool.
- Add the cooled, toasted coconut, cacao, coconut oil, coconut cream, maple syrup, vanilla extract, and salt into a food processor. Blend on a medium speed until well combined. Alternatively, you can mix all the ingredients by hand in a large bowl. The final texture of the slice will be coarser, but it will be equally delicious.
- Pour the slice mixture into the prepared dish and press down with your fingertips or the back of a spoon so that it’s flat across the top.
- To make the topping – melt the chocolate chips/buds with coconut oil then pour over the slice. Sprinkle with a little extra coconut to finish.
- Chill in the freezer for 30 mins to 1 hour. Remove, slice into 12 squares, and serve immediately. If there are any leftovers these should be stored in the freezer.
The topping for this slice is optional (though delicious and recommended!). If you opt to leave it out, simply add a sprinkling of extra coconut over the top.
Tips For Success With This Recipe
Keep a very close eye on the coconut as its toasting. It can burn in the blink of an eye! As such, I recommend checking every minute or so after it’s been stirred the first time.
Ensure the slice is pushed firmly into the tin when flattening it out or it will crumble not slice, when cut.
Storing And Freezing
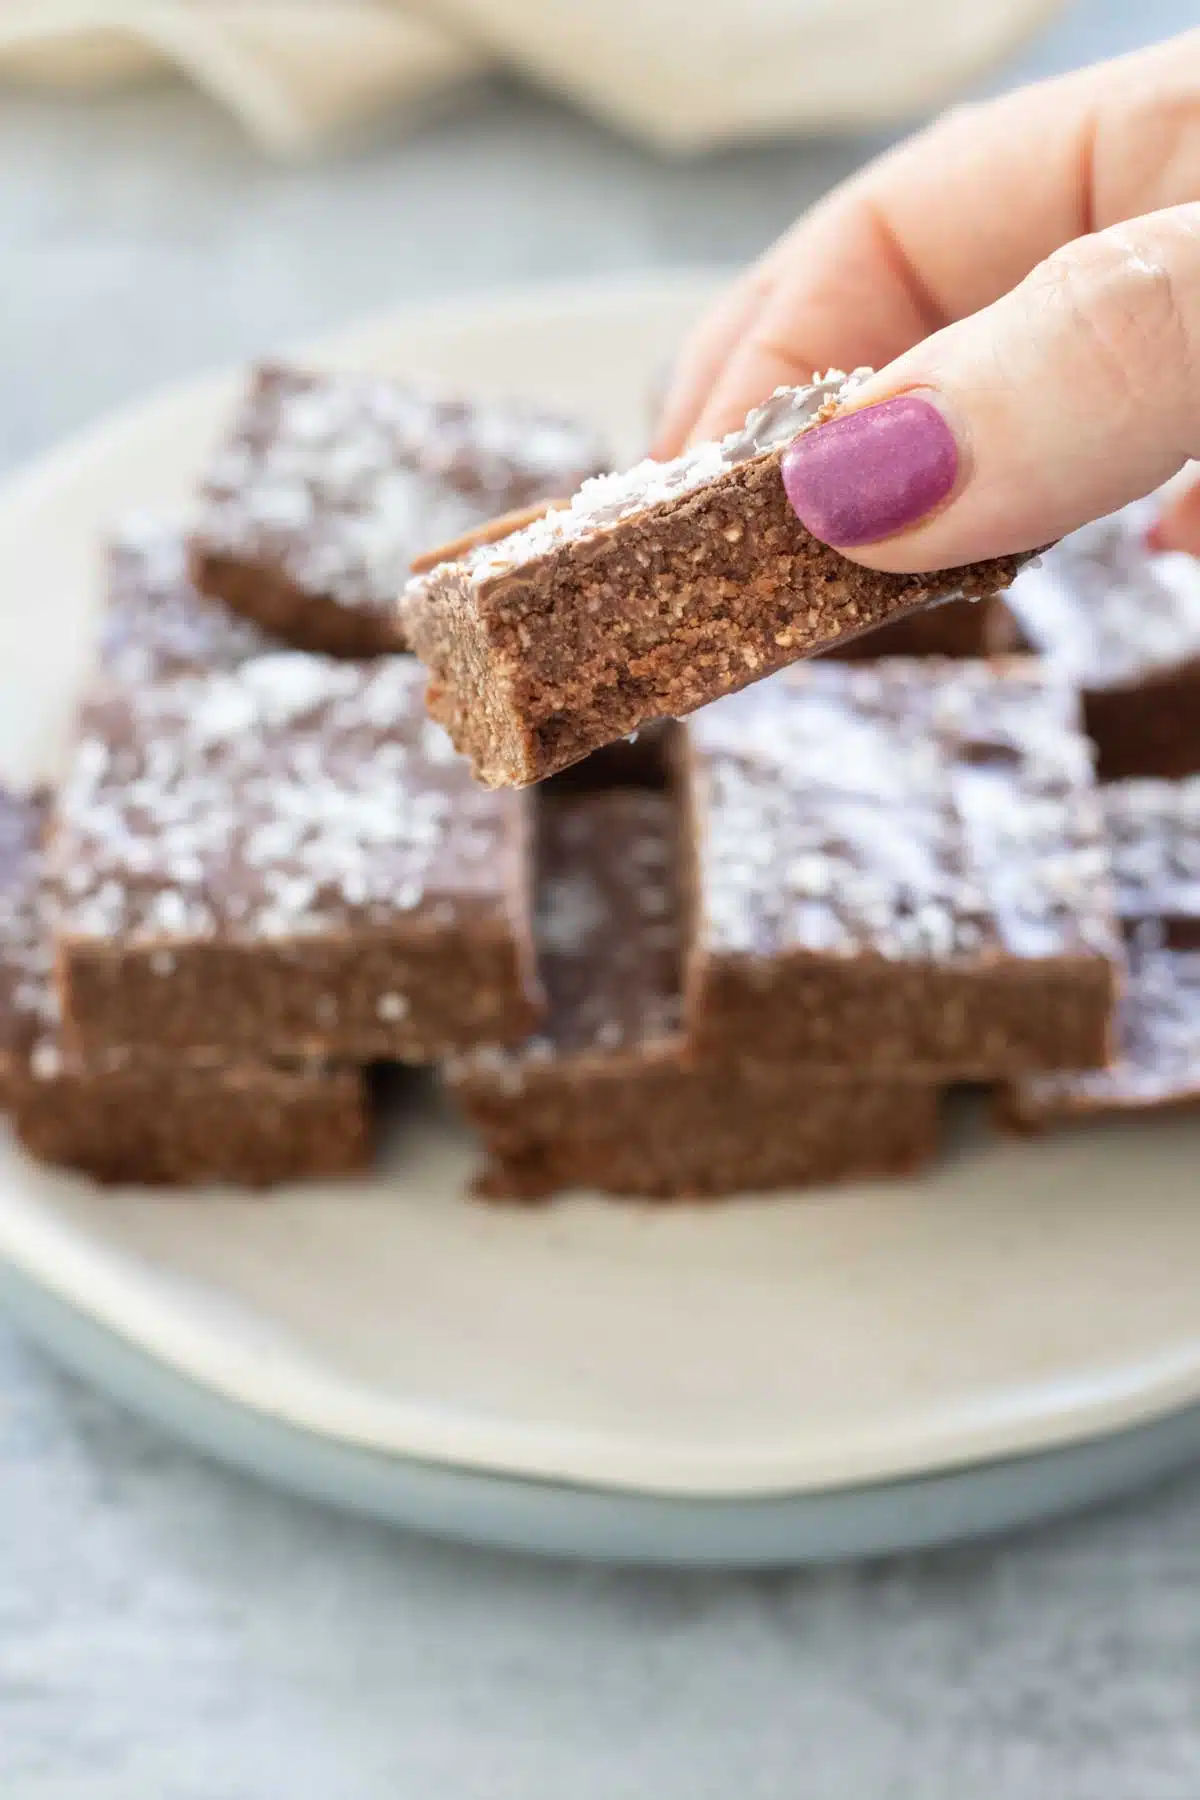
Store any leftovers in an airtight container in the fridge for several days, or in the freezer for several months. It remains soft enough to eat straight from the freezer so there’s no need to defrost before eating.
Coconut Chocolate Slices FAQs
Technically this would work however, it’s far more coarse than desiccated coconut. As such I do recommend the desiccated. If you only have the shredded though, just leave the mix to blend for an extra 10 seconds. This will help break up the coconut a little more.
This coconut chocolate slice will last for several weeks in the freezer. To ensure it still tastes at its best I recommend leaving it no longer than 10 days.
More Delicious Chocolate Recipes
Did you make this recipe?
If you try this recipe, I’d love to know. Leave a comment, rate it, and remember to tag @wholenaturalkitchen in your pics or reels on Instagram, Facebook or TikTok!

Coconut Chocolate Slice
Ingredients
- 2 cups desiccated coconut
- ⅔ cup maple syrup
- ⅓ cup coconut oil
- ⅓ cup raw cacao (cocoa powder is also fine)
- ¼ cup coconut cream
- 1 tsp vanilla extract
- ¼ tsp salt
Topping ingredients (optional)
- ½ cup chocolate chips (use dairy free if needed)
- ½ Tbsp coconut oil
- 2 Tbsp desiccated coconut
Instructions
- Preheat the oven to 160ºC / 325ºF. Line a large baking sheet with baking paper, and also line a 20 x 14 cm / 8 x 5.5-inch tin to set the slice in.
- Tip the coconut onto the baking sheet and spread it out so it's flat. Bake for 3 minutes on the middle shelf, remove from the oven, and stir thoroughly then flatten out again. Return to the oven and bake for another 3 minutes. If at this point it's not quite toasted enough – give it another stir, flatten out and cook for 2 more minutes. Remove from the oven and allow to cool completely (see note 1 below).
- Add the toasted coconut, cacao, coconut oil, coconut cream, maple syrup, vanilla extract, and salt into a food processor. Blend on a medium speed until well combined – about 10 – 15 seconds. This also breaks the coconut down a little more.
- Pour the mixture into the prepared dish and press down with your fingertips or the back of a spoon so that it's flat (see note 2).
- To make the topping – melt the chocolate chips/buds with coconut oil then pour over the slice. Sprinkle with a little extra coconut to finish. If preferred, add a chocolate frosting to the top of the slice instead. (see note 3).
- Place in the freezer to chill for 30 minutes to an 1 hour. Remove, slice into 12 squares, and serve immediately. If there are any leftovers these should be stored in the freezer.
I tried giving 5 stars but the last star wouldn’t let me click on it..lol anyway loving that this recipe calls for ingredients already in my pantry. It’s so easy, thanks!
Awww thanks so much Ann. Not sure what happened there – it’s showing as 5 for me. So glad you found this easy to make. It’s one of my favourites.
My kids devoured this dessert! I don’t know what’s better than a chocolate coconut combo. Will definitely make this again!
How wonderful to hear Bobby! Glad they loved it. We do too.
This was such a delicious and easy dessert! My kids didn’t have school today, and they had a blast helping me make these as an afternoon project!
That’s so great Anjali. I hope you all enjoyed them!
This is definitely a perfect recipe for coconut lovers. Looks good and would love to give this a quick try. Thanks for your recipe.
Thanks so much Veena!
The combination of rich chocolate and sweet coconut is simply irresistible. It’s easy to make and always a hit with my family and friends. I highly recommend trying it!
It’s the best combo isn’t it? We love it too! So glad you all enjoyed it Gianne.
I’ve never had anything like this easy to make and delicious coconut chocolate slice. Once my family sees these, they are not going to last long at all. Yummy!
Thanks, Andrea. They’re super delish!
I can’t wait to make this, Gabby. I love trying new recipes and this is right up my alley.
Aww thanks, Elaine. We love it, hope you do too!