Fruit Paste | Apple and Honey

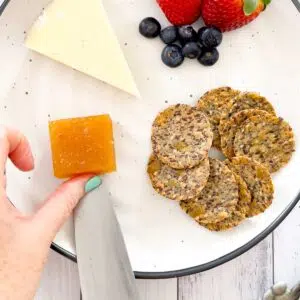
This Apple And Honey Fruit Paste offers a naturally sweet and delicious alternative to the more traditional quince paste. Rich in flavour and smooth in texture it’s the perfect addition to a cheese board, it’s great on toast, or can even be enjoyed as a wholesome snack on its own.


Key Ingredients
This fruit paste recipe contains three simple ingredients. Apples, honey, and lemon juice. It’s not complex to make, though it will require a bit of time on the stove, so you may want to save this for a weekend project.
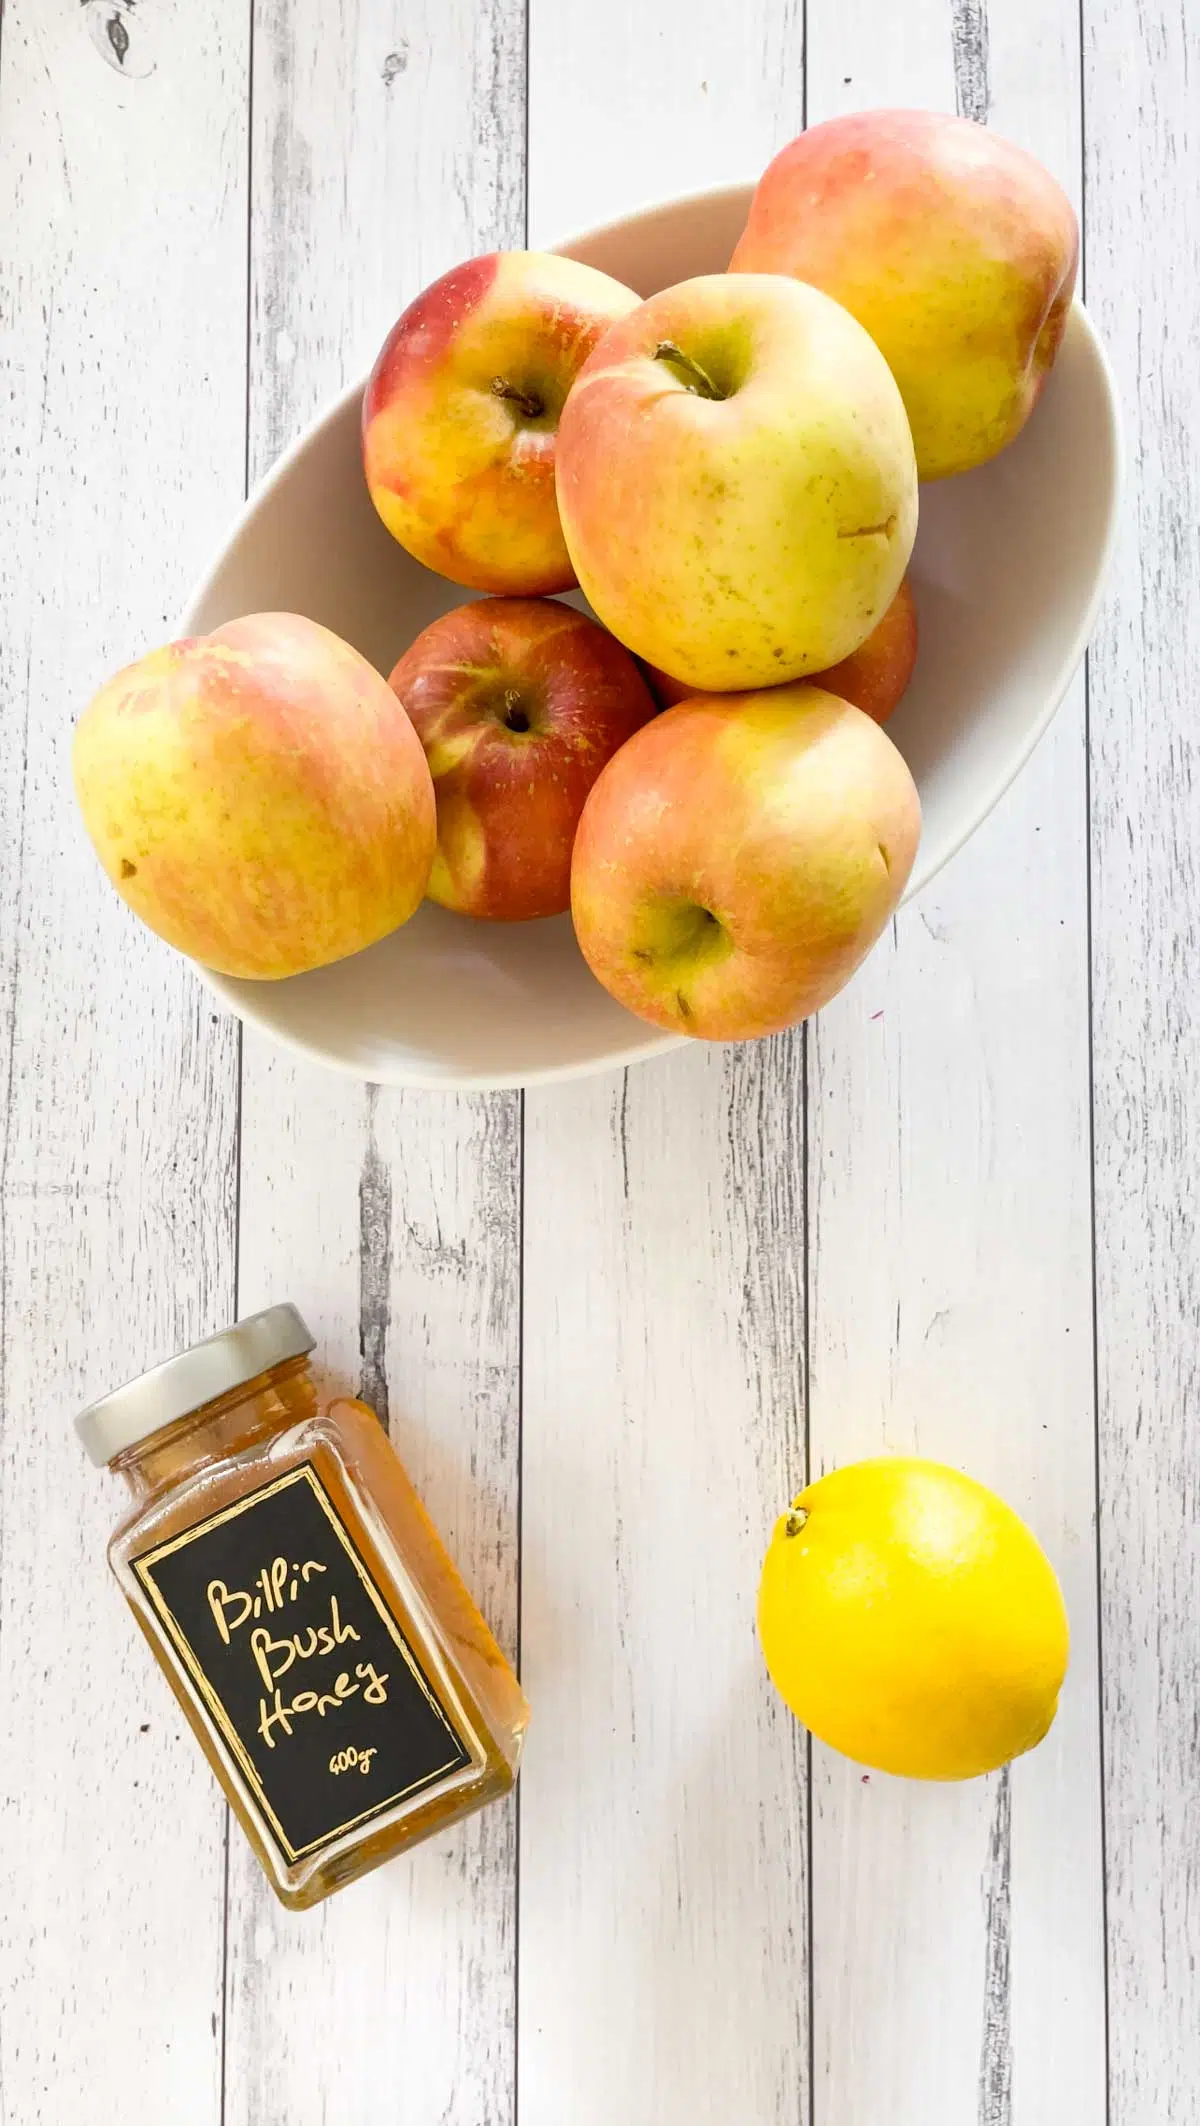
- Sweet apples – I used Fuji because that’s what was abundant near me right not, but any sweet variety would be fine.
- Honey – This is my preference as a sweetener in this recipe because it adds an extra dimension of flavour. If a granulated sweetener is all you have on hand this is also fine. Use 1 cup of sugar for every ¾ cup of honey used.
- Lemon Juice – Adds some acidity, which helps to balance out the sweetness of the apples and honey. It also aids in the gelling process so the final paste can be cut through.
Nothing else needed! These delicious three ingredients will create a lovely, sweet paste that can adorn your dessert platters for months to come.
Substitutions And Variations
While apples are the star ingredient in this recipe, pears would be a great substitute if you have an abundance. They have a similar mellow sweetness and texture to apples and make an equally delicious fruit paste. Just note that the cooking time may vary. However, as with all recipes like this checking the consistency of the paste as you go is key to its setting success. Simmer the pear paste until the mixture is thick enough to stand a wooden spoon up in it.
If sugar is your preferred sweetener simply use 1 cup of sugar for every ¾ cups of honey. That’s 1⅓ cups of sugar instead of 1 cup of honey for this recipe.
How To Make This Apple And Honey Fruit Paste
Fruit pastes are an excellent way to preserve an abundance of seasonal fruit if you have lots to use up. Best of all, very few ingredients are needed and you’ll have enough from this batch to keep fruit paste on your cheese boards for many months.


- Peel and core the apples then chop into small pieces.
- Place in a large saucepan with a little water and bring to the boil. Reduce heat and simmer for 15 – 20 minutes or until the apples have softened.
- Remove from the heat and strain the apples through a colander. Push down on the apples with the back of a spoon to force any excess water out.
- Place apples into a blender and blend on high until a smooth purée forms.
- Tip the purée back into the saucepan, then add in the honey and lemon juice. Place back on the stove over a low heat and simmer until the mixture is thick enough to stand a wooden spoon up in it. This was 1 hour and 15 minutes for me. It may be more or less for you.
- Pour the thickened paste into a container that’s been lined with baking paper and smooth out. Allow to cool slightly then put on a lid and place in the fridge to firm up overnight.
- Remove the apple and honey paste from the fridge and chop it into any shapes you like. You can leave the paste in this container though I like to add another piece of baking paper on top before putting the lid back on to ensure it doesn’t dry out.
I’ve kept these pastes in the fridge for as long as 12 months, but in most cases they get eaten well before that.

Tips For Success With This Recipe
Many factors impact how quickly, or not, the apple purée thickens as it heats. The size of the pan and the heat applied being two of the biggest. As such, the time outlined in the recipe is a guide and should be ‘about right’ however, the consistency of the purée you have before you is of most importance. It may take you a little more or less time than suggested here.
The paste will set perfectly when the mixture is thick enough to hold a wooden spoon straight up. Push it all towards the centre of the pot, stick a wooden spoon straight into the centre, and if it doesn’t tip over, the purée is ready. If it does, keep reducing it a little more.
Storing
Once the paste is completely set, you can store it in an airtight container in the fridge for many months whole or sliced. If pre-slicing the paste layer parchment paper between the slices to prevent them from sticking together. Ensure the container is truly airtight to prevent drying out or absorbing odours from other foods in your fridge.
Fruit Paste FAQs
It’s likely you haven’t reduced the fruit paste enough when cooking. If it doesn’t set, you can either pour it back in the pot the next day to reduce it some more or use it as a spread. Remember – a wooden spoon should stand up in it when it’s done.
Add fruit pastes to cheese platters, add some to toast or just cut off a piece and enjoy it as a small dessert.
More Preserving Recipes
Did you make this recipe?
If you try this recipe, I’d love to know. Leave a comment, rate it, and remember to tag @wholenaturalkitchen in your pics or reels on Instagram, Facebook or TikTok!
Fruit Paste | Apple and Honey
Equipment
- 1 Large pot
- 1 Blender
- 1 glass container for storage
Ingredients
- 2.9 lb Fuji apples, or other sweet apples in season (1.3 kg)
- 1 cup honey (10.5oz / roughly 300g)
- 2 Tbsp lemon juice (1 fl oz / 30ml)
Instructions
- Peel, and core the apples then chop into bite-sized pieces.
- Place in a large saucepan with ¾ cup water and bring to the boil. Reduce heat to a simmer and leave for 15 – 20 minutes or until the apples have softened.
- Remove from the heat and pour the apples into a colander to drain off the liquid. Push down on the apples with the back of a spoon to push out any excess water.
- Tip the apples into a blender and blend on high until a smooth purée forms. This will take a couple of minutes max.
- Pour the purée back into the saucepan, then add in the honey and lemon juice. Place back on the stove over a low heat and allow to simmer until the mixture is thick enough to stand a wooden spoon in it without it falling. This was 1 hour and 15 minutes for me. It may be more or less for you. Be guided by the thickness of the purée, not the time.
- Once thick enough, transfer the paste into a container that's been lined with baking paper. Allow to cool slightly then put on a lid and place in the fridge to firm up overnight.
- Remove the apple and honey paste from the fridge and chop it into any shapes you like. You can leave the paste in this container though I like to add another piece of baking paper on top before putting the lid back on to ensure it doesn't dry out.
- I've kept these pastes in the fridge for as long as 12 months, but in most cases they get eaten well before that!
I made this for a charcuterie board last weekend and it was SO amazing! The flavor was incredible.
That’s great to hear! Thanks so much Tayler.
Such a cool recipe and what a creative idea. My daughters enjoyed it so much.
That’s great to hear! Thanks so much Gunjan.
Such a wonderful use for apples and definitely the perfect addition to a cheese board. Looks so good!
Thanks so much Tara!
What an interesting recipe. I have never heard of this. Looks like this will be a fun experiment in the kitchen on a rainy day.
Hope you enjoy it when you make it Gloria.
I love this idea! I’m a big fan of apples and love including them on my cheese boards!
Thanks, Chenée! They’re perfect for cheeseboards, and they make a truly delicious fruit paste.