
Easy Fermented Garlic Honey Recipe
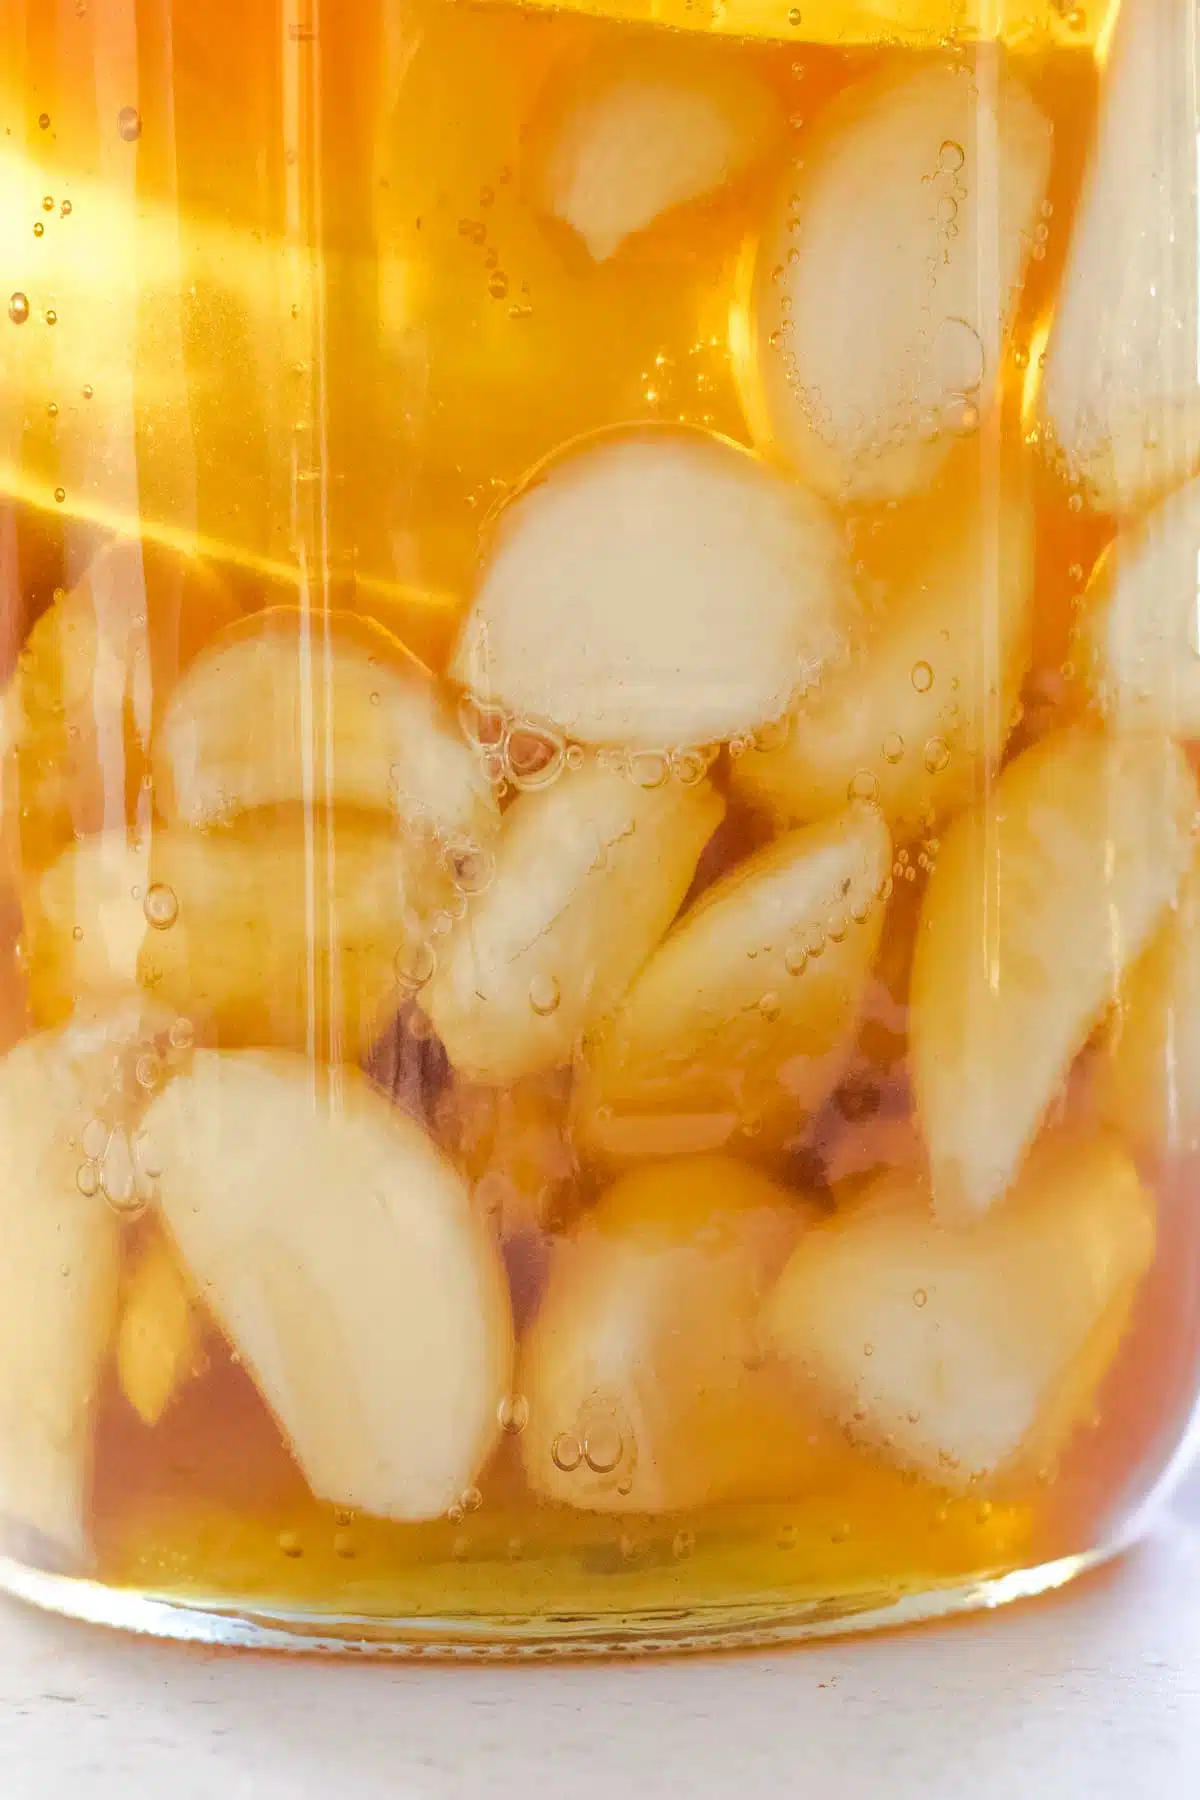
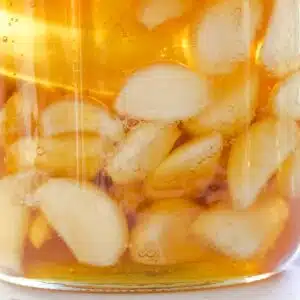
Fermented Garlic Honey is a great immune boosting home remedy making it a cold and flu season staple. The initial fermentation process takes 5-7 days and once done your jar of honey garlic will keep for up to a year.
Eating it straight from the jar is one of my favorite ways to enjoy it, but it’s also perfect for adding to any number of savory dishes. It’s especially good in salads like this Fall Harvest Salad, this Peach Burrata Salad or even this Caesar Pasta Salad.

Recipe Overview: Fermented Garlic Honey
How To Avoid Botulism When Fermenting Garlic In Honey?
Something that causes a lot of concern with this ferment is the risk of botulism spores growing. It often leads to the question ‘how safe is fermented garlic honey to eat’? It’s worth highlighting that to date, there has not been one single documented case of botulism contamination relating to fermented honey garlic.
Clostridium botulinum (CB) can be found in soil and as a result can be present in foods like garlic and honey, though in honey it is mostly harmful to infants (and this ferment should not be given to children under one-year old as a result). CB needs a neutral pH, a moist environment, and no oxygen to thrive. Sugar inhibits it, and honey, being roughly 80% sugar and 20% water, qualifies as a high-sugar, low-moisture food. The small amount of moisture the garlic does produce isn’t enough to change that significantly.
With this in mind I feel this is a safe ferment to consume, though that is a decision you need to make for yourself. If you have concerns, storing it in the refrigerator while it ferments is a good option too.
Key Ingredients
This ferment uses two simple ingredients, plenty of fresh garlic and raw honey. The only other thing you need is time. The longer your jar of honey and garlic sits, the more the flavors develop and the more mellow the garlic becomes.
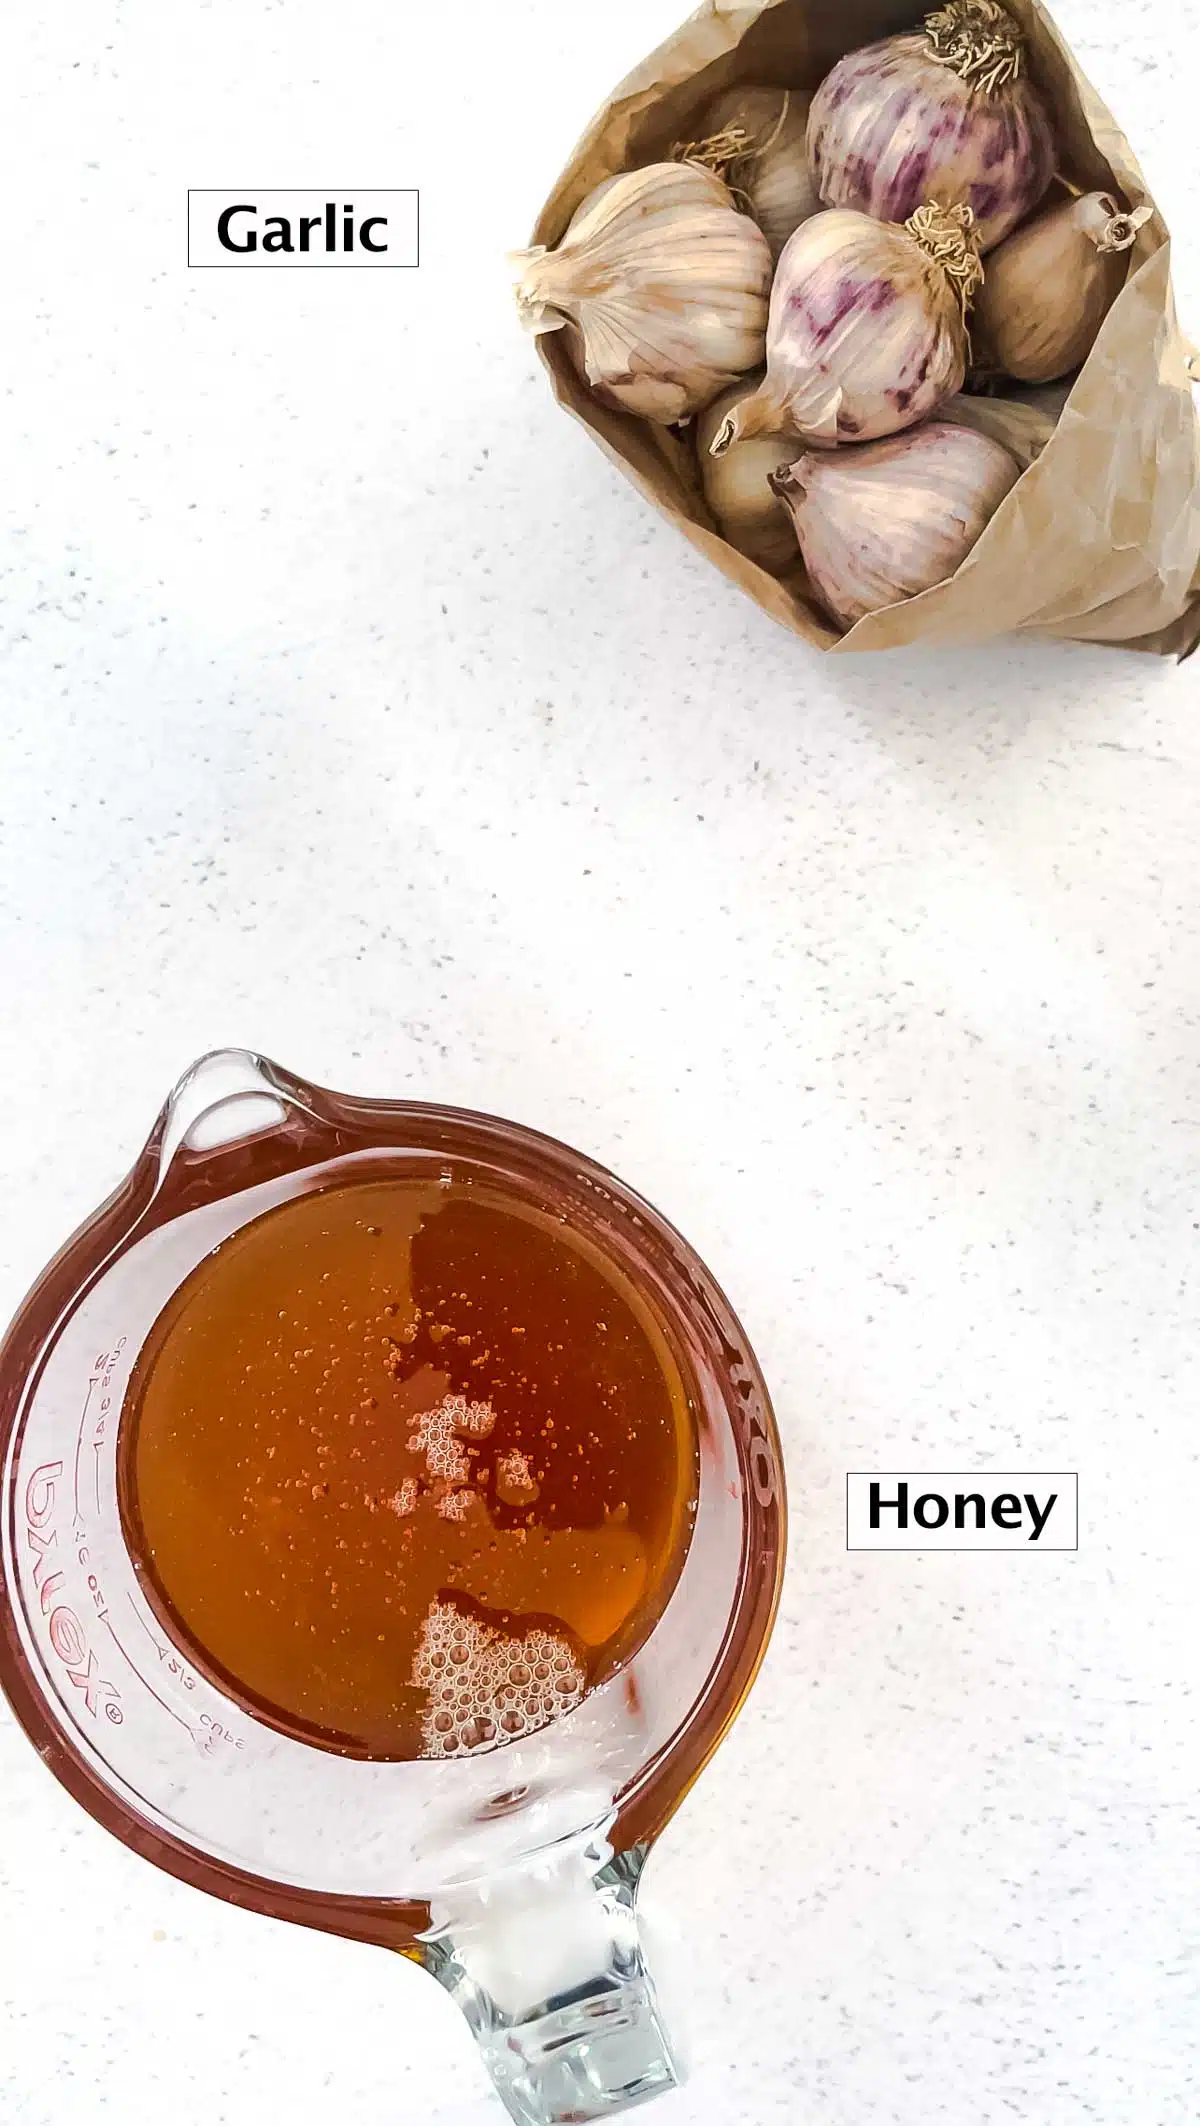
- Whole Garlic Cloves – you’ll need several heads of garlic for this ferment. The amount used is dictated by the size of the jar used. I had a large jar, 25oz/750ml, which used roughly 12 small heads of garlic.
- Raw Honey – this is essential as it contains the bacteria and yeast needed for fermentation to occur. Local honey is worth seeking out if you can find it, as the flavor varies depending on the region and what the bees have been foraging on, which adds another layer of interest to the finished ferment.
When buying honey, check the label carefully. ‘Unfiltered’ and ‘unpasteurized’ don’t necessarily mean raw. Unfiltered honey is often heated to make filtering easier, which removes the live bacterial cultures you need. Unpasteurized honey has been heated at a lower temperature than pasteurized honey, but may still have been processed enough to affect fermentation.
Garlic And Honey Recipe Variations
Red pepper flakes or nigella seeds are popular additions to this ferment. Keep in mind that darker spices will change the color of the honey over time. Nigella in particular produces a very dark honey, and the seeds can make the ferment slightly bitter.
Use red pepper flakes sparingly too, as the heat will overpower the other flavors. Start with half a teaspoon in a large jar and less in a smaller one.
How To Make Fermented Garlic Honey
This ferment has a long history of traditional use in fall and winter. That means getting it started in mid to late summer, which coincides with the end of garlic season. I make one at the end of spring and another at the end of summer so I have one jar ready to use while the other is starting the fermentation process.
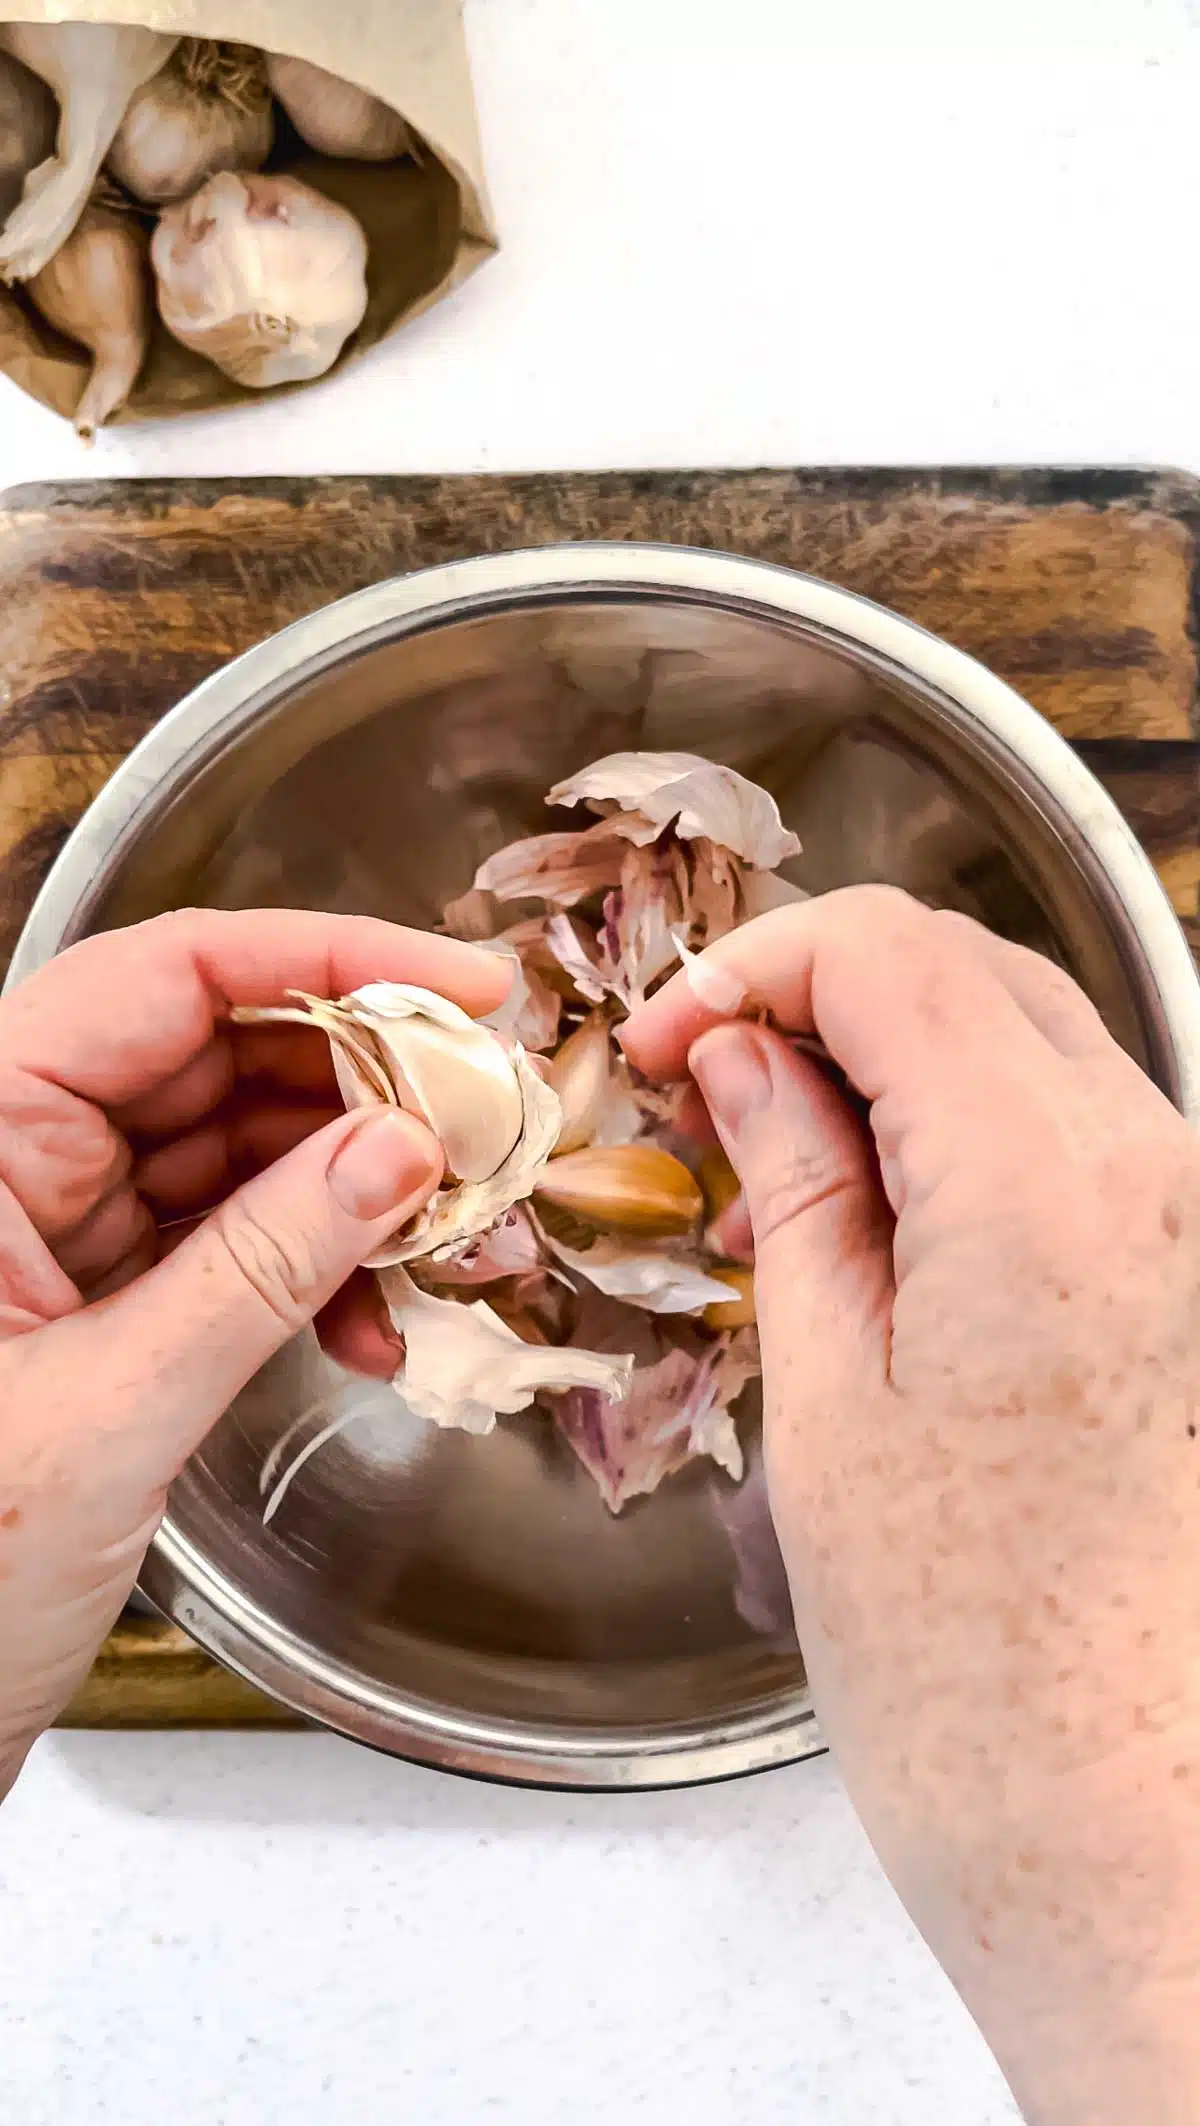
- Step 1: Peel all the garlic cloves.
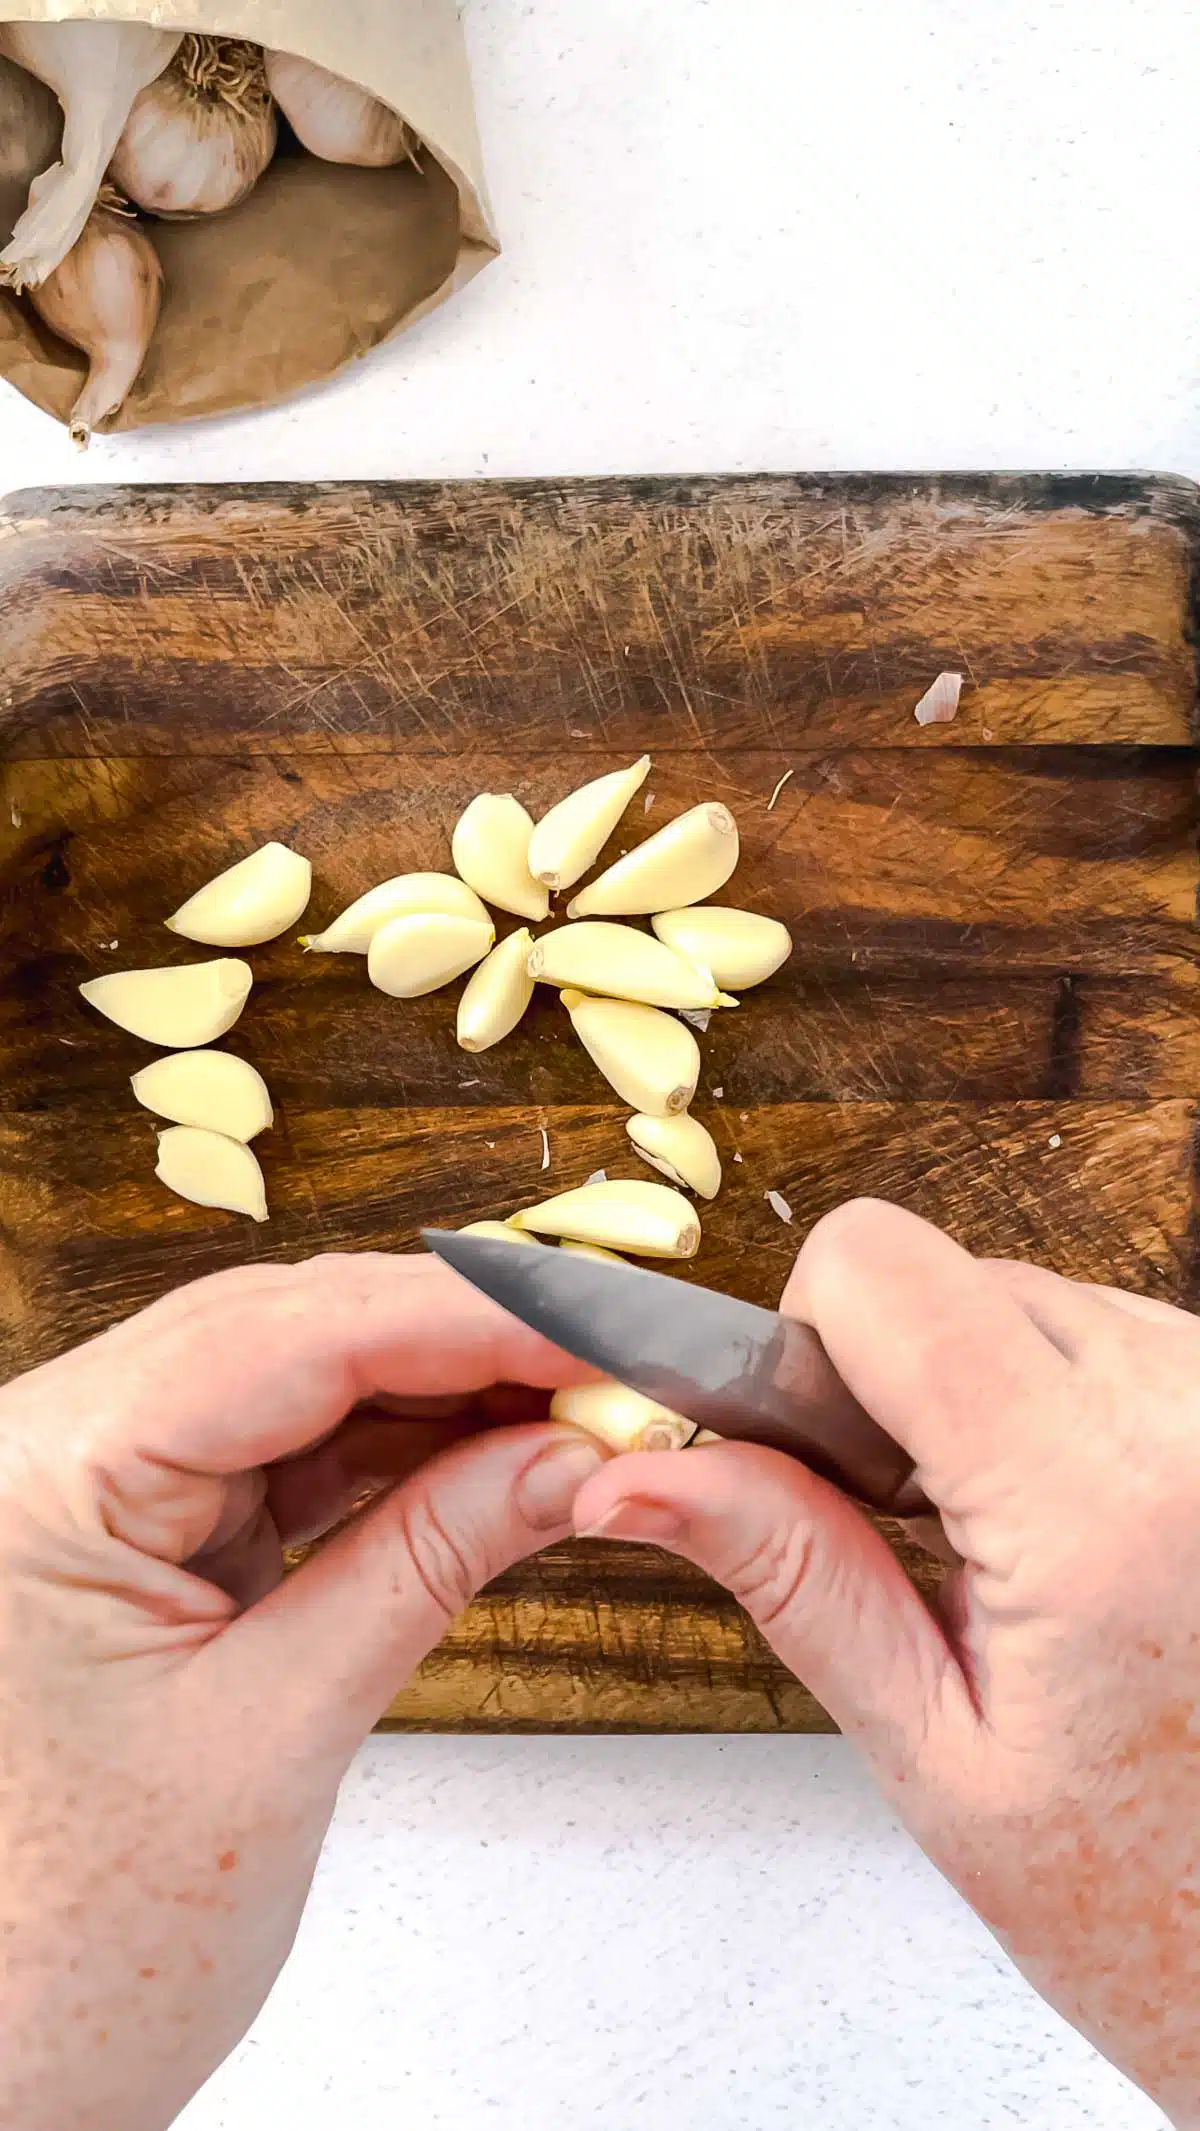
- Step 2: Cut the bases off that were attached to the root
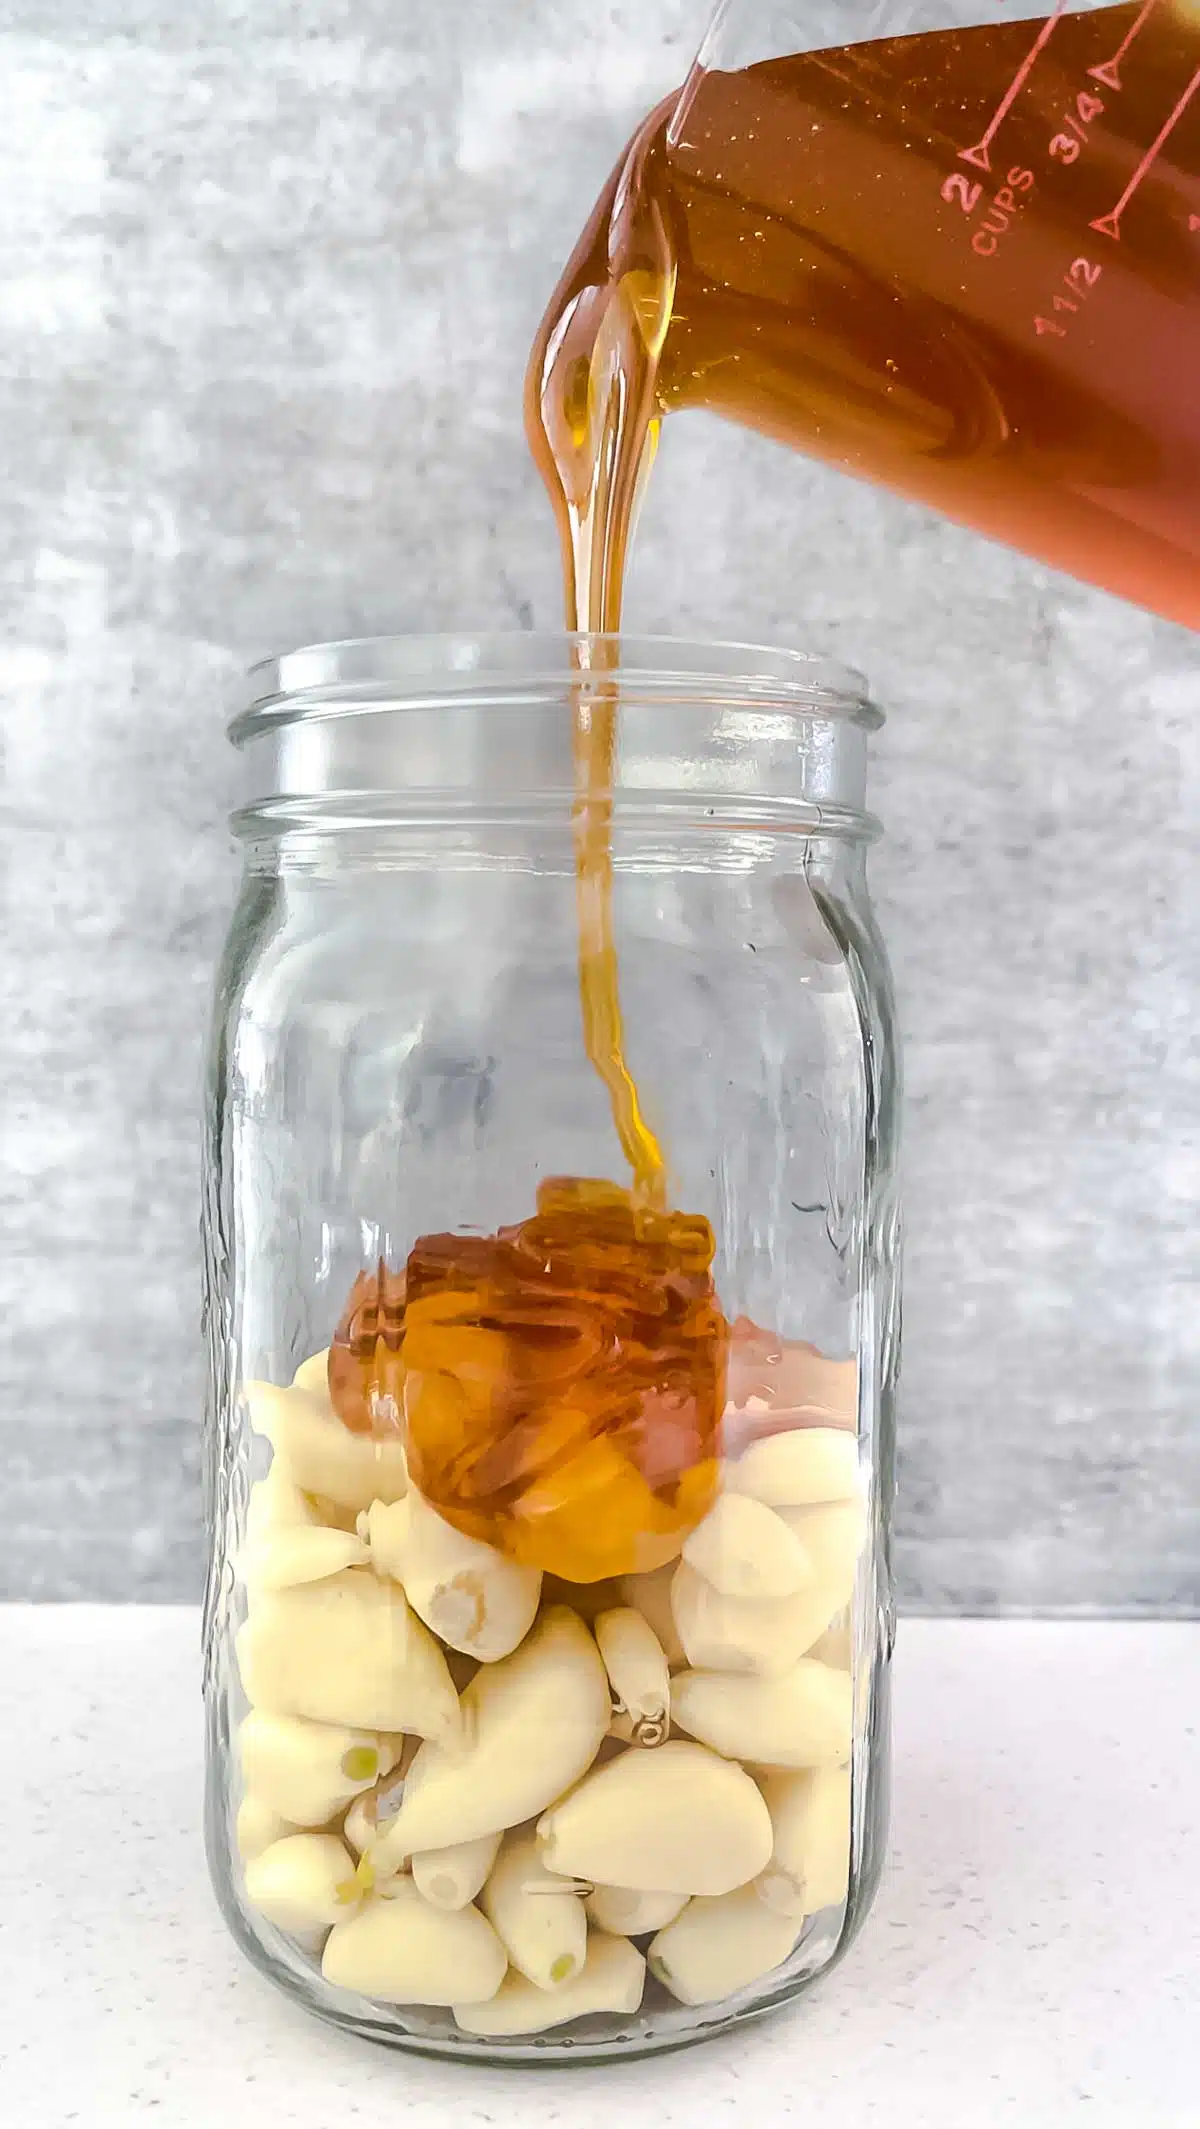
- Step 3: Place the peeled cloves into a very clean glass jar and pour honey over the top leaving roughly 2-inches (5cm) headroom.
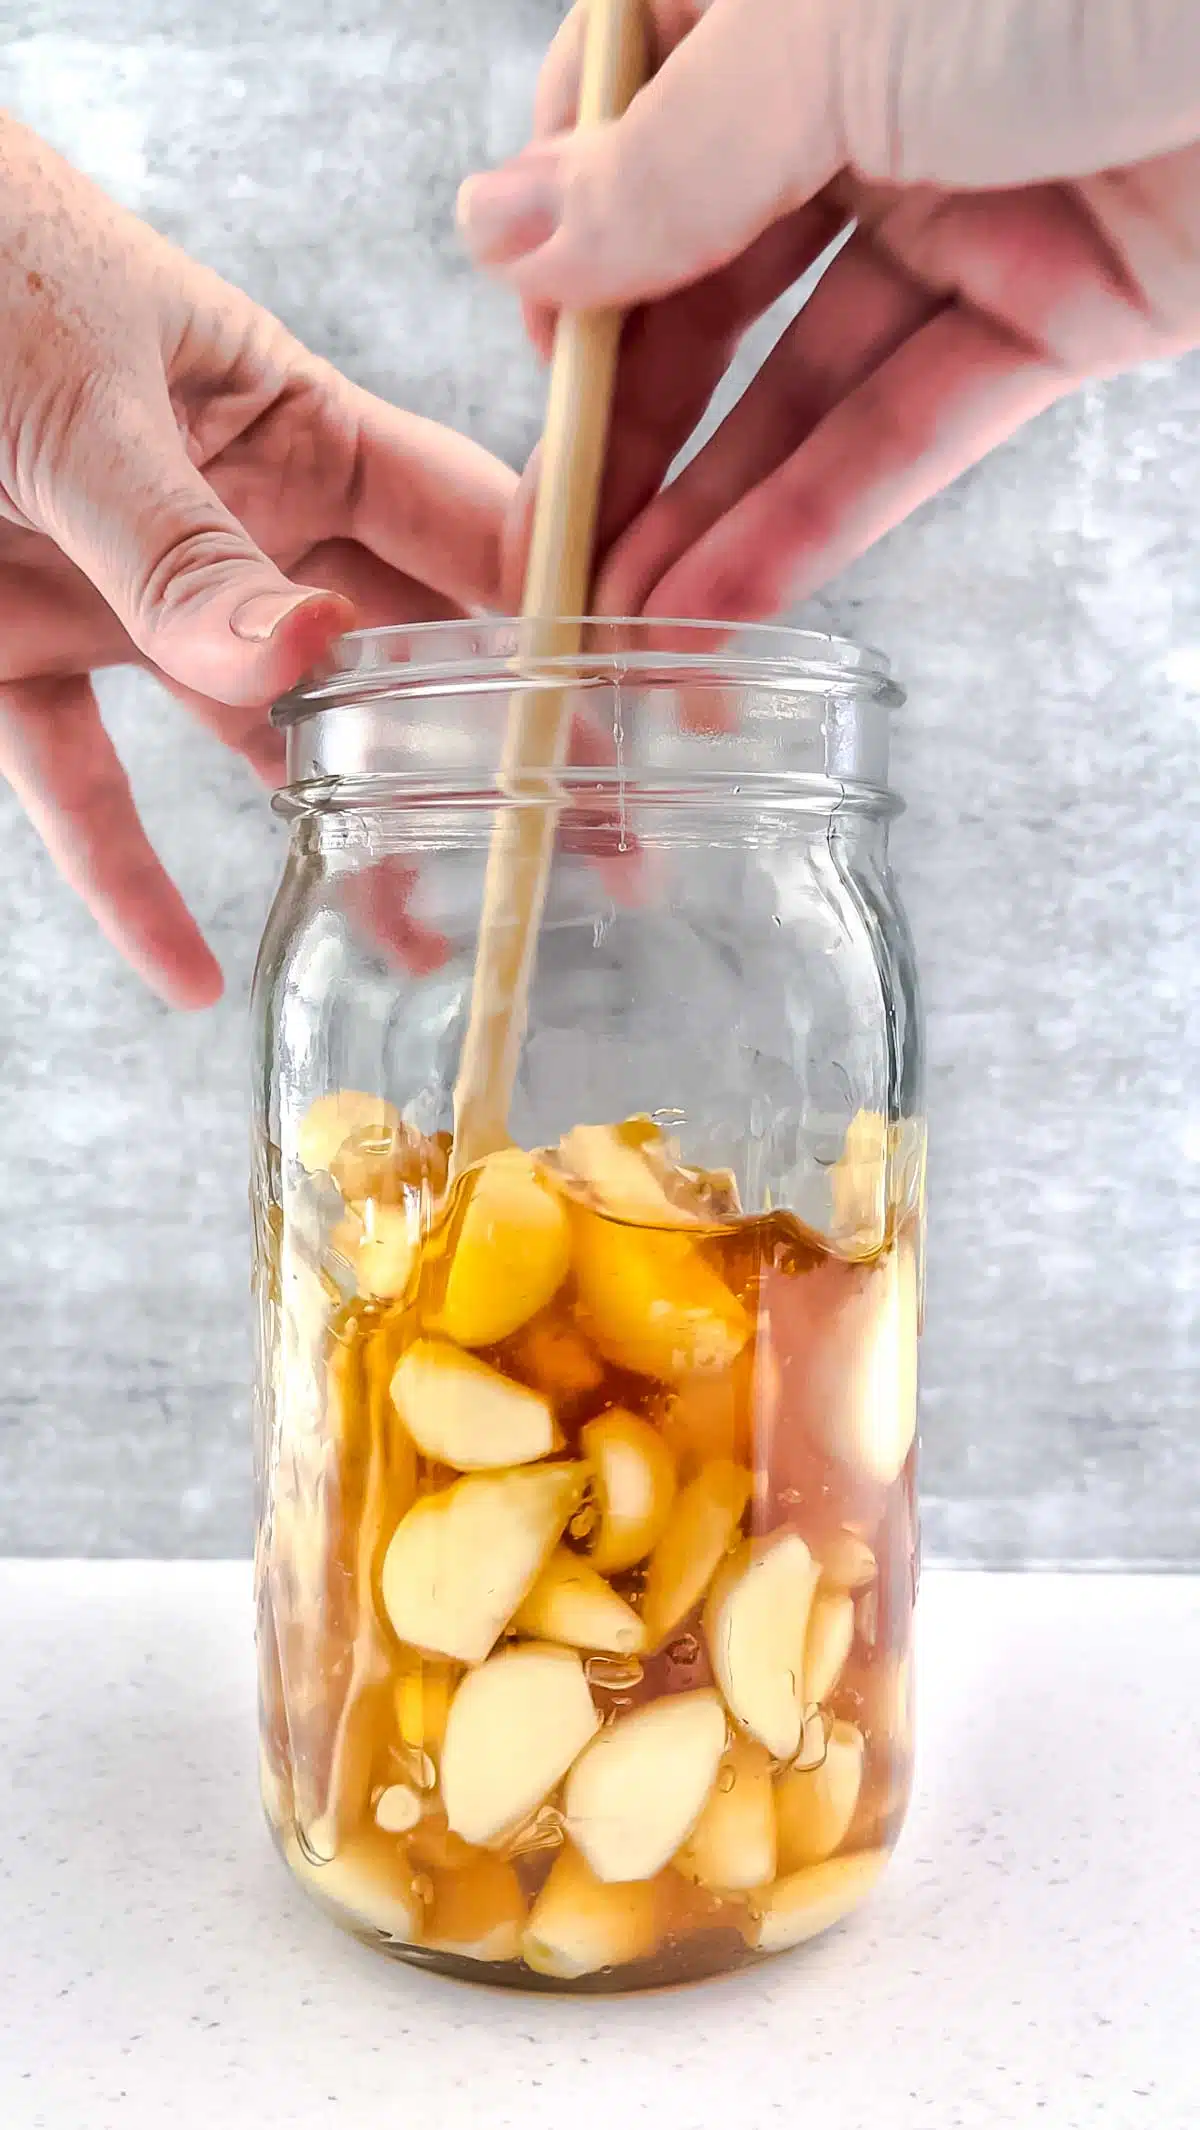
- Step 4: Stir well to coat all the garlic cloves. A chopstick is great for this, as it’s the easiest way to move all the garlic around.
Once mixed, put the lid on the jar, but don’t seal it too tightly. Set it aside to ferment for a month at room temperature in a cool place out of the sun. Be sure to turn the jar a few times every day to help keep the garlic submerged in the honey, or use glass weights if you have them.
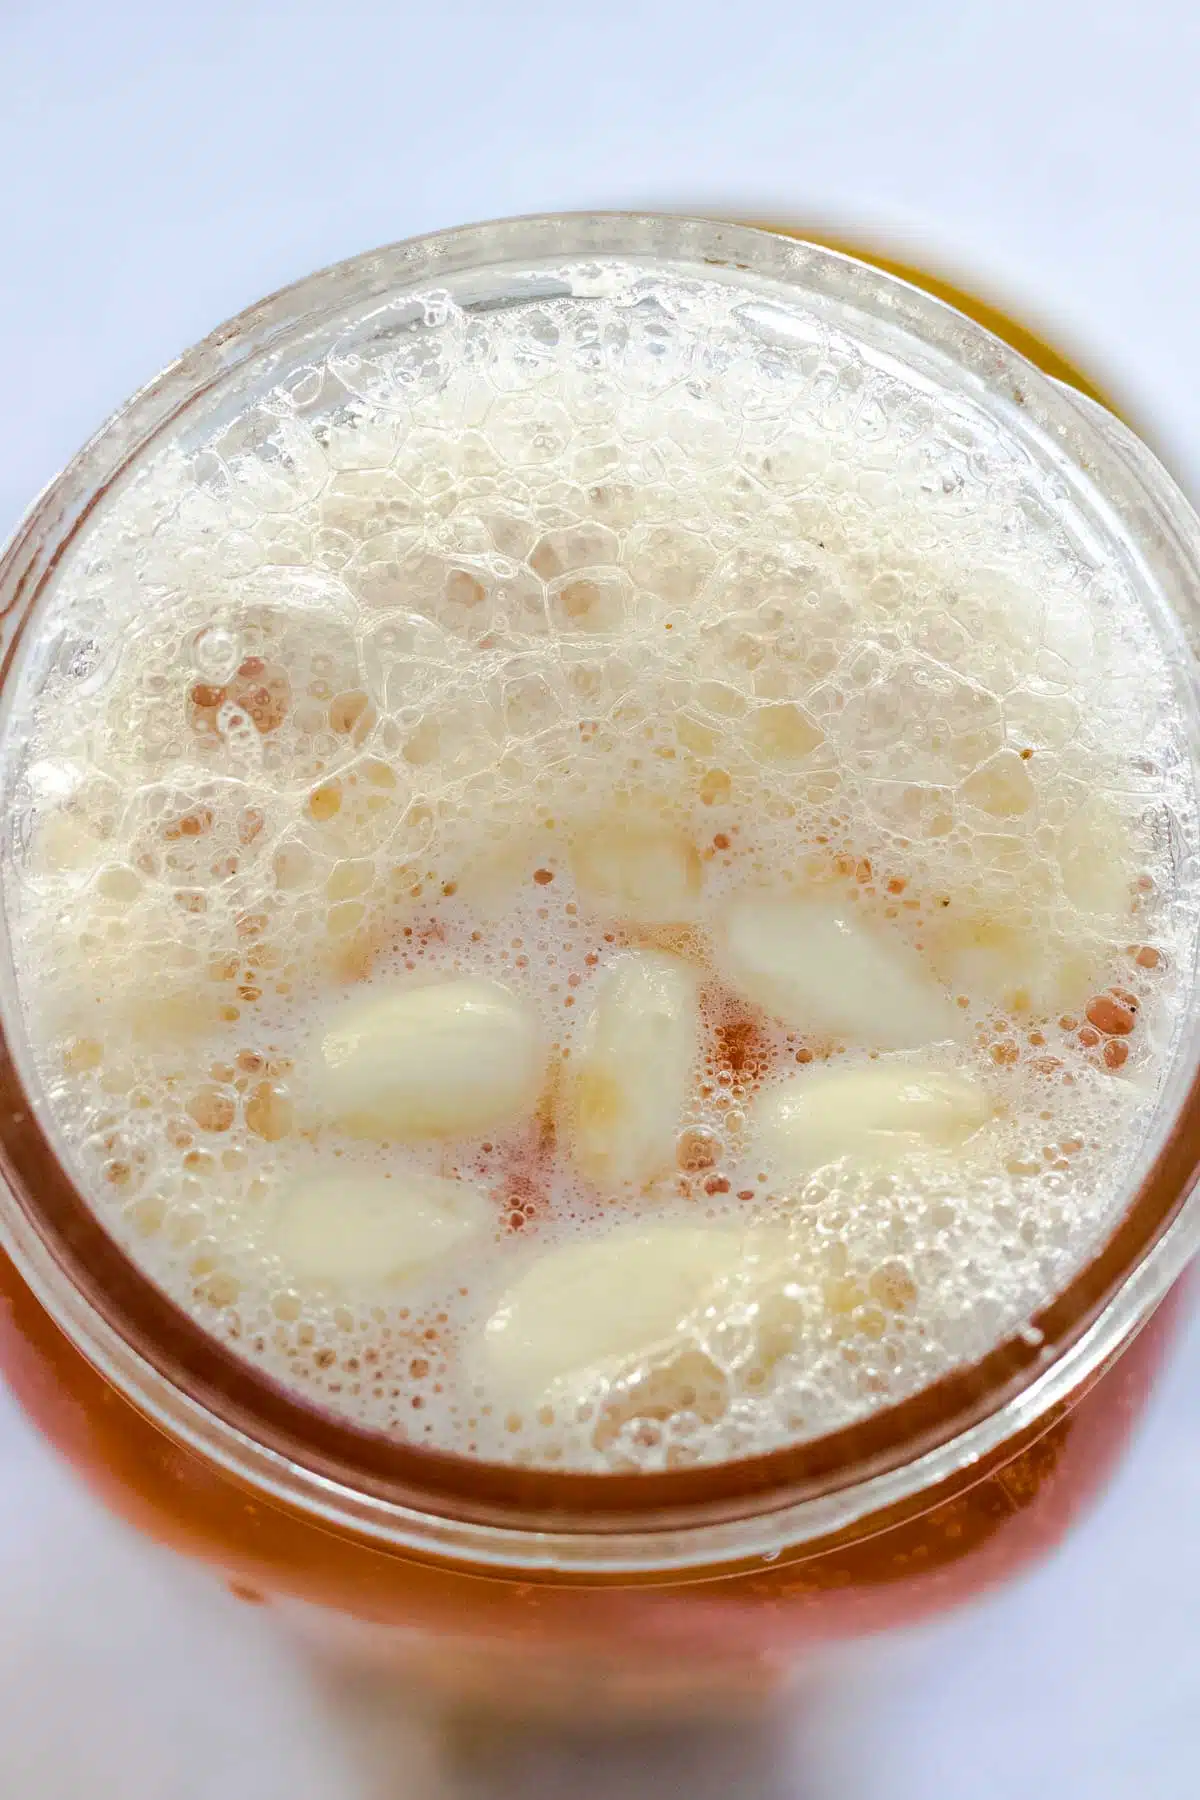
Note: Gases build up during fermentation that can lead to exploding jars. For the first week of fermentation, ‘burp’ the jar a few times a day by loosening the lid, then tighten it again. You may hear a pop as you do it, which is just the gas being released.
Fermented Garlic Honey Uses
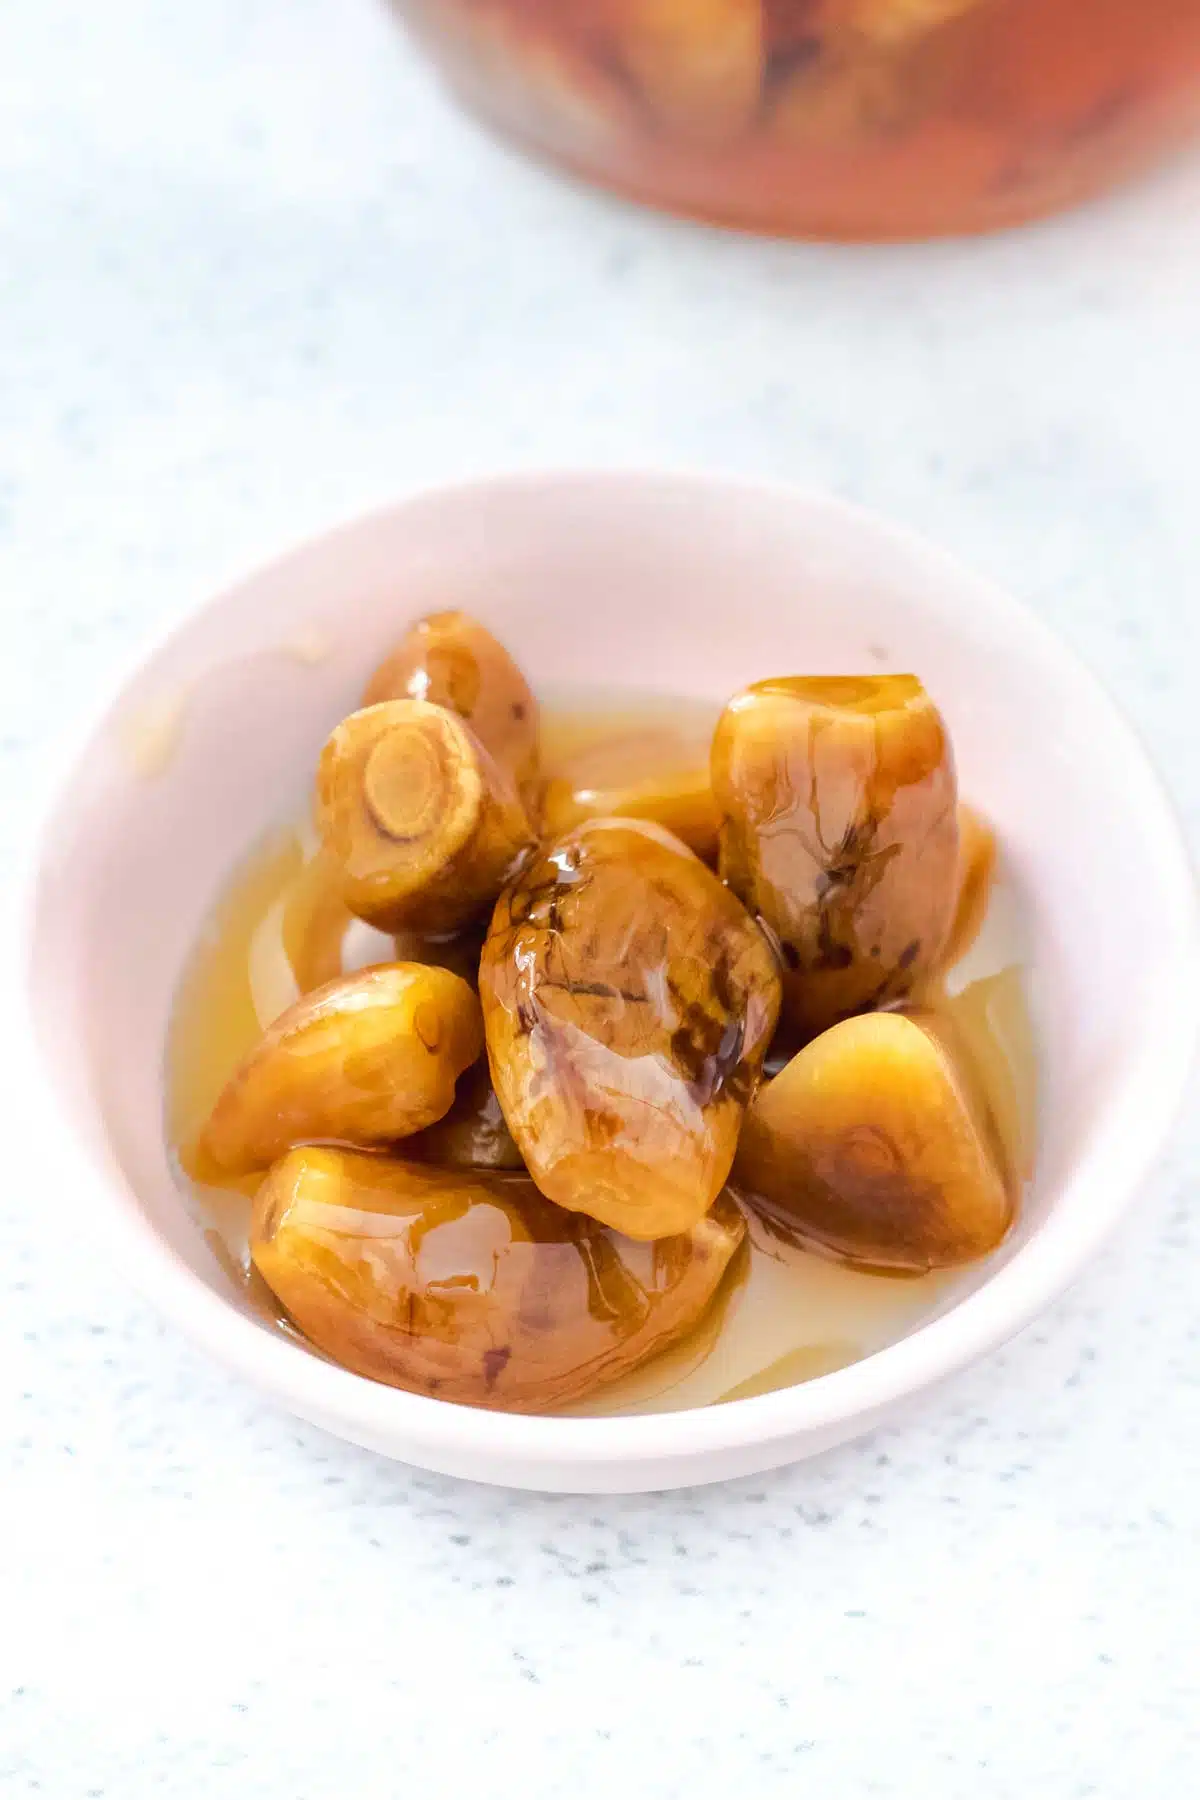
You can use this ferment in any way you like once ready. The most traditional way is to take a garlic clove and a spoonful of honey straight from the jar for immune health. The garlic is much more mellow after fermenting for a month while the honey takes on a rich garlic flavor and syrupy texture. So it’s not the same as munching on a freshly peeled raw garlic clove!
Having a spoonful of the honey is also a wonderful way to soothe a sore throat during cold and flu season. Get yours started early fall/autumn to make sure you have it on hand.
While you can use fermented garlic honey in cooking, heat destroys the beneficial bacteria created in the fermentation process. To use it in recipes while retaining the probiotic benefits, try adding a sliced clove and some honey drizzle over the top of finished recipes. It adds lots of extra flavor to things like this Air Fryer Halloumi, this Chickpea Flatbread or even this Eggplant Dip.
Expert Tips
- It’s worth peeling a generous amount of garlic cloves for this ferment, even though it can be a little laborious. A large batch will last for months, and once you have a jar on the go, you’ll find yourself reaching for it often.
- Look for heavy, firm bulbs of garlic wrapped in dry, intact skin. Avoid those that are bruised, have soft spots, or visible green sprouts. These are all indicators of old or damaged garlic, which will affect the fermentation process.
- How do I know when fermented garlic honey is ready to use?
Storing Garlic Cloves In Honey
Store your jar of honey garlic in a cool dark place in your kitchen. On a shelf or in the pantry out of direct sunlight is perfect. It can also be stored in the refrigerator if preferred. The recipe is not suitable for freezing.
Fermenting Garlic In Honey FAQs
More Fermenting Recipes

Did you make this recipe?
If you try this recipe, I’d love to know. Leave a comment, rate it, and remember to tag @wholenaturalkitchen in your pics or reels on Instagram, Facebook or TikTok!
Fermented Garlic Honey
Equipment
- 25oz/750ml glass jar
- Glass weights optional
Ingredients
- 12 small heads garlic (see note 1)
- 1 pint raw honey 500ml
Instructions
- Peel all the garlic cloves and cut the bases off that were attached to the root.
- Cut out any bruised bits or discard the whole clove in need.
- Put the peeled garlic cloves into your very clean glass jar and pour the honey over the top. Stop about halfway and give the jar a stir with a clean chopstick to ensure all the cloves are coated. Top up with the remaining honey leaving roughly 5cm (2 inch) headroom. A little more is OK too.
- Pop the lid on the jar and leave it to ferment for one month (important – see note 2 below).
- Be sure you turn the jar a few times every day, as this helps to keep the garlic coated in the honey. The garlic will eventually sink to the bottom of the jar and then there will be no need to keep doing this. You could also use glass weights if you have them.
How to use this fermented garlic honey
- When ready (you'll notice the honey has become much more liquid) – you can take a garlic clove and a spoonful of honey from the jar then eat it as is as a cold and flu remedy. It's great for sore throats this way! Immune-boosting at its best. You can also chop up the garlic cloves and add them to salad dressings with some of the honey or sprinkled over meals if you'd prefer that.
I have a batch of garlic infused honey already finished. My question is, can you add fresh cloves of garlic to that jar? Or would I need to start a new jar?
Hi Kimberly – To ensure the ferment remains safe and maintains proper acidity/the garlic fully ferments, I always start a new jar.
I started a jar of, but also added sliced organic ginger along with the garlic.its been sitting on my counter for over 2 months. I was away. Now, I’ve opened it, there is some mold on the very top where a few slices of ginger sat not covered. Do I need to toss the entire jar out ? I’m assuming it’s not safe to eat…?
Hi Jutta – Sadly, yes, the whole batch needs to go. I don’t tend to add anything except the garlic into this ferment because that will sit happily alone on the shelf for ages. Though in warmer climates it is best it’s kept in the fridge.
Can I use pre chopped garlic in an oil?
Hi Kizzy, no, you’ll want to use whole, fresh cloves so the honey and garlic will ferment.
Hello! I started this recipe about 2-3 weeks ago in an airtight jar and stored in my shelf, but really no bubbling is occurring. Thoughts?
Hi Shannon, the first thing I would look at is the honey. It’s really important that it’s raw, as pasteruised honey will have lost a lot of the microbes we rely on for fermentation. Unless the jar specifically says it’s raw honey, I generally assume it’s not no matter what the label says. If however the honey was fine, was the garlic fresh? i.e. not wrinkled from age or not dried out? They’re the two biggest factors in why this ferment may not be bubbling. It could also happen if you have too little garlic for the honey – but I mean 1 small head in 1-litre/pint kind of ratio so that’s rarely the issue.
The honey was raw and the garlic was fresh. Would it still be safe to consume?
Hi Shannon, providing you’re certain there is no visible mould or spoilage, and it smells delicious it will still be safe to consume. The honey should be quite liquid now and the garlic will have infused it with some of its flavour with or without the fermenting. The ferment doesn’t always get crazy bubbly but on close inspection of the jar you might notice a few bubbles around the edges.
I made a batch about one month ago. Everything looks and smells good but it tastes metallic like a penny is there a reason why it would taste that way?
Hi Courtney – that’s a weird one! All I can think of at the moment is perhaps the kind of honey used, or the honey has reacted with metal if you’re using a jar with a metallic lid? If you have any of the honey left give it a taste and see if it has that same flavour. If it was a local honey perhaps the beekeeper can shed some light on that. Regards to it reacting with metal – that can also happen during processing or if you have used a metal lid – did the ferment get very bubbly and sit against the lid for too long? And was that lid intact (no scratches, not rusted etc.) or was it an older one?
Starting my first jars and looking forward to sharing this wonderful healthy tip with friends and family!
That’s wonderful Liz, I hope you enjoy it! It’s delicious.
I just mixed mine up. How do I know it’s fermenting properly and not spoiled? I don’t want to make anyone sick.
Hi Heather – You’ll know it’s fermenting when you see it bubbling. The very first picture at the top of this post and another picture just before the Ingredients title will show you two different ways the bubbling may occur. If any green, black, pink etc. mould appears in any ferment, including this one, it should be thrown out. That said, the high content of sugar in honey is a great preservative and I’ve never seen that happen in many years of making a garlic honey ferment. If you are worried about safety keep the jar in the fridge. It will ferment much more slowly there, but will still ferment. Hope you enjoy it!
how do store
Hi Helena – you can just store this in a cool dark place in your kitchen. On a shelf or in the pantry out of direct sunlight is perfect.
I’m looking to make a batch of this as I’ve never had it. One thing I don’t see a lot about is what should be done to the empty jar to prepare it. Wash it certainly. Does it need to be dipped in boiling water to sterilize? I had considered using some of the Star San solution used in brewing to sanitize the jar, just to make sure that the only fermentation going on is the desired type. What if any prep do you do with the jar?
Hi David – I used to be quite fastidious about cleaning and sterilising jars but after years of fermenting, I now just ensure the jar is spotlessly clean and I’ve given it a good rinse with very hot water. I’ve rarely lost a batch to mould doing it this way. I would be far more diligent if fermenting things like meats but I feel this process is safe with fruit and vegetables. I will go through the process of sterilising if I’m pickling something, as that can be more prone to issues like botulism. Hope that helps!
Can I use a lid with an airlock? I could swap out the lids when it’s time to turn it.
Hi Lou – using an airlock lid is fine, but be sure you frequently shake the jar as the honey starts to liquefy so the garlic remains submerged. If you think that might not work I’d suggest using a glass weight. That will make sure it stays under the honey and you can use the airlock without fussing over the jar every day.
My neighbor gave me a jar of garlic and honey she just started. I have it in a Mason jar on my counter. I can smell the garlic through the jar. I even put the jar in a Ziploc bag. Is this normal? Thank you!
Hi Diane – yes it can be normal. Sounds like your neighbor used some lovely fresh garlic! That smell will setlle down over time. I hope you enjoy it!
Can you add more honey after the ferment or should I start a second jar? I want to have enough for the whole Autumn/Winter seasons.
Hi Heidi – starting another jar is best. I always make quite a large one and when that’s half done I start the next one. That way I always have one on rotation.
I hope you enjoy it Karen!
Hi, I made this recipe quite a while back (20 May 2023) and found the jar in my pantry. How long is it safe to use? It still looks the same, the garlic is a dark amber colour and it doesn’t smell bad.
Hi there – so long as the jar has been kept sealed, the garlic has remained submerged in the honey, and there is no visible mould, it should be safe to eat. I have a 2 year old jar I still take cloves and honey from – it’s delish!