Garlic Confit Recipe


This Garlic Confit Recipe is the secret to adding a sweet, mellow, yet slightly savory flavor to your cooking with minimal effort. It uses a low-and-slow simmering technique to create garlic cloves that are tender enough to mash with a fork and a delicious garlic-infused oil.
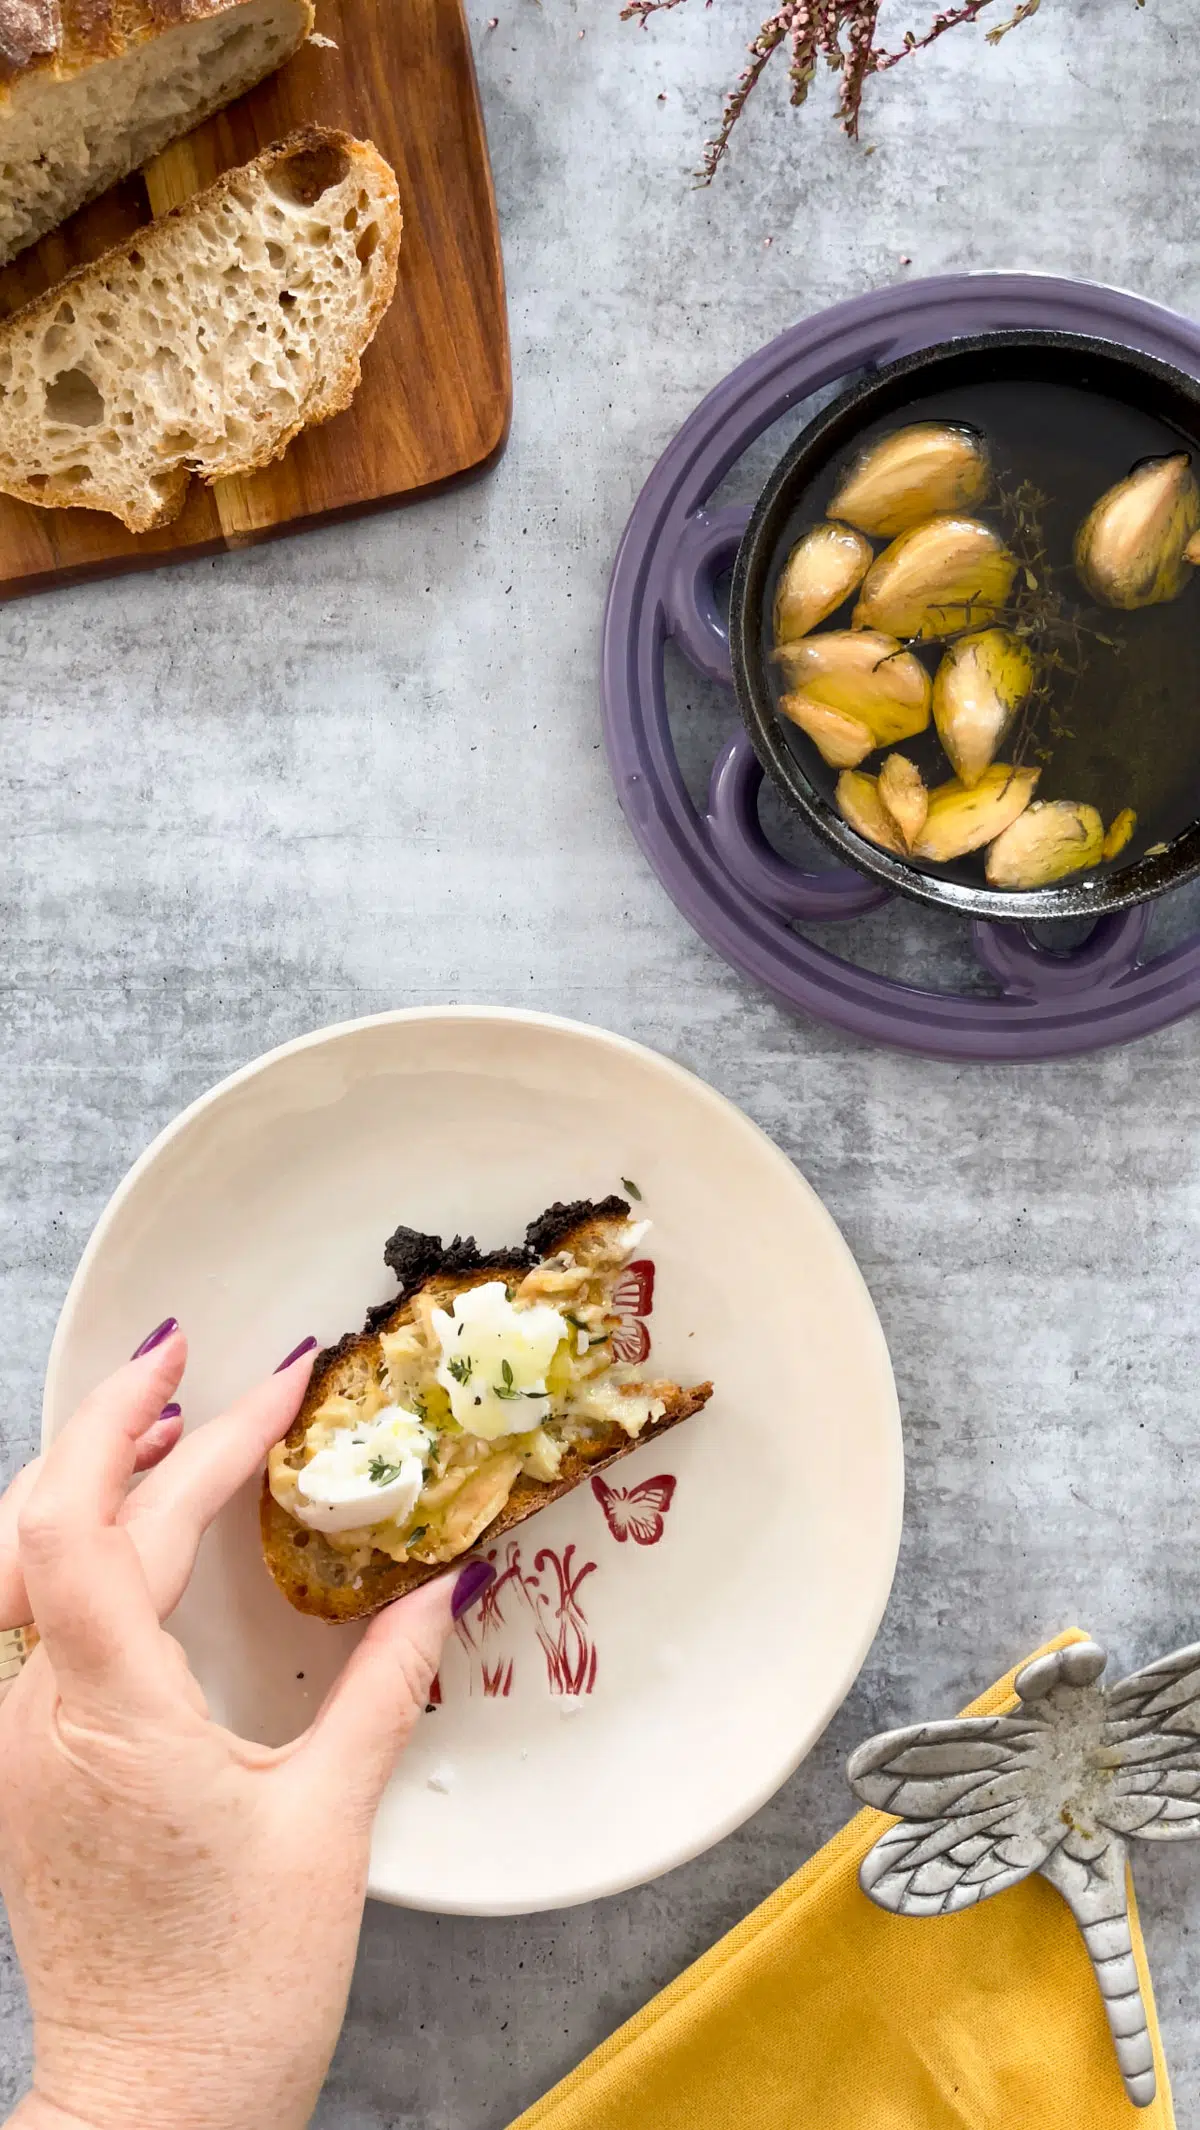
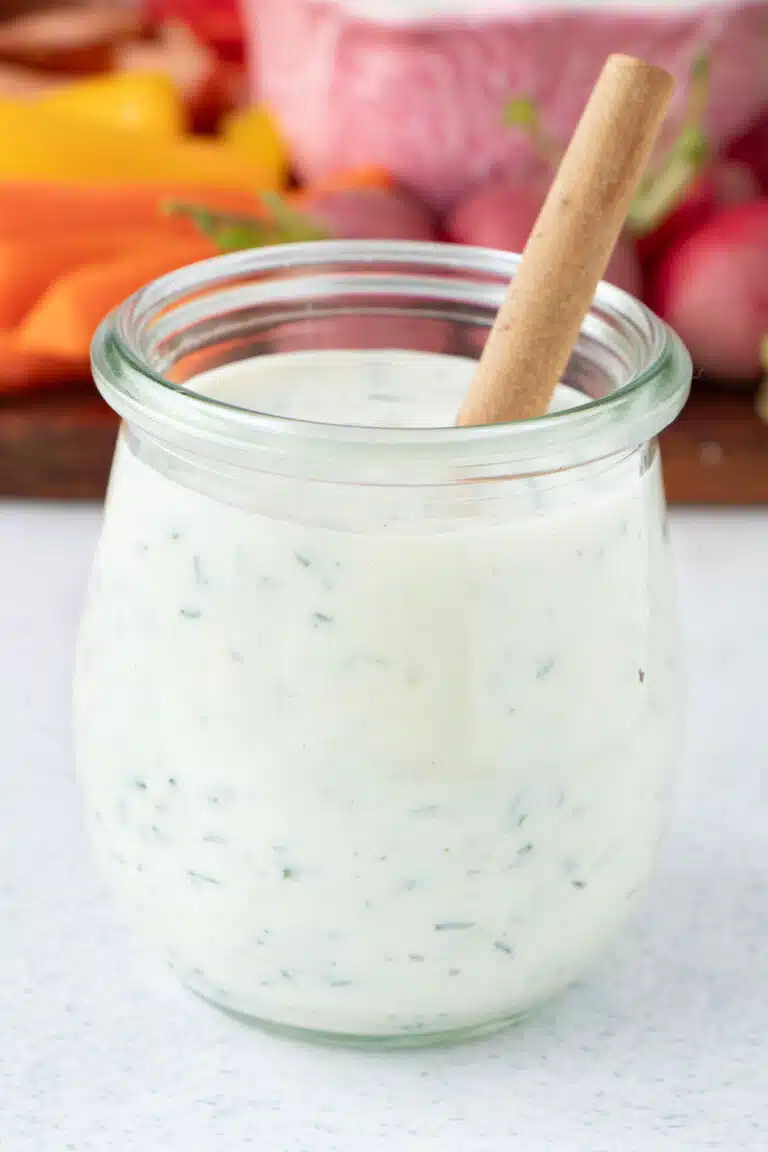
While it’s delicious straight from the oven on a piece of toast, both the garlic and the oil become versatile ingredients. You can add them to things like this Pumpkin Hummus or spread on snacks like this Chickpea Flatbread for starters.
Recipe Overview: Garlic Confit
How To Avoid Botulism When Making Garlic Confit?
According to the CDC, clostridium botulinum – the bacterium that causes food-borne botulism – can occur when chopped garlic is stored improperly in oil. They recommend refrigerating things like confit garlic as soon as possible and discarding any leftovers after four days.
Whilst the garlic is whole in this recipe I still believe it prudent to follow this advice. Especially so if you’ve added herbs, as they should also, only be kept in oil for up to four days to ensure they’re safe as per CDC guidelines. As such, I simply make a batch whenever I want it because it takes no effort at all, just a little time in the oven.
Key Ingredients
Only two simple pantry items are needed to make this slow-roasted confit garlic recipe. You can also add a touch of extra flavour by dropping in herbs like thyme, rosemary, or oregano, but it’s not essential.

- Whole bulbs of garlic – One or two is enough to make a small batch of this garlic dish that can be consumed in a couple of days.
- Extra-virgin olive oil (EVOO) – the amount you need will depend on what you’re using to cook the garlic in. You just want enough to ensure the garlic cloves are completely submerged when cooking.
- A few sprigs of fresh thyme – this is optional but adds lots of extra flavour.
You can use any robust herb or whole spice you like when slow-roasting the garlic. Rosemary is another one that perfectly complements the garlic and olive oil.
Substitutions And Variations
Instead of the thyme, try other sprigs of fresh herbs like oregano or rosemary. Both will add their own delicious, subtle flavours to the oil. However, if you’d prefer to leave the herbs out entirely that’s fine too. They’re not essential to the recipe, they simply add flavor.
Add some red chilli flakes or add in whole spices like black peppercorns to give this confit a spicy kick.
How To Make This Garlic Confit Recipe
The word confit means to ‘preserve’ and it involves cooking food in a lot of fat at a low temperature. Garlic in this case, and while the dish does require a couple of hours of cooking, the hands-on time is next to nothing. Particularly if you’re a very proficient garlic peeler (I have a tip for that in the recipe video so be sure to watch it).

- Step 1: Preheat oven to 90°C / 195°F then peel the cloves of garlic and slice off the bottom end where the root was.

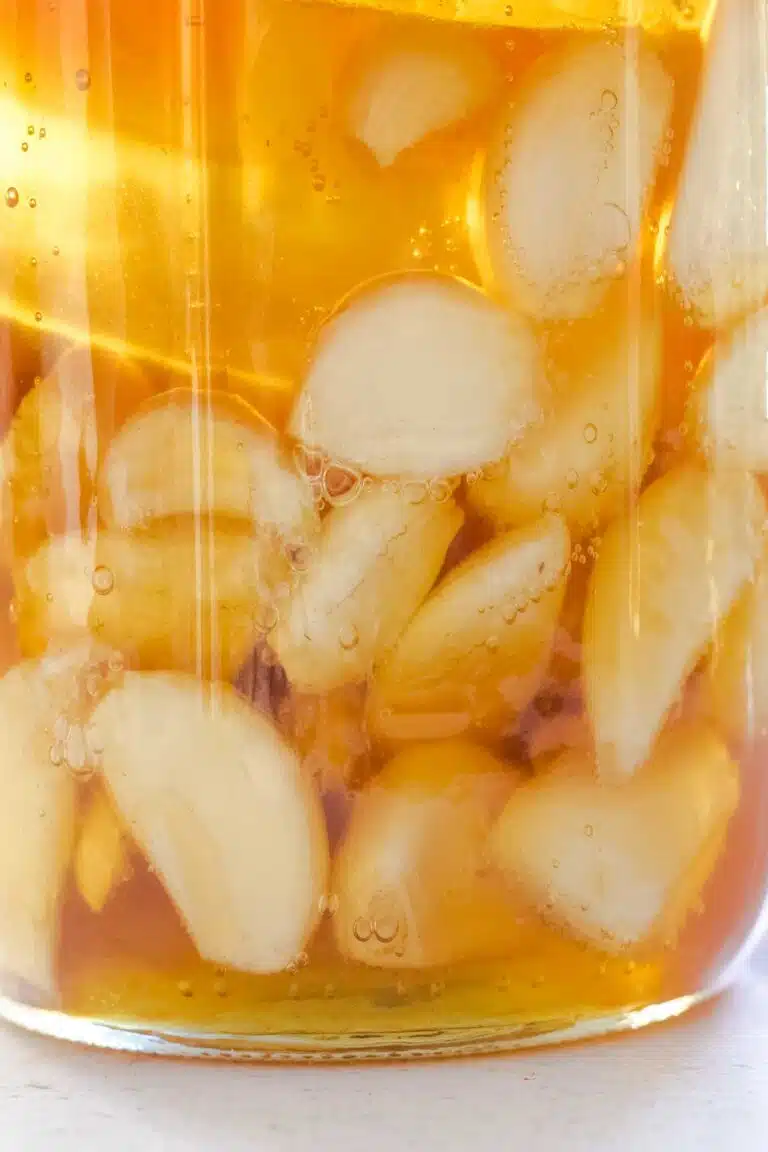
- Step 2: Add all peeled garlic cloves into the pan then pour over enough olive oil to completely submerge them.

- Step 3: Place a few sprigs of thyme on top and place in the oven to cook for 2 hours. Check at the 90-minute mark to see how it’s going.

- Step 4: Your confit garlic is ready when the cloves are soft but remain intact. If it’s falling apart or the garlic tastes rancid, it’s cooked for too long.
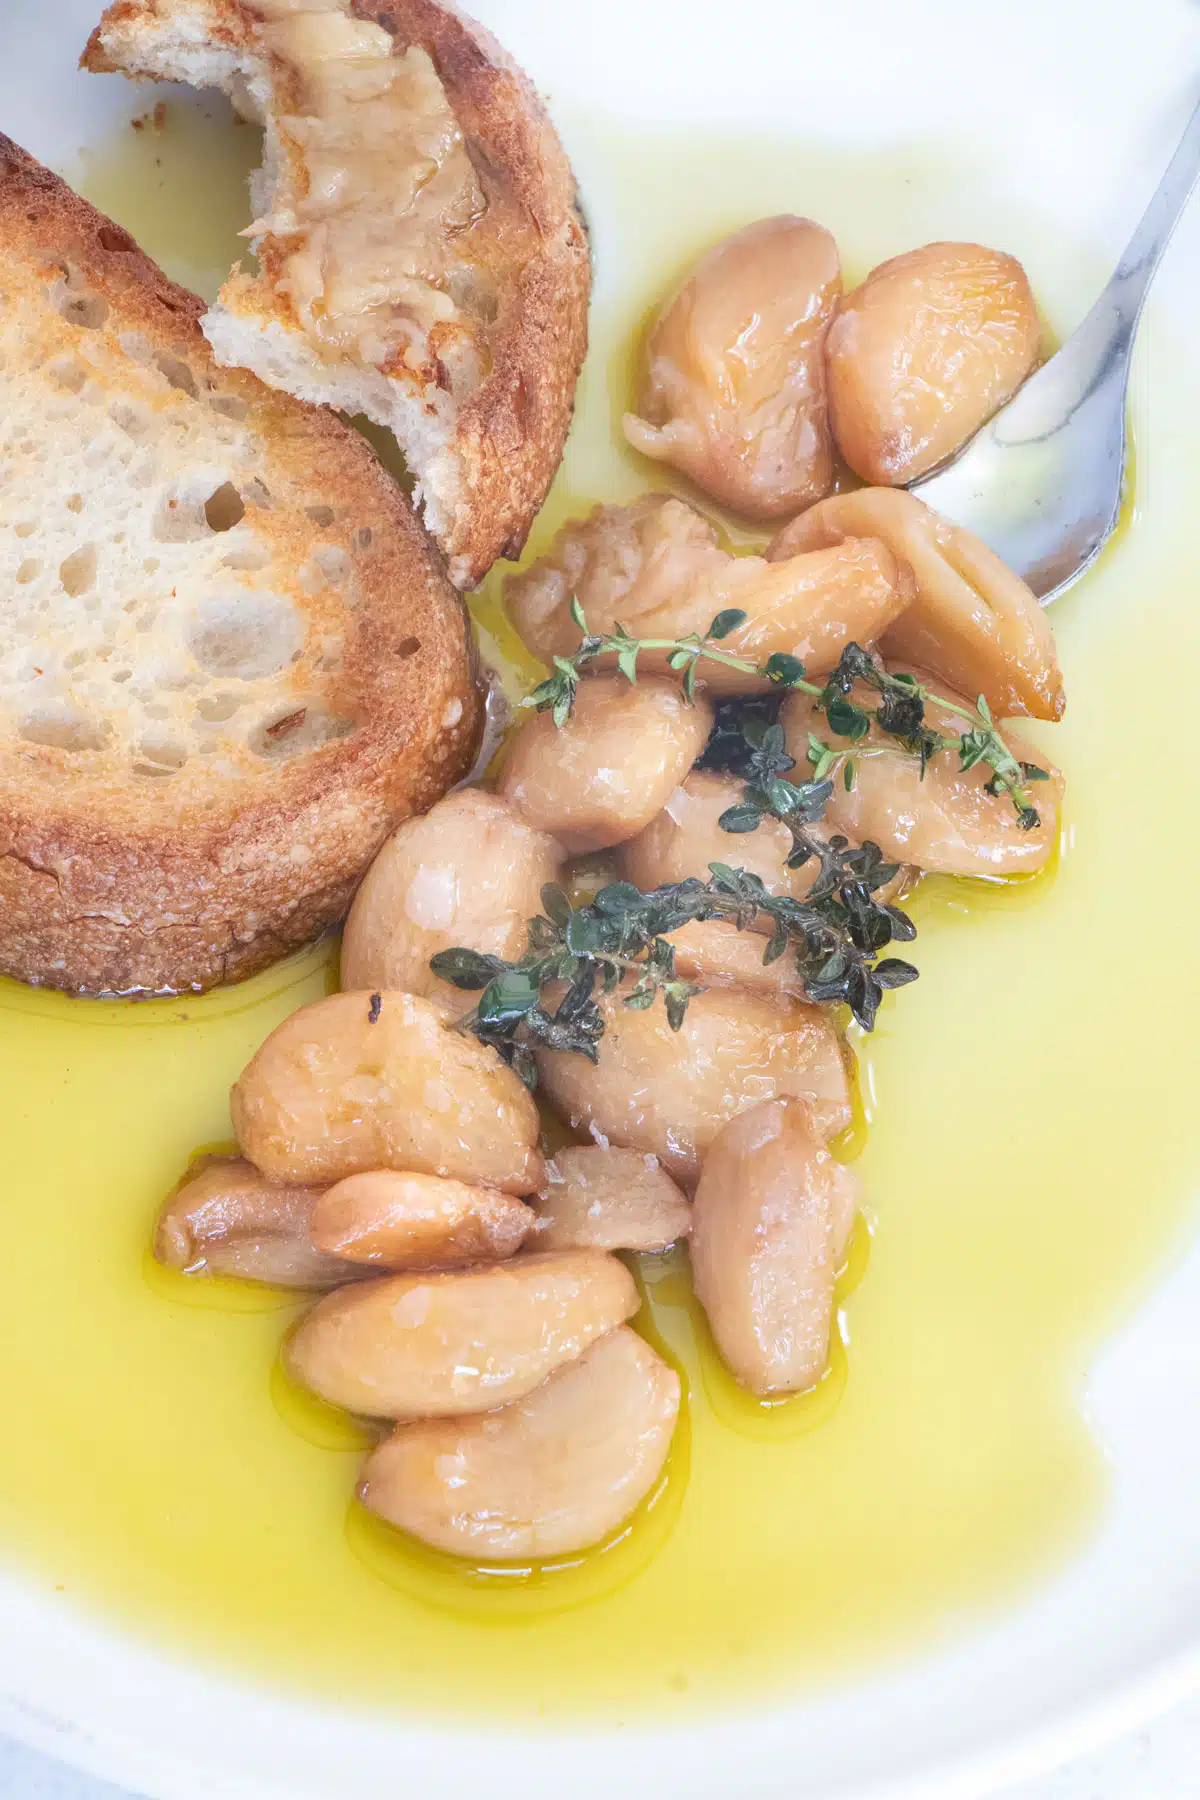
To serve, drop a big clove into a grain bowl, make salad dressings with it, or simply spread it on some toast. Store any leftover confit as soon as possible. Discard any that hasn’t been used within four days
How To Use Garlic Confit
Mix cloves into Cultured Butter then add it to pasta, add some garlic and a little oil to this delicious Potato Tart before serving, or add to salads like my Burrata Peach Salad. For even easier uses, spread the garlic on toast before topping with Guacamole, drizzle the oil over this Air Fryer Halloumi, or even mix it into your mashed potatoes. It has endless uses in any number of savory recipes.
Expert Tips
- Choose fresh whole heads of garlic with firm, plump garlic cloves for the best flavor.
- Don’t trim the root end of the garlic clove if you don’t want the garlic soaking up too much oil. On the flip-side trimming it lets more of the garlic flavour seep into the oil as it cooks. I enjoy the oil slightly more garlicky, so I generally always trim the cloves.
- Don’t be tempted to turn up the heat to speed up the cooking time. The slow cooking process can take several hours but means the garlic won’t burn and taste rancid.
Storing And Freezing
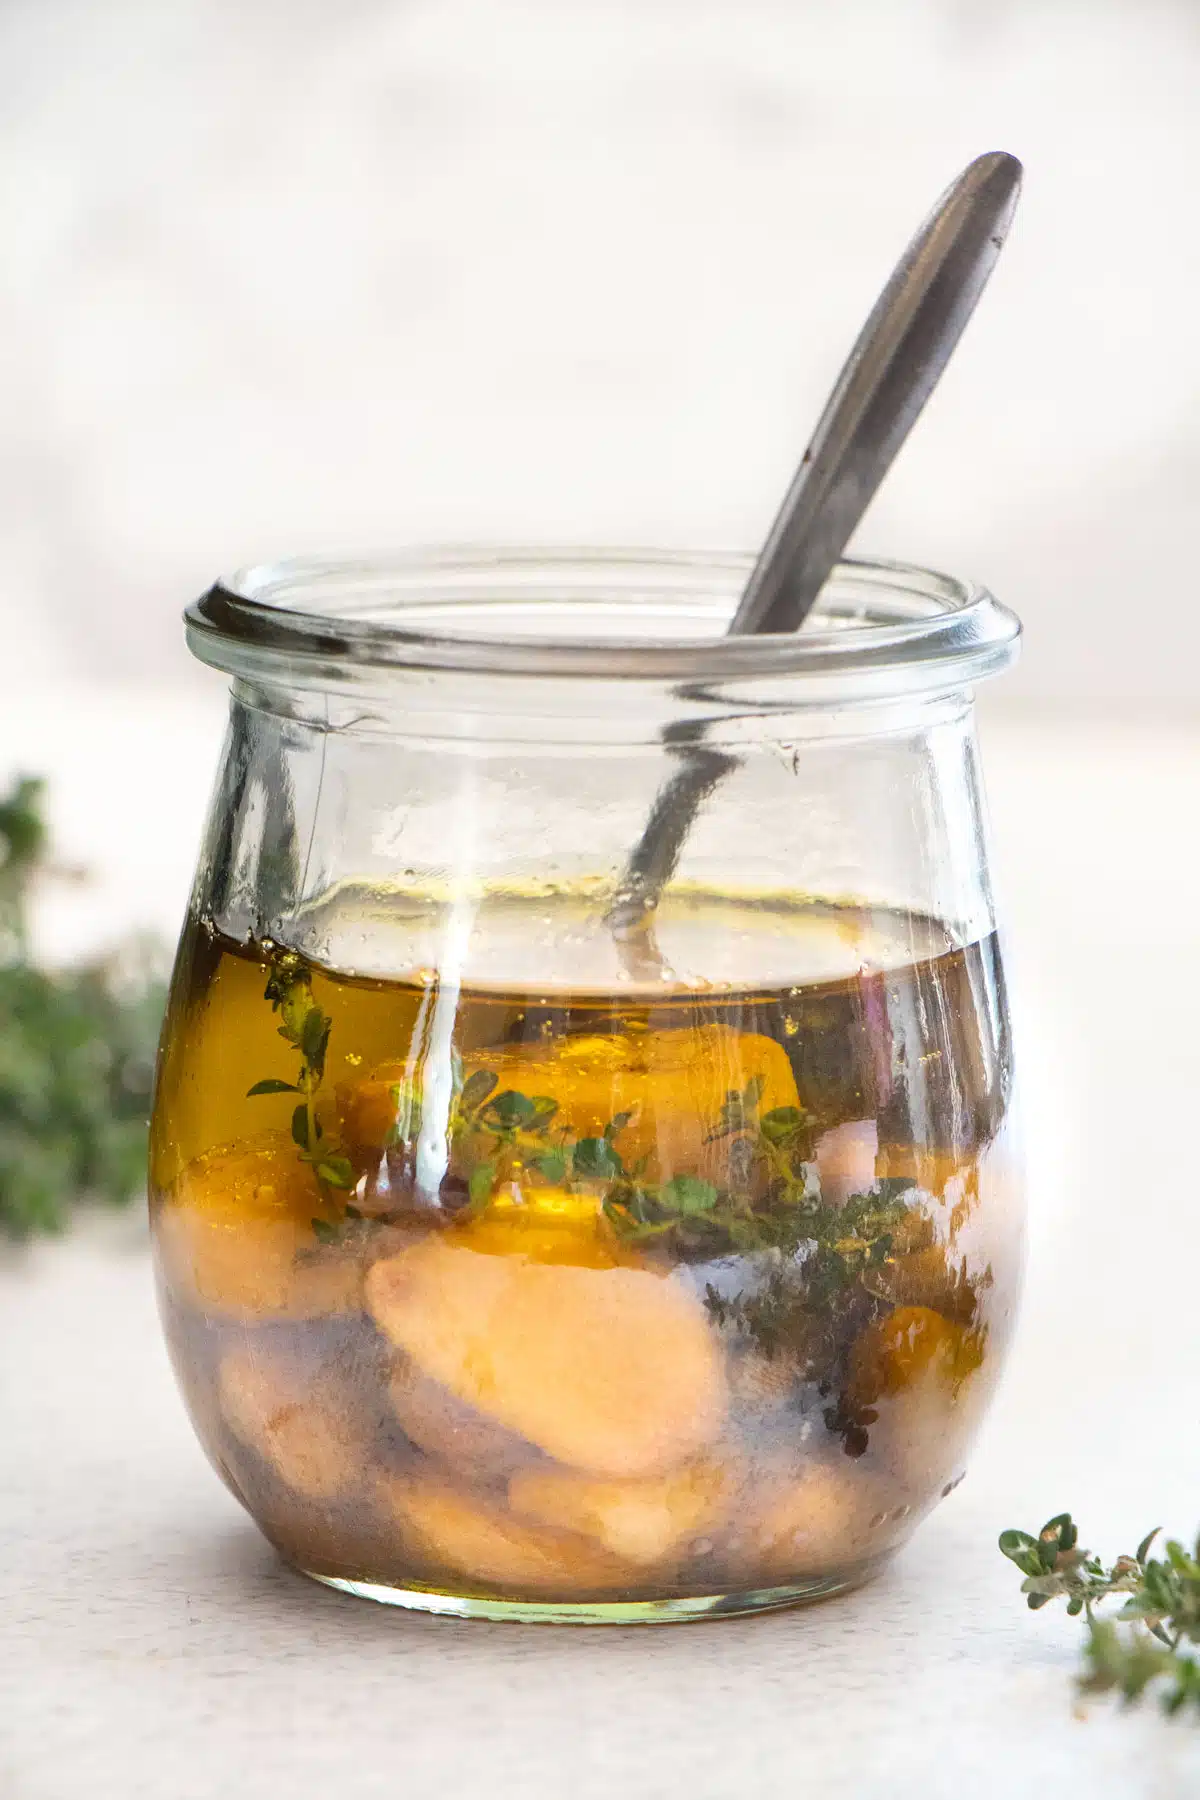
Let the confit come to room temperature then store in an airtight container in the fridge for up to four days. A mason jar with a tight-fitting lid is perfect for this. Ensure the garlic is completely submerged in the oil to prevent spoilage.
For longer term storage (up to 3 months) freeze the confit in small batches. When you’re ready to use it, pop it straight in the pan to thaw and heat through.
Garlic Confit Recipe FAQs
Did you make this recipe?
If you try this recipe, I’d love to know. Leave a comment, rate it, and remember to tag @wholenaturalkitchen in your pics or reels on Instagram, Facebook or TikTok!

Garlic Confit Recipe
Equipment
- 1 small frying pan or ramekin (the pan I used was 5 inches (~12cm) diameter)
Ingredients
- 1 head garlic
- ½ cup Extra virgin olive oil (or more if needed to cover the garlic)
- A few sprigs of thyme
Instructions
- Preheat the oven to 195°F/90°C.
- Peel the garlic cloves and slice off the bottoms where the root was attached (see note 1).
- Add all cloves into the pan in a single layer. I used a small frying pan with a 5-inch (~12cm) diameter, which was perfect for a small batch.
- Pour over enough extra virgin olive oil to completely cover the garlic. It must be fully submerged.
- Place a few sprigs of thyme on the top, then place in the oven to cook for 2 hours.
- To serve, drop a big clove into a grain bowl, make salad dressings with it, or simply spread it on some toast (see note 2).


I’m confused. In one place you say to trim the root section. In another you say to not trim the root section so it doesn’t soak up too much oil. Which is it?
Thanks for picking that up Carol. I will go back and amend the post so it’s less confusing. The simple answer is it can be either, so whichever you prefer is fine. The tips section should just say ‘Don’t trim the root end of the garlic clove IF you don’t want the garlic to soak up too much oil’. I personally trim the ends because I find a little more garlic flavour seeps out into the oil, which I like. I apologise, as didn’t realise the discrepancy initially.
Finally made this recipe today. Easy to make and soooo delicious….. can I freeze it in ice cube trays?
So glad you enjoyed it Liane! It is really delicious. And yes it can be frozen. I’ll update the post with that information so it’s always there for reference. You can freeze portions in ziplock bags and flatten them out to remove any air, or freeze in an ice cube tray. I would cover the tray with plastic wrap to avoid freezer burn though. To thaw, just place in the fridge overnight. Also – freezing is best done as soon as it’s cooled once you’ve made it but if you got it straight in the fridge it should still be fine.
This recipe looks easy to make with minimal ingredients and is so delicious too. Thanks for sharing.
Thanks, Kushigalu. It’s definitely easy! Hope you enjoy it.
This garlic confit is worth all the hype. Perfect on top of sliced bread or even roasted meats.
So glad you enjoyed it Sharon!
I love this confit recipe! I can put this on practically anything! DELISH!!!
Me too Holley. So happy to hear you enjoyed it.
Oh wow! I love how you made this garlic confit in the oven. So much flavor and so easy too.
Yes, I found it so much easier in the oven than on the stovetop. It’s too easy to forget doing it that way!
Made this and it got me in the mood for all the cozy fall foods. TY!!!
My pleasure Carrie!