Rosella Jam | Small Batch
Rosella jam is a treat well-known to Australians. Sadly, it’s not something that’s easy to come by though. Generally, if you’d like rosella you grow your own, and that’s exactly what I did this year!
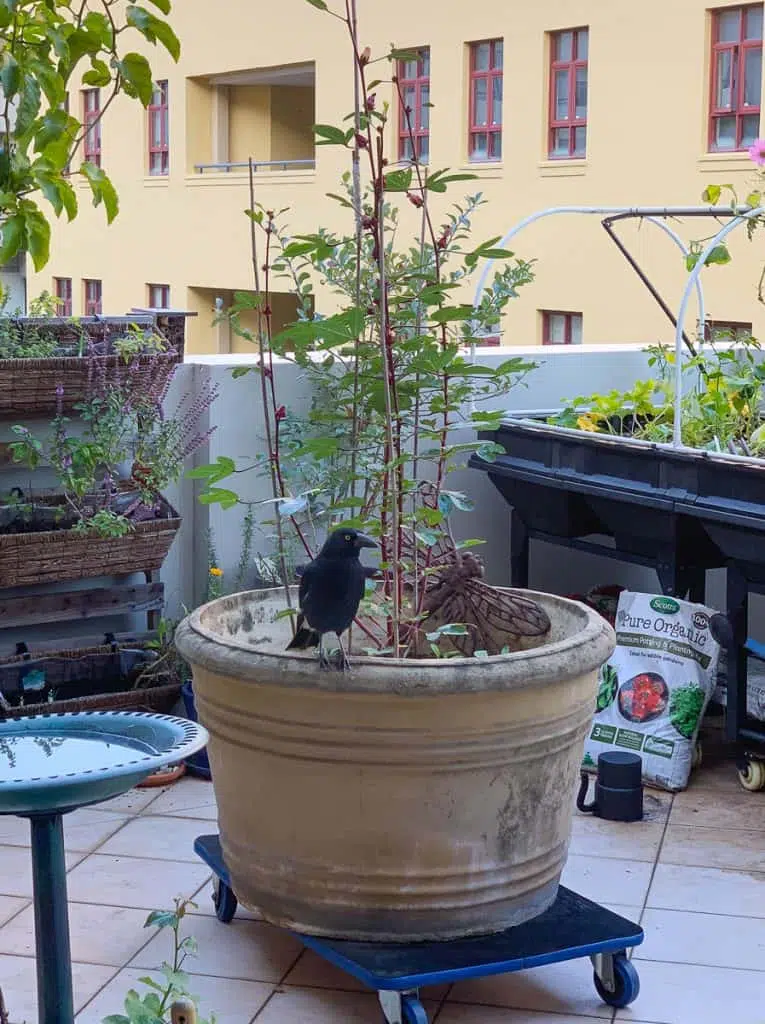
The plant is quite hardy and will produce an abundance of fruit as well as beautiful flowers. The trick is to ensure you keep harvesting them as they ripen to encourage more growth.
This season I largely dehydrated the leaves to keep aside for rosella tea. I also infused some in honey, which has been delicious! As the season came to a close though I had two small handfuls left on the rosella bush. So, rosella jam it was! Albeit a tiny batch.
Do make sure you keep some seedpods aside so you have seeds to grow next year too.
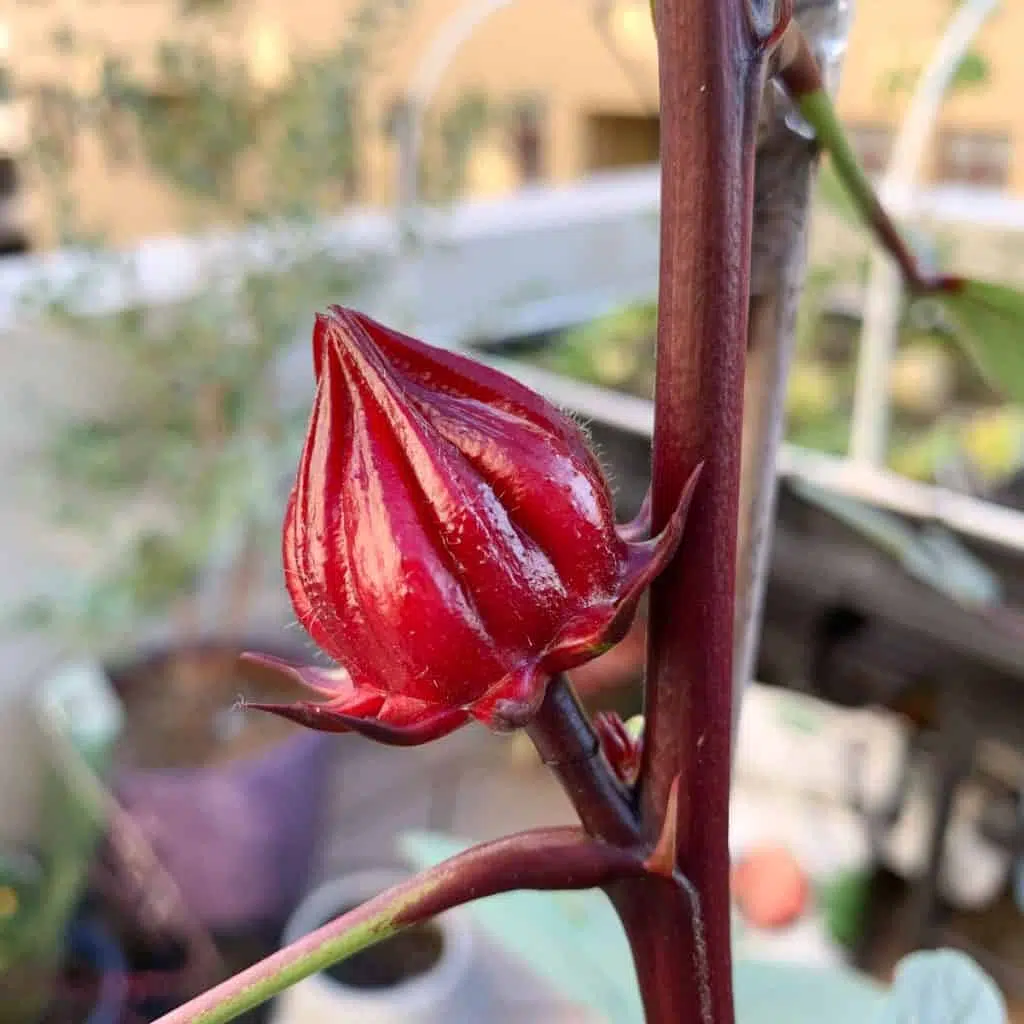
A bit about rosella
Rosella, also known as wild hibiscus, is ruby red with a deliciously tart flavour. It is known as an Australian bush tucker food but it’s not actually a native, and was imported from Africa. I’ve read also that others believe it was imported from Indonesia however, most sources agree on Africa. I believe it was in fact the Egyptians who first made it into a tea too.
It’s traditionally considered a wild grown food but it’s also popping up in many backyards. I was introduced to it by a friend and found it in my community garden, which is where I fell in love with it.
Additionally, rosella is rich in vitamin C and antioxidants so is a wonderful food to include in your diet.
How to make rosella jam
The great thing about making rosella jam is that the same recipe works with any quantity of fruit.
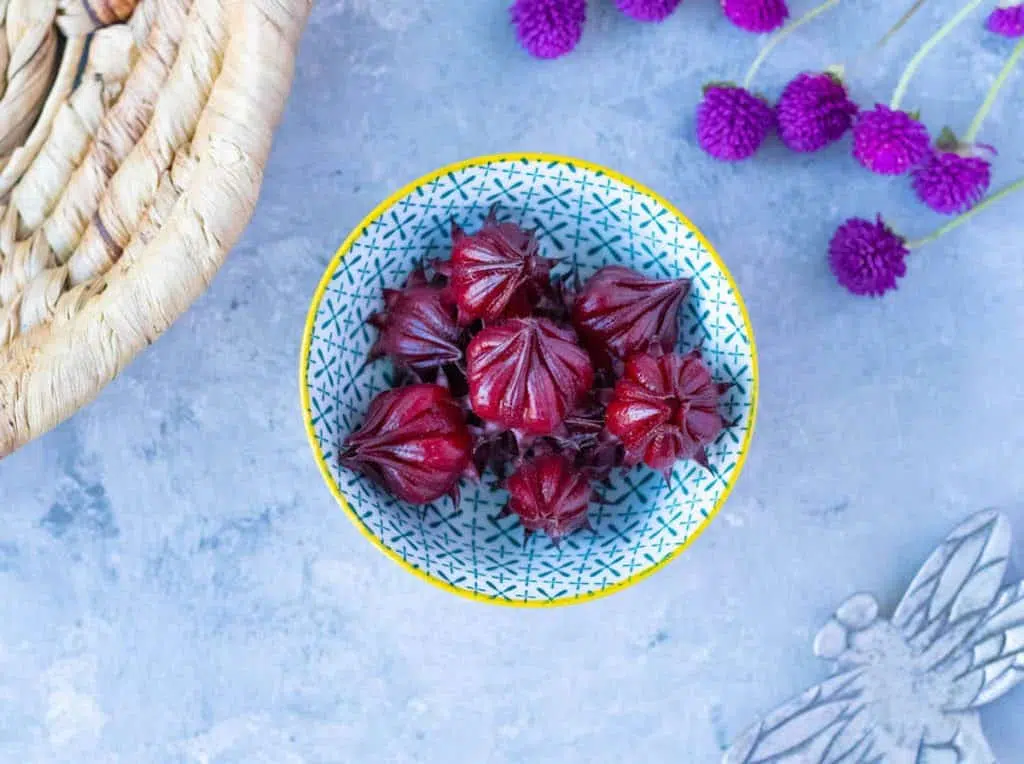
All you need do is remove the calyxes (red leaves) from the seedpods for the volume of fruit you have. It was 14 for me today, which was loosely – one cup.
You then wash the calyxes and the seedpods separately because you’ll be using both parts.
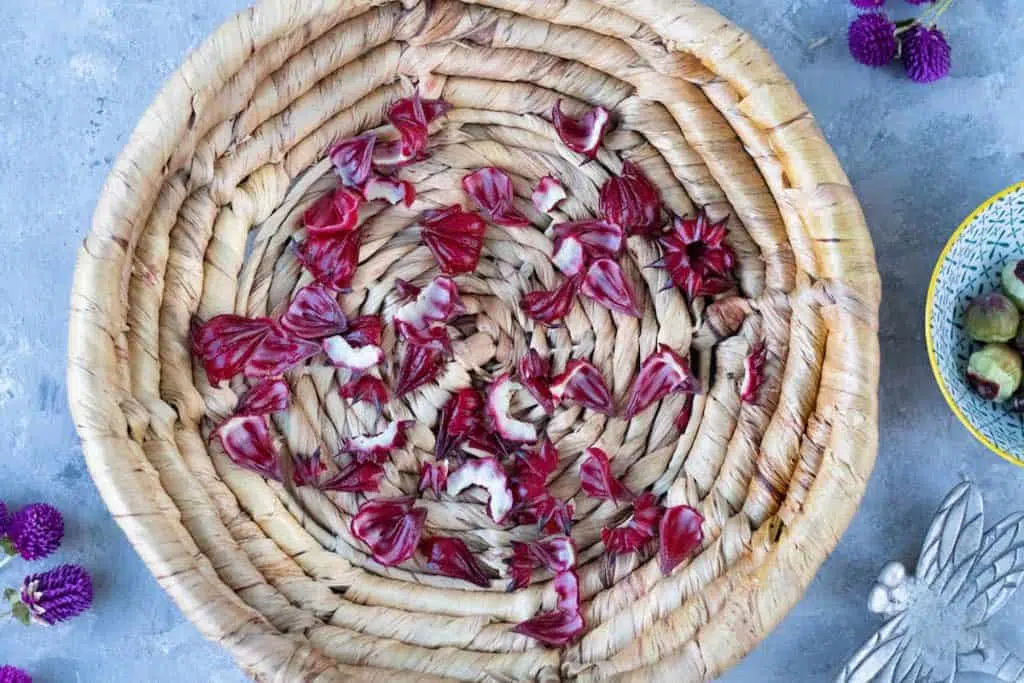
The seedpods are useful as they contain the pectin that helps the jam set. I like to slightly pierce the seedpod too.
You then add the volume of pierced seedpods you have to a saucepan and just cover them with water. Boil for 20-30 minutes or until soft.
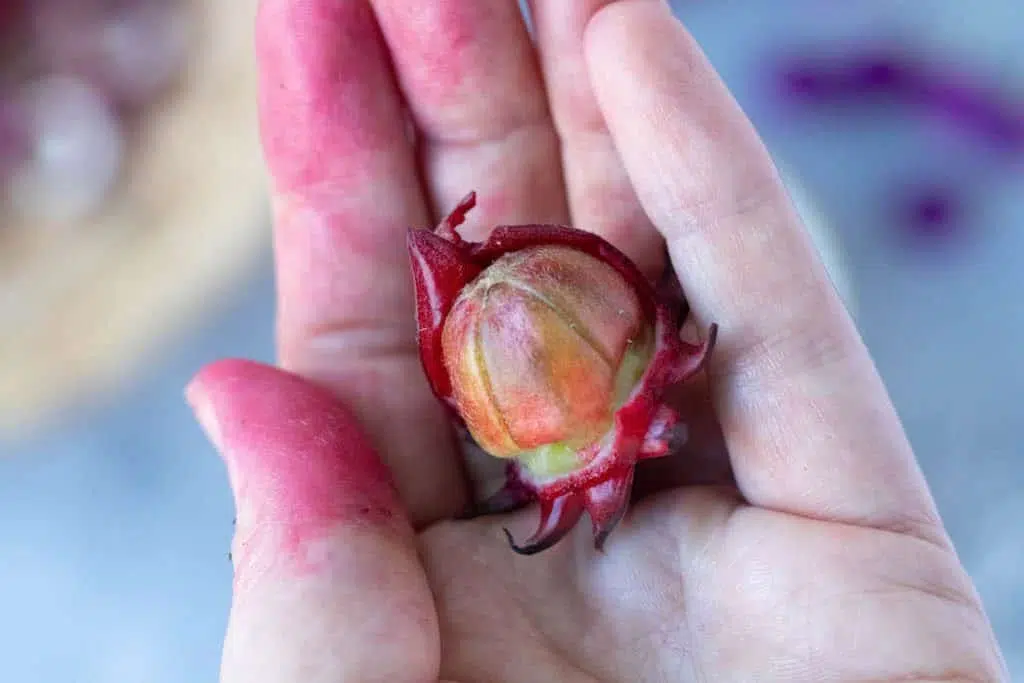
Once that’s done, strain off and keep the liquid and put the seedpods in the compost.
Return the liquid to the same saucepan and add in the washed calyxes. Bring those to a boil and cook for another 20 minutes or until the liquid has thickened.
Remove the saucepan from the heat and measure the volume of cooked pulp. Return it to the saucepan and now add in the same volume of sugar along with the squeeze of lemon juice. Bring to the boil and cook for 10-20 minutes or until the jam has thickened then transfer to a jar and keep in the fridge.
See how easy it is? And why you don’t need to rely on a set recipe but rather – the volume you have on hand? That’s what I love most about this jam.
If you’re looking for a different style of jam, take a look at my lacto-fermented fig, honey and cinnamon butter too.
Have you tried rosella before? As a jam, tea, cordial or any other way? Let me know how you’ve had it in the comments.
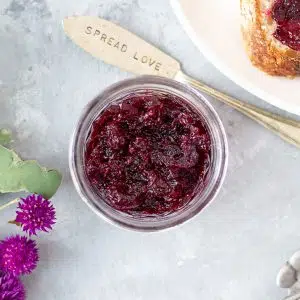
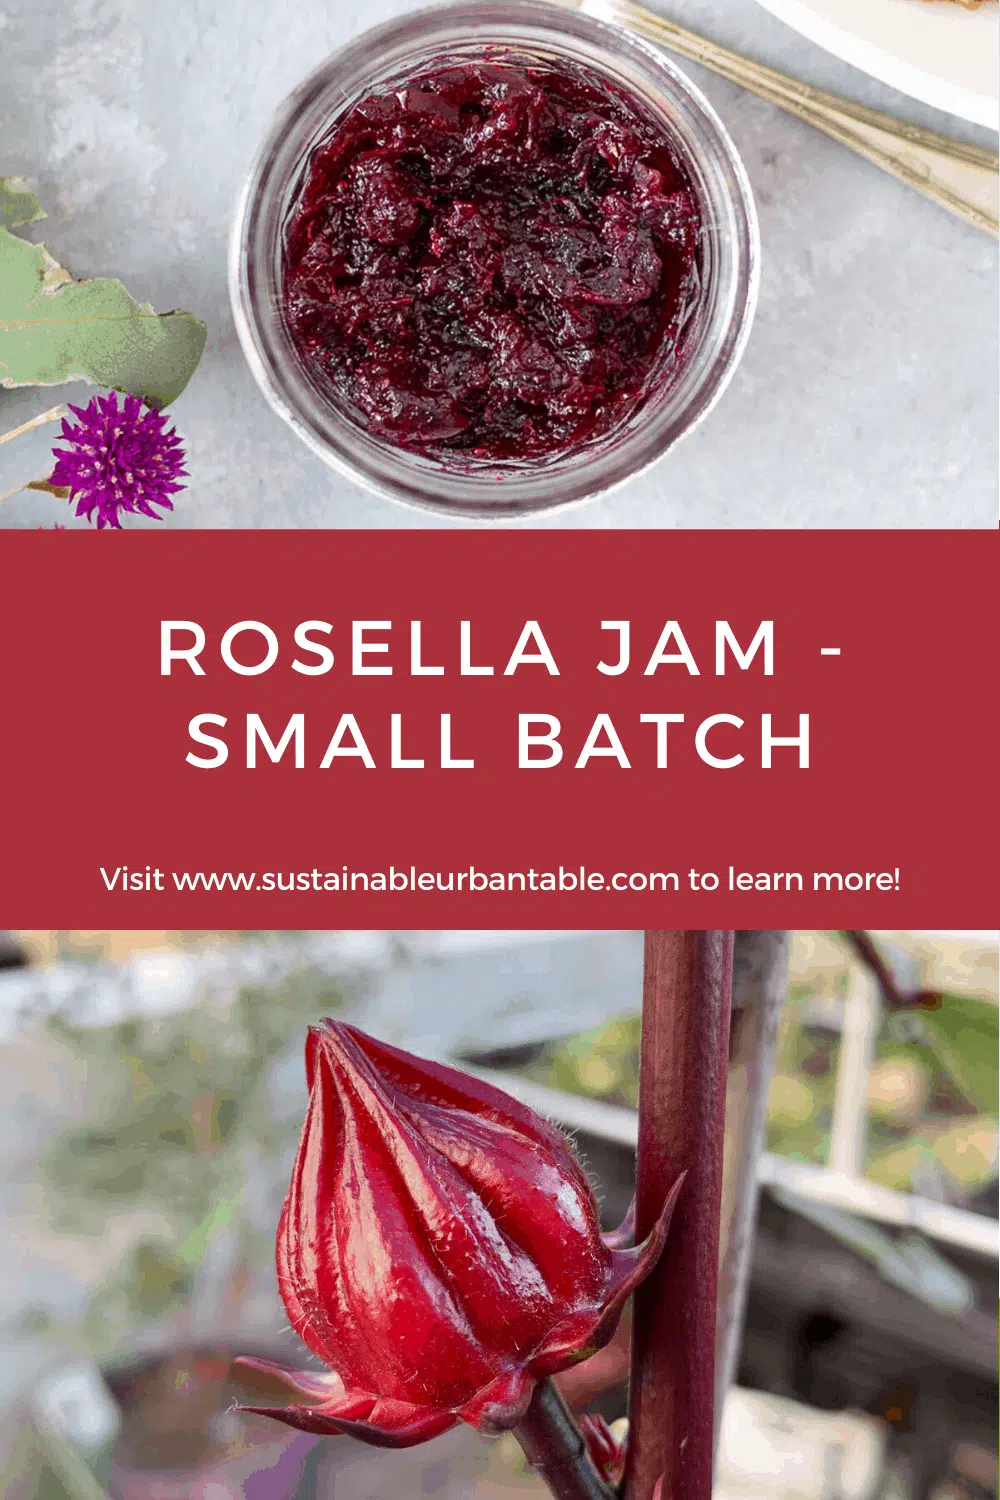
Rosella jam – small batch
Equipment
- Small saucepan
Ingredients
- Ripe rosella fruit
- Raw sugar
- Filtered water
- Lemon juice, just a squeeze
Instructions
- Remove the calyxes (red leaves) from the seed pods then wash and drain them separately
- Slightly break open the seed pods and add them to a small saucepan. Pour in filtered water until the pods are just covered. Do make sure they're submerged
- Bring to the boil and cook, covered for 20 minutes or until the pods are soft
- Strain and keep the liquid and put the seedpods in the compost
- Pour the reserved liquid back into your small saucepan and add in the washed calyxes. If the calyxes are not submerged in water add a tiny touch more filtered water
- Boil down for another 20 minutes allowing the mixture to thicken
- Remove from the heat and measure the volume of cooked pulp. Return this to the saucepan and add the same volume of sugar along with the squeeze of lemon juice
- Bring to the boil and cook for 10-20 minutes or until the jam has thickened
- Transfer to a clean jar and store in the fridge

Hi ! From India
Rosella is quite a common plant out here and every year I get quite a few seeds ( pods) from my kitchen garden itself . I’m from the NE of India and we also use the leaves and pods as a souring agent for some curries . I also make jelly / jam . It’s easily available in the market this time of the year . Just went through your recipe . Incidentally I bought a kg yesterday and made 5 small bottles. Your other recipes are quite simple and sounds delicious too. will surely try some of these .
Hi Madhumita! Wow thanks for sharing, it’s so interesting to know that the pods can be used in curries like that. I might give it a try next time I have some. I’m learning so much more about where this plant grows thanks to all the wonderful comments here. I hope you enjoy the jam too!
What a disaster. I have made rosella jam before but following the recipe resulted in a jam mixture that smelt of the pectin in the seeds…not a luscious rosella aroma. Just tipped it all out. Other recipes suggest a half cup of the seed pectin, not the entire residue after boiling the seeds.
Hi Jennifer – I’m really sorry to hear this recipe didn’t work out for you. That’s definitely not my intent when testing/writing my recipes up! I like to think I test them thoroughly enough that those making them will have no issues at all. I’m interested to know how much liquid you had left after boiling the seeds though. This is a very small batch recipe so ½ to ¾ cup of the pectin liquid is roughly what’s produced given the small amount of fruit used – and assuming just enough liquid is poured over the seed pods/they weren’t completely swimming in liquid?
I heard about your site from Florida. I grew rosella a couple of years ago and they did great (at least 8 feet tall!) until mildew got them. I loved making the tea and didn’t know I could make anything else.
I have a new plant that has just started to flower. I’m excited to have found this recipe, as it will keep the loveliness going longer than a cuppa. I was wondering if I use Monkfruit or another granular sugar substitute will it set up properly? Have you had any experience with that?
That’s so great Melinda! Hello from Sydney! Rosella shrubs are beautiful to have in your garden. We can’t buy them in stores here so growing your own is the only way to get them. Regarding using a granulated sugar substitute in place of the raw sugar – I’m afraid I can’t give you any great guidance here as I have’t tried them in jam making. I do know recipes I’ve seen that have used sweeteners will often add in a gum like xanthan gum or glucomannan to help the jam set. Thinking out loud – but I’m wondering how this might go as a chia jam. Have you ever done that? If you like chia and you’re keen for an experiment – perhaps try the recipe with 1 tablespoon of chia seeds for every cup of cooked fruit you end up with. I’d say at step 7 in the recipe remove and measure the fruit pulp you have, then add back to the saucepan. Add in the volume of sweetener you’d like (be careful with these because they can leave a bitter after taste if too much is used and they’re super sweet too) and a squeeze of lemon juice and stir to dissolve. Remove from the heat, stir through the chia and let stand for 5 or so minutes to thicken up before transferring to a jar and then to the fridge. I can’t promise that will work but I hope it does. You might need to adjust the volume of chia but 1 Tbsp is a good starting point. I might give it a go too next time I have some rosella in the garden too!
Hello Gabby,
I made rosella jam for the first time and I thought how easy and delicious tasting this jam is..
I saved the seeds for seed stock to plant again.
I boiled the calyxes and once they were soft and mushy I chopped them up finely and put them back in to cook until the jam was at setting point. And then I bottled it.
Absolutely, this jam is in a class of its own. So delicious!!
Hi Georgina – I’m so happy to hear you enjoyed it! It’s such a wonderfully delicious seasonal treat. And so fantastic that you’ve saved the seeds for planting!
Great recipe! This is the first time I’ve made jam. My grandma used to make all sorts of jam but in huge quantities so I was always daunted by the thought of doing it. This was super easy and it tastes great! We bought our rosella to use for a Christmas tree in Nth Queensland last year. We might have to make it a tradition.
Thanks so much Leanne, that’s wonderful to hear! And yes I agree – it’s always nice to know how to make smaller quantities of things. I love to preserve all the seasons but as a household of two – we don’t want endless amounts of the same jams, sauces, chutneys etc. which makes small batches perfect. Love the idea of a Christmas tradition too!
Yes it’s that time of the year rosella jam time. rosella grows pretty much wild in my neck of the woods NT we actually have a Rosella festival in our district where people sell their home-made jams ect. I try to make a batch every year for family and friends, it’s amazing how much I get from my plants that I have in my garden. Victoria
Wow, a rosella festival is amazing! I’d love to get to it some time. The way my balcony is situated my little shrub – when planted – will rarely get enough sun to be prolific. Such a shame because they’re generally so easy to grow and very hardy. It gives me enough for a little jar though so I’m definitely happy with that.
What weight of rosella’s (complete fruit)did you have?. Ta
Hi Linda – I didn’t actually weigh them when I made this recipe. Something I will do once my shrub is in full bloom this year and I make the next batch! I made this by cup volume. It’s only a very small batch so was one cup of calyxes (or roughly 14 rosella pods).
Came across this recipe and keen to try it. Got three bushes this year and last year only had one which we named Vincent for some reason as he survived a major flood but only had a 6 calyxes on him before he expired. Keen to try your recipe for these though wondering if be able “can” the jam and therefore not need to refrigerate after?
Hi Leah – Vincent sounds like a trooper! But how stressful to have experienced the floods. Hope you didn’t have too much damage. With regards to canning – I’m sorry it’s taken me so long to get back to you but I’ve been digging the depths of the internet for this answer and still don’t have a definitive one. I’ve never had enough volume to consider canning because I usually only have one shrub – but the key to safety is acidity. None of the safety sites have mentioned Rosella (or Florida cranberry) specifically so next best thing will be to test the pH once you’ve made the jam. You’ll need to buy some pH strips and when the jam is done, dip one in and if the result is 4.6 or below it will be safe to water bath. I’ll be trying that this year too so I can update the post with the info!
I am about to try my first tiny batch of rosella jam due to buying a plant recently. Being in my mid seventies, it has taken a long time probably because I was aware of how much my parents put into growing and making ‘tons’ of jam every year for Wayside Chapel which they sent via train from northern nsw. Thanks for being there and helping with your site. Shall cook tomorrow. Cheers Joy
That’s so lovely Joy! What a wonderful memory of your parents doing all that jam making. I love having my own rosella shrub and just making us a small batch or two each year. I hope you enjoy it too!
This is my favourite jam! I’m sitting here waiting for the seed pods to boil. Can’t wait! When to harvest? When they are fully grown – ie when they are nice and round and red. How to make jam without the bits? We cut up the calyxes with scissors so they are in smaller bits. Or you can sift the unsugared mixture (slowly) to get all the calyxes out to make jelly.
I hope that helps!!
Yes! This is great thanks so much for the tips Julie. I’m waiting for this year’s seeds to sprout so I can plant a few again. I think it might be my favourite jam too.
Wow! I love the taste of rosella jam its good for the bread .Thanks.
Yes me too! I definitely think it’s my favourite jam.
Hi Gabby, this recipe sounds fantastic but I do have a couple of questions. How do I know when the Rosella is ripe to pick? Also can I use a substitute for sugar? A healthier option, maybe honey?
Thanks
Hi Nici, once you see flowers appear on your rosella shrub, it’s usually going to be roughly 2 to 3 weeks before the fruit is ready to pick. It will be quite plump too – about 2-3cm (1 inch) across at the widest part. As to the honey, I haven’t tried doing this but you could definitely give it a go! Because it’s liquid I would suggest using half the amount of sugar in honey and probably cooking a little longer. So if you had one cup of seed pulp, try adding in only 1/2 a cup of honey. You want to make sure the mixture has thickened enough so that it will set into jam. I hope that works! I might give it a go myself sometime too.
I planted some and they look great. Searched for the recipe and got yours. Sounds great. Thanks
Oh that’s great! Thanks so much Joao – hope your little shrub is very fruitful.
Hi Gabby, I am 67, but looking forward to making my OWN rosella jam very soon. I have 4 plants, but so far only three large rosellas ready for picking which I have done. I’ve put them in the fridge until a few more grow to full size. How long do you think (approx) they will be ok in the fridge? Few days? Also, when do the flowers appear, before the pod matures? (I’ve been away for weeks and haven’t observed them much so far.) And last question … any tips on removing the calyxes? I have a long distant memory of my uncle sitting near the rosella bushes, with a sharp stick like a skewer, and somehow using that in the process. I guess I should just use a knife, but whatever he did was deemed to be a ‘better way’.
Hi Wendy – making your own Rosella jam is so much fun! Though you can get stained hands but it doesn’t last long. 4 plants is fantastic! You should be able to get quite a good batch of jam from that. I only had one relatively small shrub hence the small batch here. I think the fruit you have already should be fine in the fridge for a few days. You’ll likely find once the shrubs starts to take off lots will appear at the same time. And as to how it grows, the flowers will appear first followed by the lovely crimson rosella fruit. I actually just pulled off the calyxes but I know many who do cut them with a knife to make it easier. I can’t say I know about the process with a sharp stick but that sounds very interesting. Happy jam making!
Thank you for this recipe. Using volumes is much easier than adjusting a recipe according to the amount of roselles for the year. I’ve always thickened with a bit of unflavored gelatin so using the pods will be better. I like to add citron zest to my jam since I have a citron tree with access to the fragrant rind. Orange or lemon rind would also work. A bit of cinnamon is also delish.
It’s my pleasure Silvia. And those additions sound absolutely delicious! I’ll be giving them both a go next time I have the rosellas I need to make the jam. Yum!
Hi Wendy,
I have 12 bushes planted and what I usually do is separate the seed pod from the caylaxes and freeze both in separate freezer bags. At the moment I’m using up the last pack from the 2021 season. Hope this is helpful.
Glenda.
When you say measure the volume do you mean by weight or by cup fulls
Hi Sue, yes definitely volume by cup fulls.
Hi. Thanks for the recipe. My mum always made rosella jelly she called it and it had no lumpy bits so I presume the calyxes had been removed sometime.
Just wondering if anyone knows this recipe please?
Beth
Hi Beth – I apologise but I’m not sure what you mean about the calyxes being removed? These are the red ‘leaves’ that are pulled from the fruit and what actually make the jam.
Hi, I have struggled with using Roselle. I have had batches where the calyxes are fiberous and unappealing, and also some random harder or pointier bits that are also unappealing and not fun to eat. Have you experienced this and if so, any tips? I am probably going to just do a jelly to avoid the risk until I can figure out why they are happening
Hi Andrea, I can’t say I have experienced that actually. The only thing I can think of at this point is that perhaps the mix hadn’t been cooked long enough? I harvested from my own shrub so also had the added benefit of getting the fruit off when it was perfect.
Really enjoyed making this. What a pleasure of a plant to grow from seed in Abu Dhabi, needs no assistance just sun and water, beautiful flowers and calyces, and then your batch of jam made perfect sense
That’s wonderful to hear Anna!
Great recipe, thank you… great that it accommodates just a couple of handful of rosellas or as in my case 4 cupsful of seed pods… I will do better next time… but still happy with the outcome.
Keen to look more closely at your other recipes…fermented carrots with garlic and chilli sounds great. Will try that when baby carrots available in store. 🙂
Thanks, Ursula! So glad you liked it. It’s so deliciously tart.
Hi Ursula this is my first time cooking rosellas now my question to you is how do you keep the pods submerged as mine keep floating. Thank you gail
Hello Gabby
I have been making Rosella Jam every 2nd year for the past 20 or so years here in northern NSW. I plant 4 plants every other year and sometimes get at least 2 crops off them before pulling them out. Your recipe is exactly like mine.
That’s wonderful Glenda! It’s truly such a delicious jam… I felt very lucky to have grown such a big shrub on a balcony.